
DIY Polecat
We are frequently asked if we have any tips for making a do-it-yourself version of our Hicat® units so we've put together the following notes for making a DIY Polecat
The following notes are for the new version of our DIY Polecat guide, which includes lots fabrication improvements & techniques over the original DIY Polecat guide but importantly this latest guide uses the recommended 160mm PVC soil drain pipe to carry out the DIY project - this allows our standard End Cap assembly to be used & as noted in our DIY Update blog this makes for a much easier project in terms of time, fabrication skills & tools plus you have the bonus of being able to use accessories like our Cat’sCradle on your Polecat.
The DIY Kit can be purchased using the link at the bottom of the page - you also have the option of following the original DIY Polecat guide & purchasing a kit that includes the fixings & materials to make up the End Cap Assemblies if you are not using a 160mm PVC drain pipe.
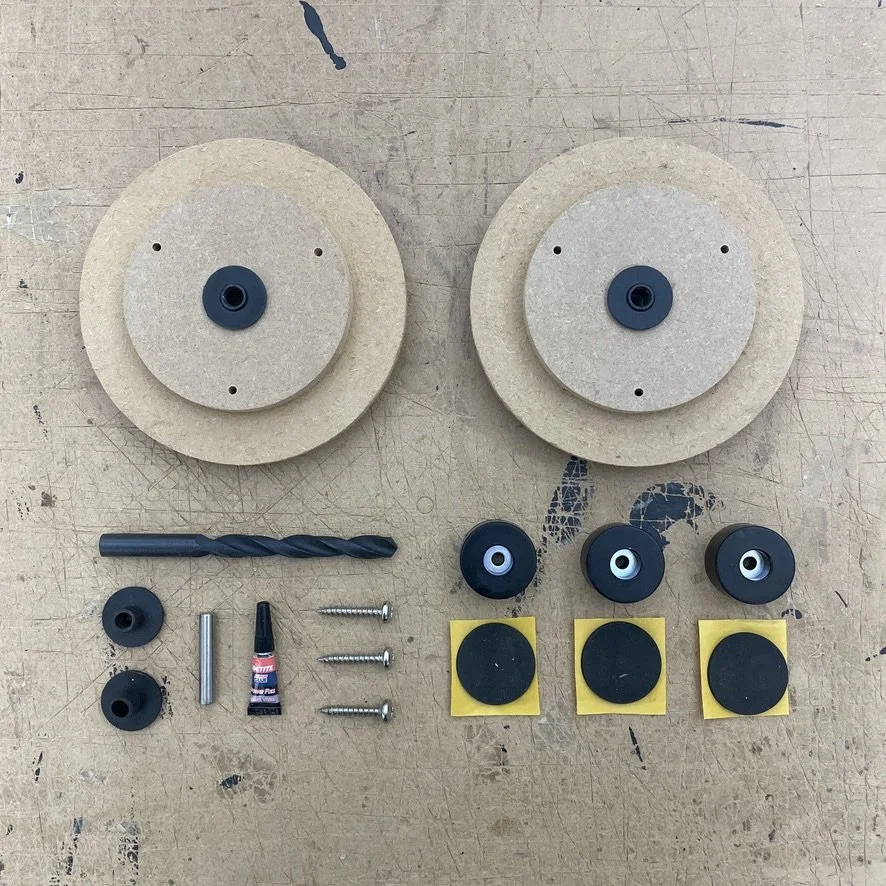
Polecat DIY Kit with Assembled End Caps
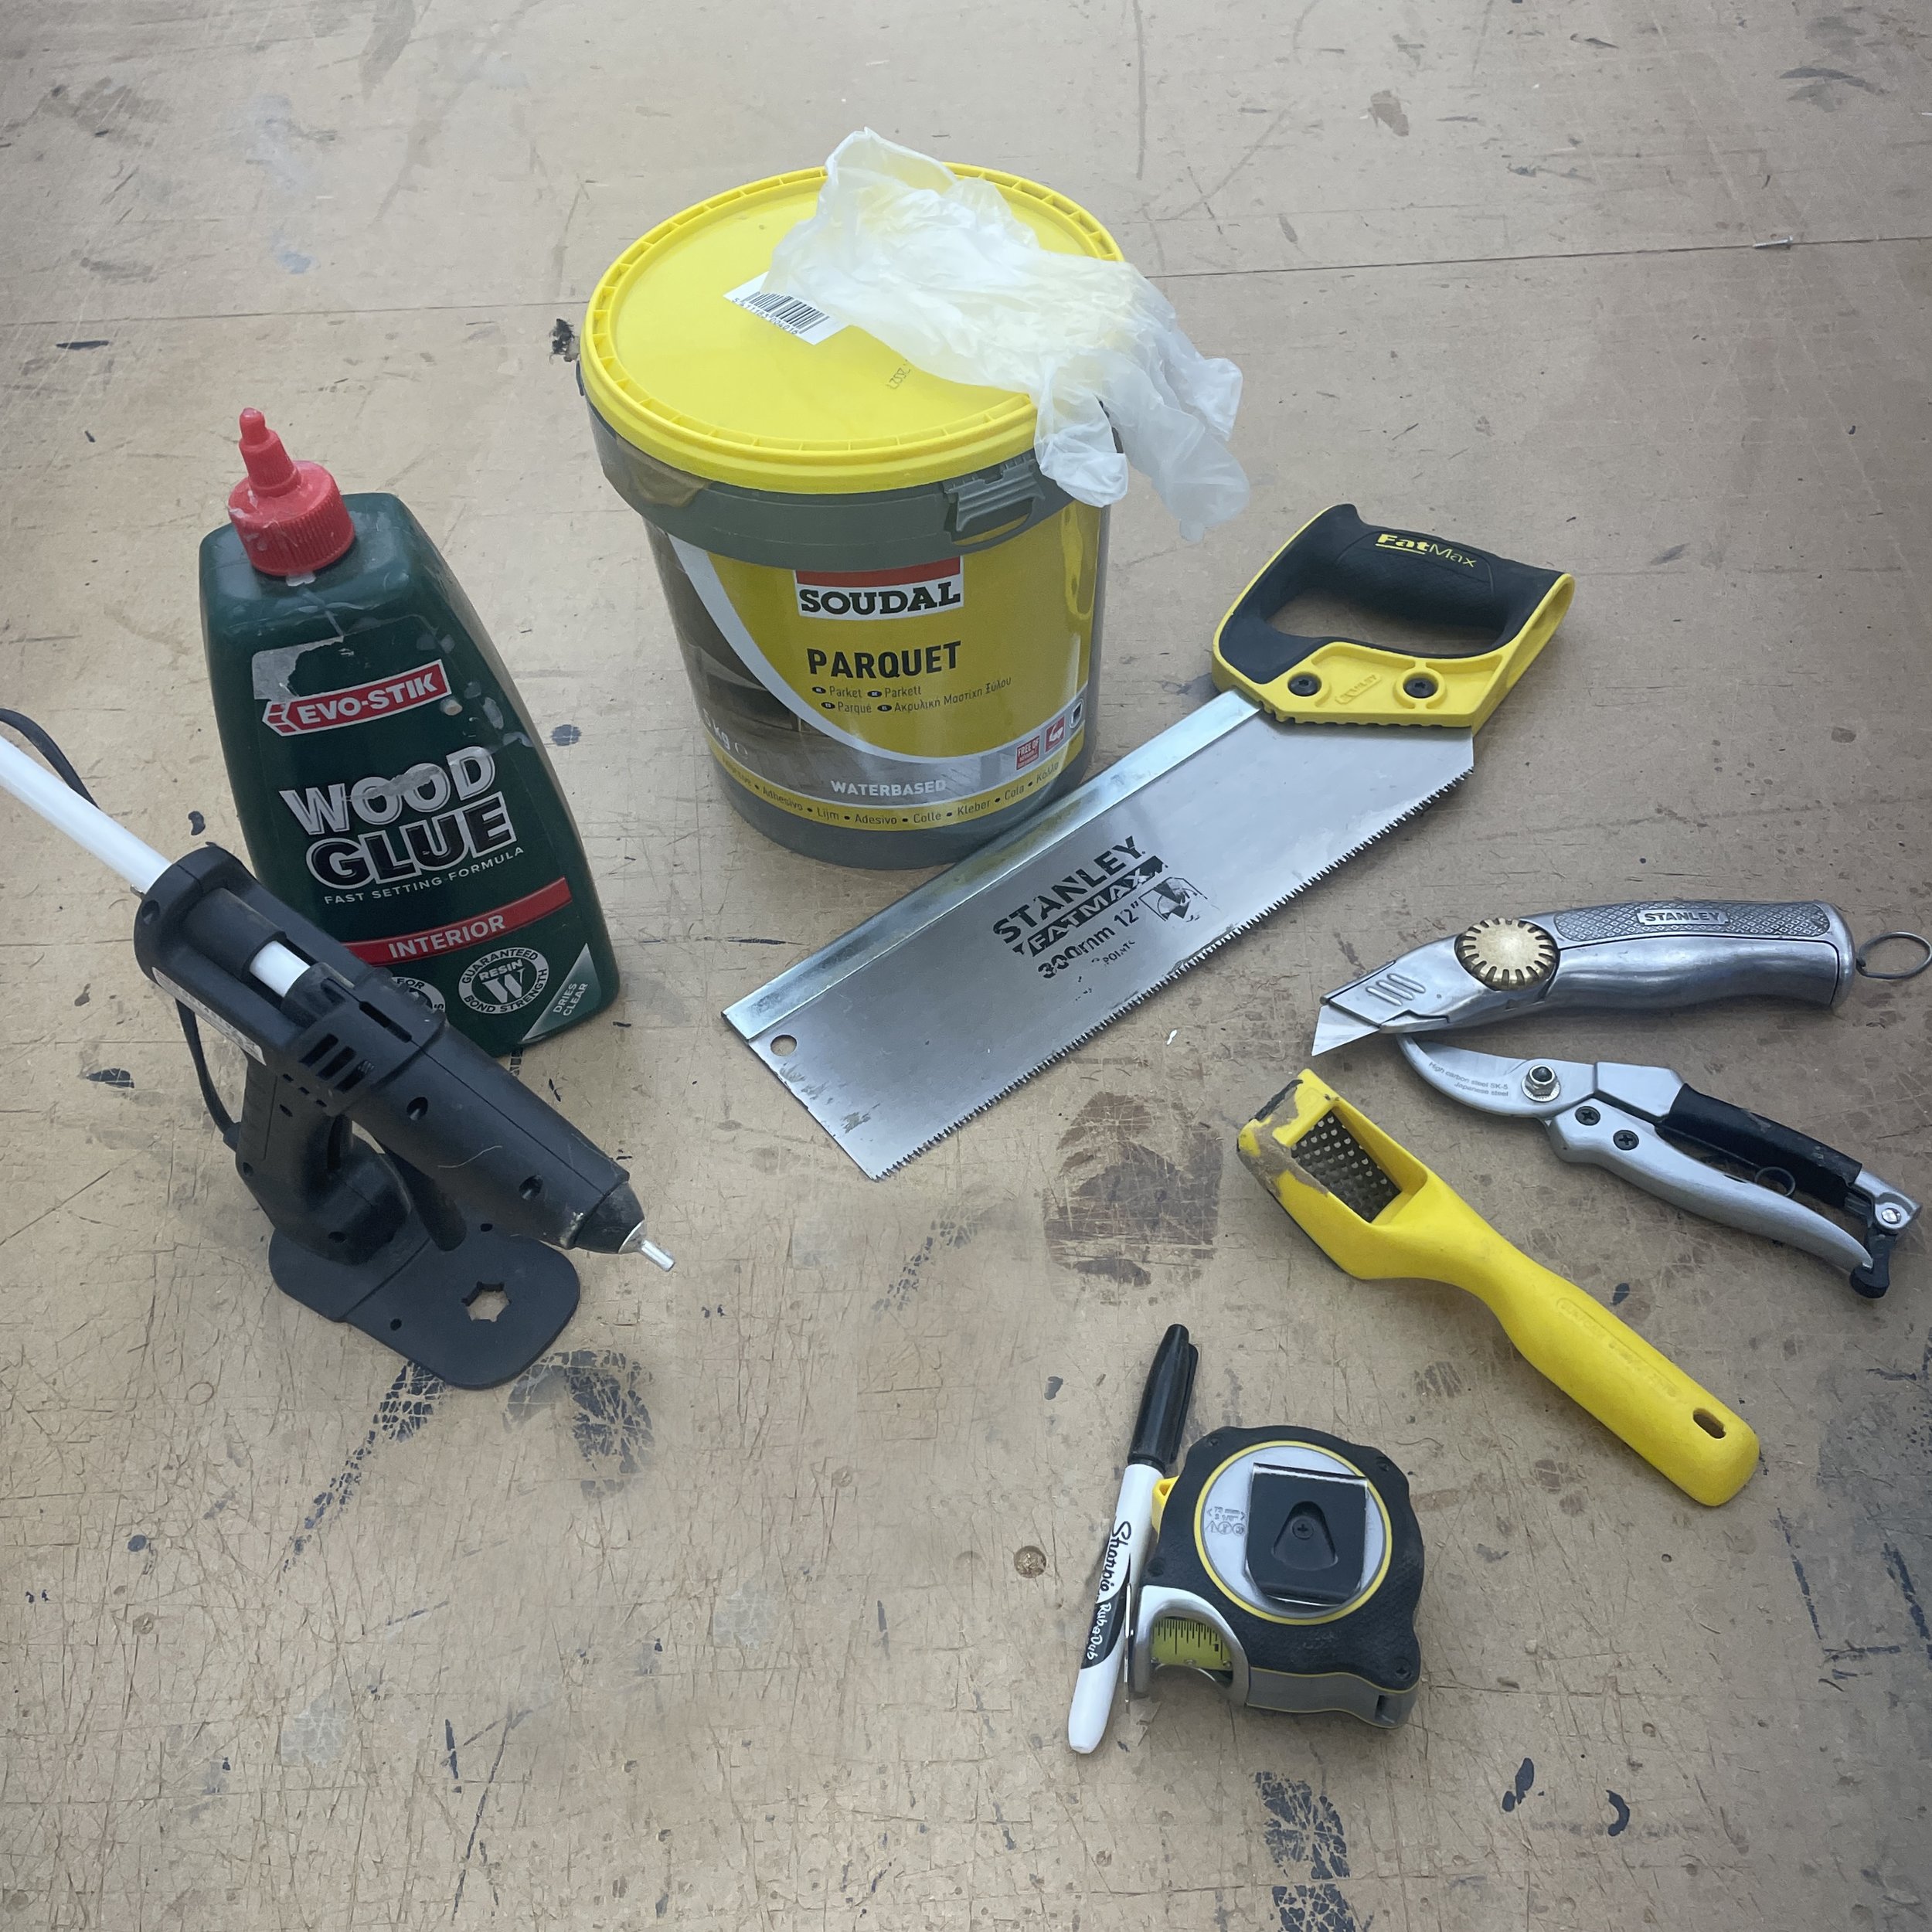
Tools & Consumables
The price of the DIY Kit is £32 - delivery is calculated at checkout & please get in touch if your country isn’t listed & we can provide a Delivery Quote.
The DIY Kit includes the following parts for the fabrication & installation - we've also listed the materials, tools & other bits & bobs that you will need to purchase to complete your DIY Polecat:
DIY Kit
2 End Cap Assemblies
3 Feet
3 Pan Head Screws
1 Ceiling Connector
2 Bushes (Open Ended)
1 Drill Bit
1 Glue Tube
3 Foam Pads
Construction Materials
160mm PVC Soil Pipe (ceiling height minus 75mm)
Coir Boucle Carpet (ceiling height plus 10cm in length & 3.5x outside tube diameter in width)
Consumables & Tools
Carpet or Parquet Flooring Adhesive (3-4L)
Hot Melt Glue Sticks (10-20 mini 7mm sticks or 2-4 standard 12mm sticks)
Wood Glue Hot Melt Glue Gun
Tenon or Carpentry Saw
Secateurs
Surform Plane
Utility Knife
Luggage Straps or Twine
Tape Measure
Rubber Gloves
Luggage Straps or Twine
Marker Pen
We recommend having a good read through the following notes before ordering your DIY Kit as there are some materials & tools that may need to be purchased to complete your DIY Polecat so it's prudent to cost & gauge the project beforehand.
We also think it's worth saying that although we have simplified things as much as possible this DIY project may still be too much for an inexperienced DIY'er but that said, nothing ventured, nothing gained.
Overview
The DIY guide is based on the materials we use in our manufacturing process so if you have to deviate from these you may need to make adjustments in terms of processes & quantities.
Our Polecats units are constructed from 4mm thick 152mm inside diameter spiral wound cardboard tubes - as noted above this guide uses a 160mm PVC soil pipe with a 152mm internal diameter, instead of a cardboard tube, & is the most economical way of carrying out the project with the added bonus of being able to use a Cat’s Cradles with your DIY Polecat as the outside diameter of the tube once wrapped should be close to 18cm.
A generic 6” drain pipe term can refer to a Metric or Imperial sizing with slightly different internal & external dimensions so it’s always best to check that the pipe you intend to purchase has a 152mm internal diameter - if you are searching online & are able to purchase a Metric 160mm PVC SDR41 type this will have a 152mm internal diameter but a pipe that has a slightly thinner or thicker 4mm wall can also work.
We've tested lots of different carpet & come to the conclusion (with lots of the help from our cats) that a wide ribbed looped weave, like Natural Coir Boucle or AVM Wool, which has a 1-1.5cm thick pile with a 1.5cm span between ribs is best for climbing but you can obviously try out your own materials.
Most of our Natural Coir Boucle carpet now comes from Alternative Flooring but remnants are often available from wholesale companies & online - it’s also definitely worth investigating your local carpet stores for offcuts.
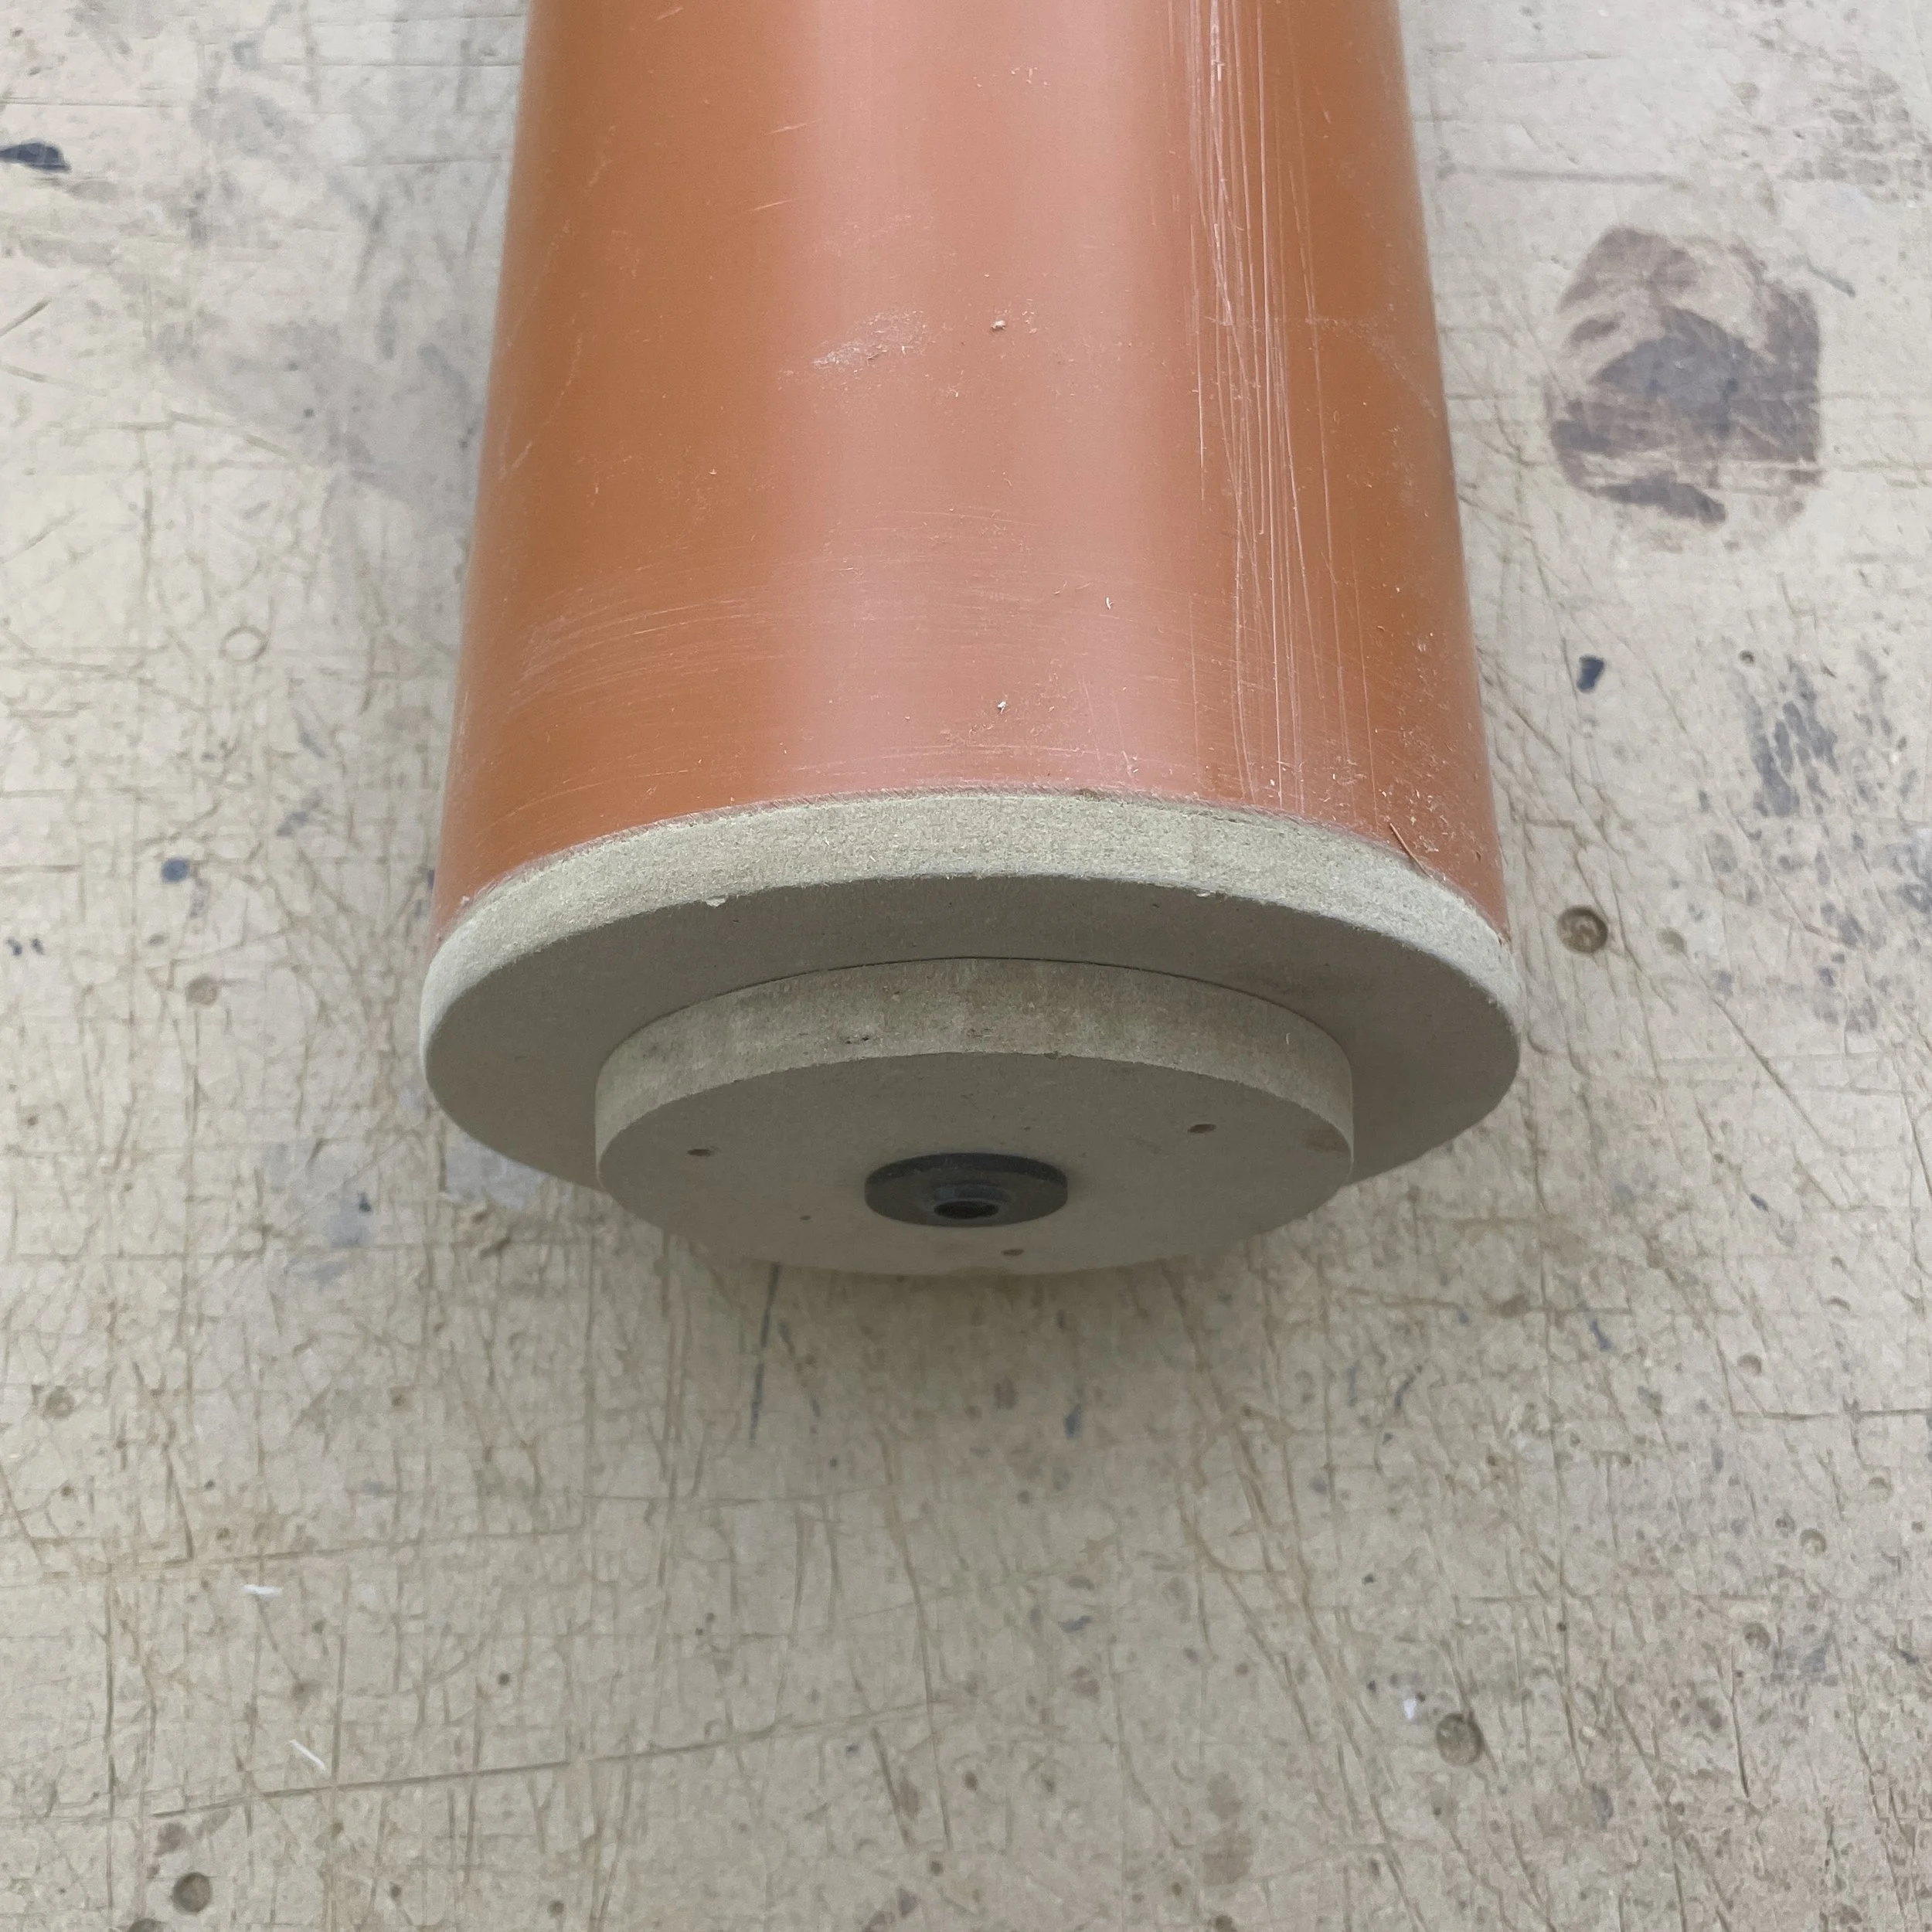
The Polecat Kit has two of the same end cap assemblies that we use on our Polecat - they are made up of 160mm diameter 22mm thick rebated end caps with 9mm hand cut discs screwed onto them to strengthen the end caps so that the unit can take greater loads.
The end cap assembly is fitted with a bush at both ends so you can turn your unit upside down when it becomes worn - the feet can simply be un-screwed & refitted.
On our Polecat we bond the carpet to the tube using a non-toxic non-flammable adhesive - we use a ready mixed water based parquet flooring adhesive made by Soudal, which comes in 5L sizes so one tub will be fine for a standard ceiling height noting that Soudal also make a flooring adhesive, which is not as thick & easy to work with as the parquet flooring adhesive as you won’t be able to apply it in notches/ridges because it’s more runny.
The carpet needs to be glued to the post with the ribs running vertically to aid climbing - flooring adhesive is used to bond the covering to the tube but the seam to join the edges of the covering needs to be fixed with a hot melt heated glue gun.
If you don’t have a glue gun there are some reasonably priced mini glue guns available to purchase online but please make sure you purchase additional glue sticks with the gun - you will need between 10-20 of the mini 100mm long sticks for the main seam, end cap fixing & finishing the seam depending on your ceiling height.
You can use a contact adhesive in place of the hot melt glue but it will be easier with a glue gun based on our experience & without the strong odours & toxic substances used in contact adhesive.
The carpet is folded around the end of the tube & fixed up to the end cap assembly to give a clean wrapped end detail - if you are using coir boucle or a simailar natural carpet you will also need to finish the seams with fibres to help with wear & tear.
So, if you've read the above & want to give this DIY project a go roll up your sleeves & the following step-by-step notes should see you through to making your own Polecat.
Step-By-Step Fabrication
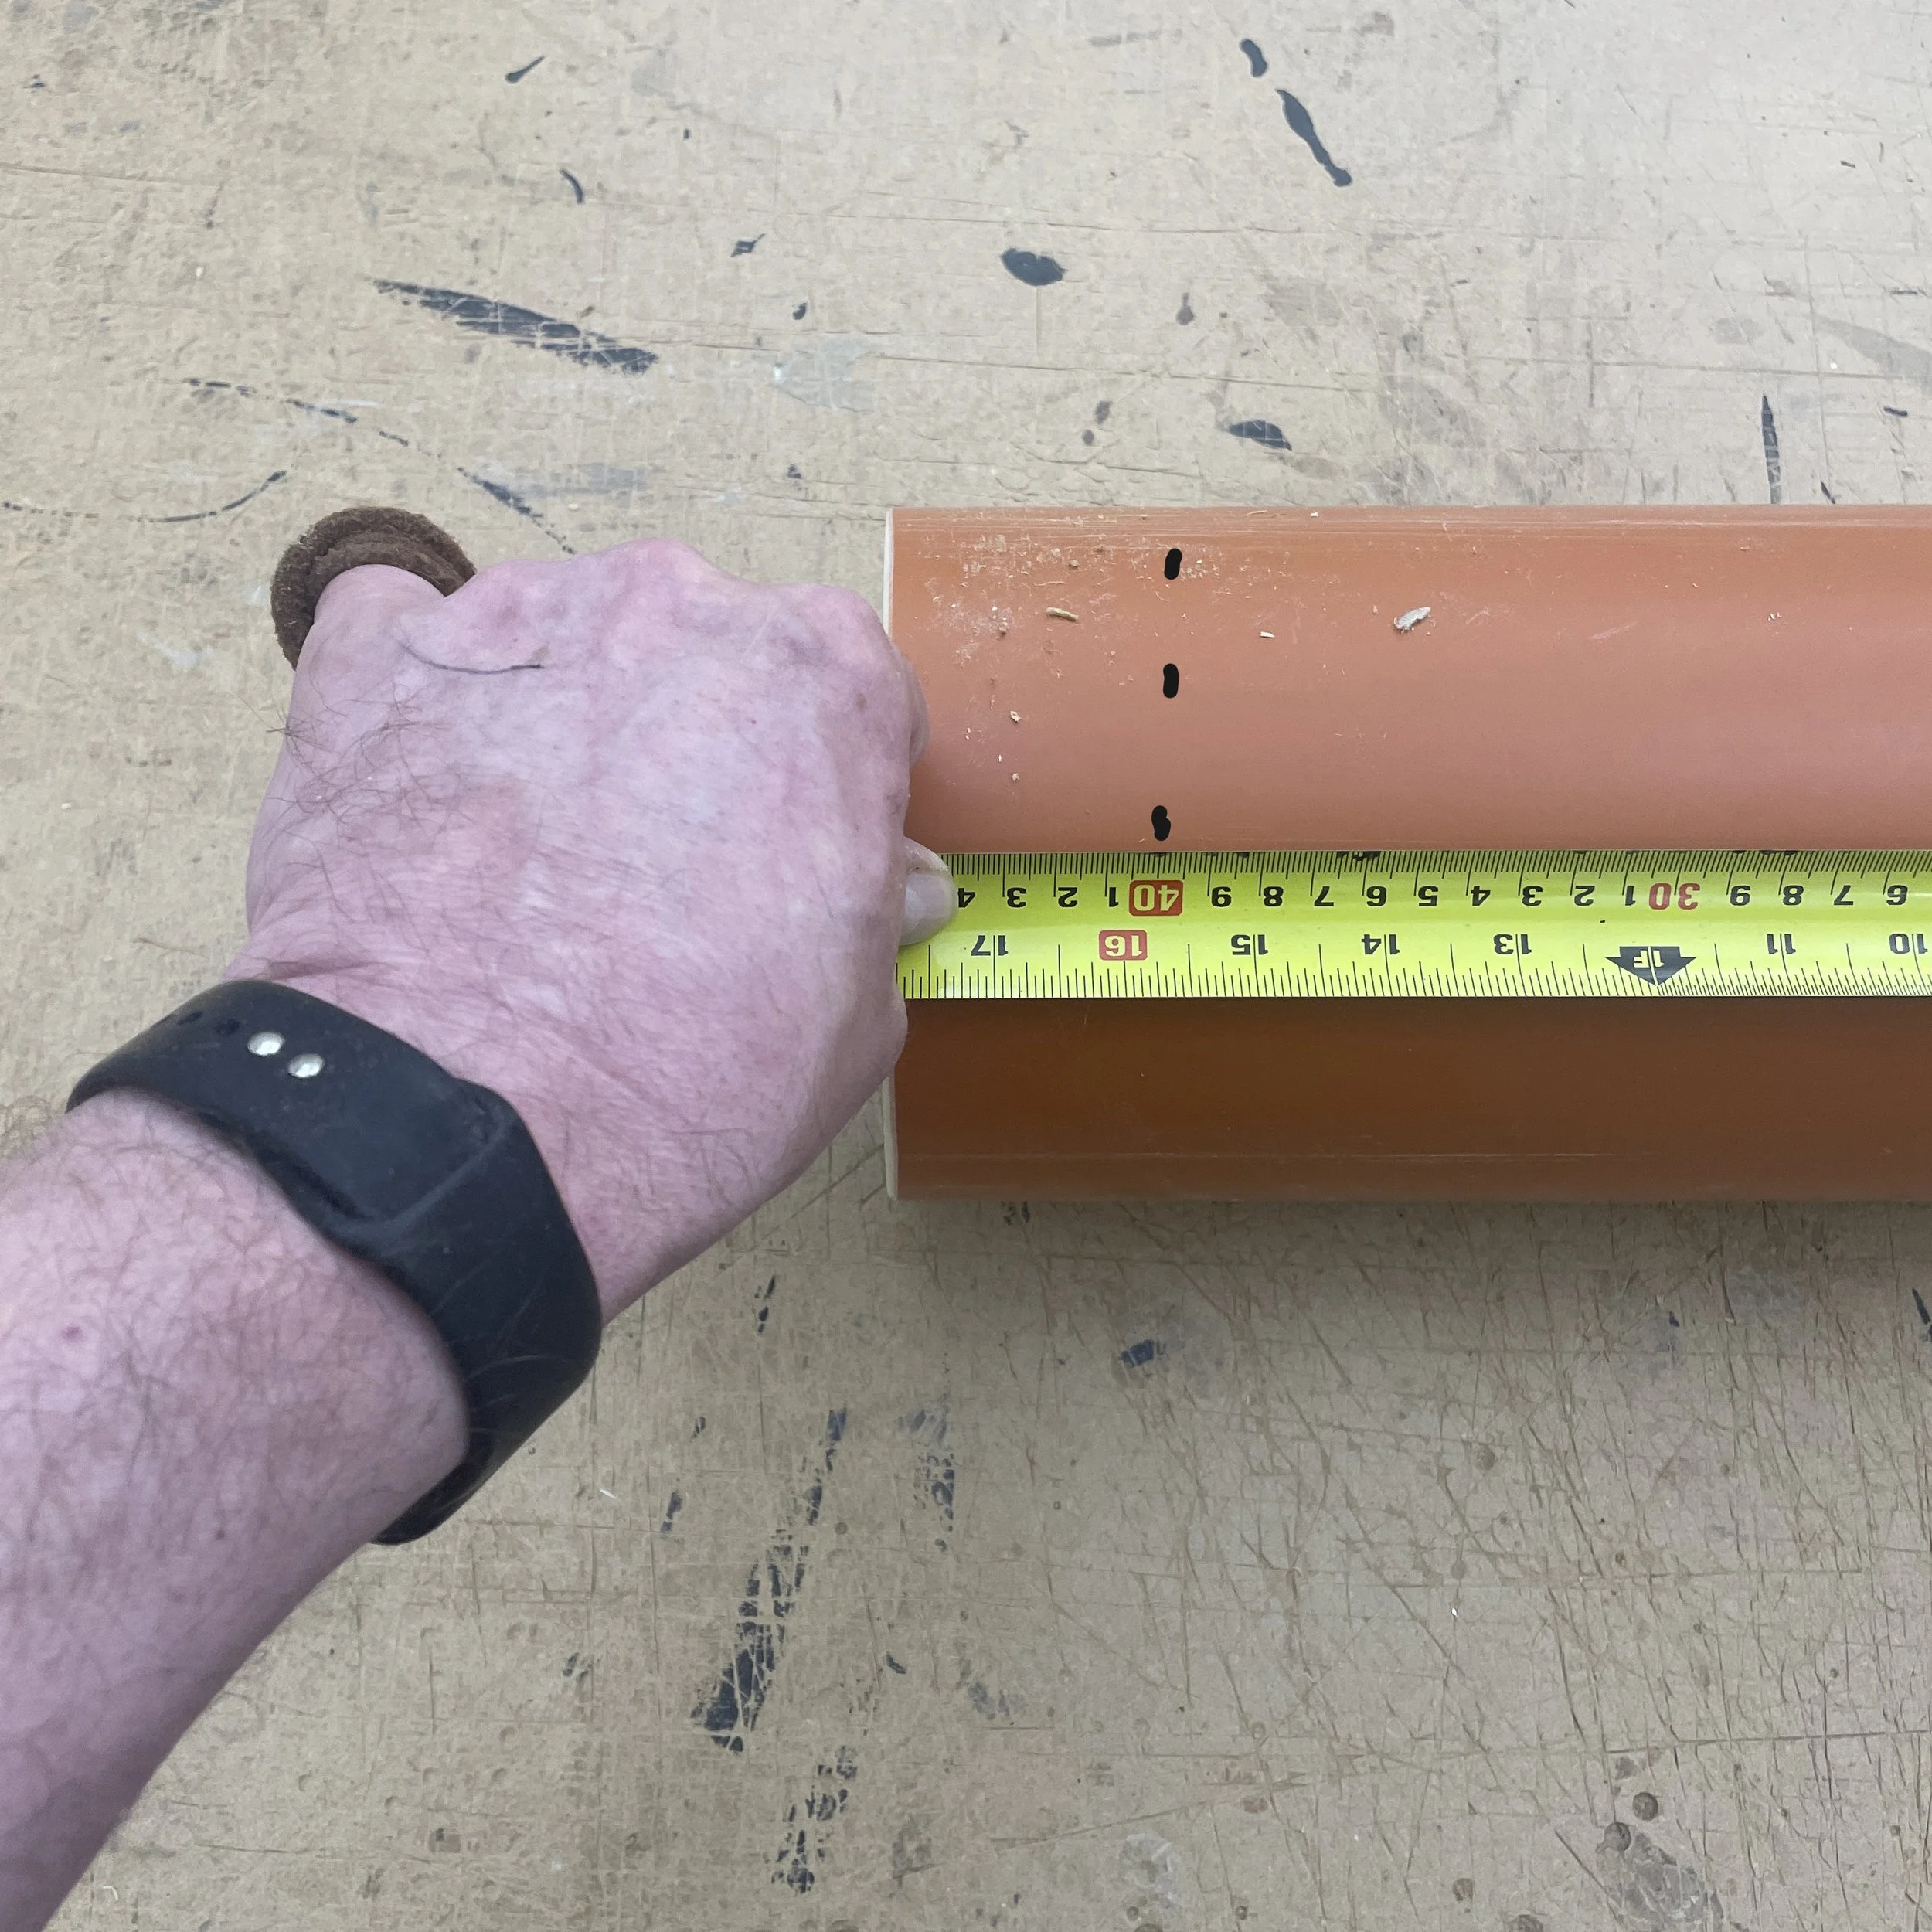
Mark-up & cut the tube to length using a tenon or carpentry saw - the tube length needs to be 75mm shorter than your ceiling height & it helps if you have several marked-up points around the tube as a guide when cutting to ensure a straight cut.
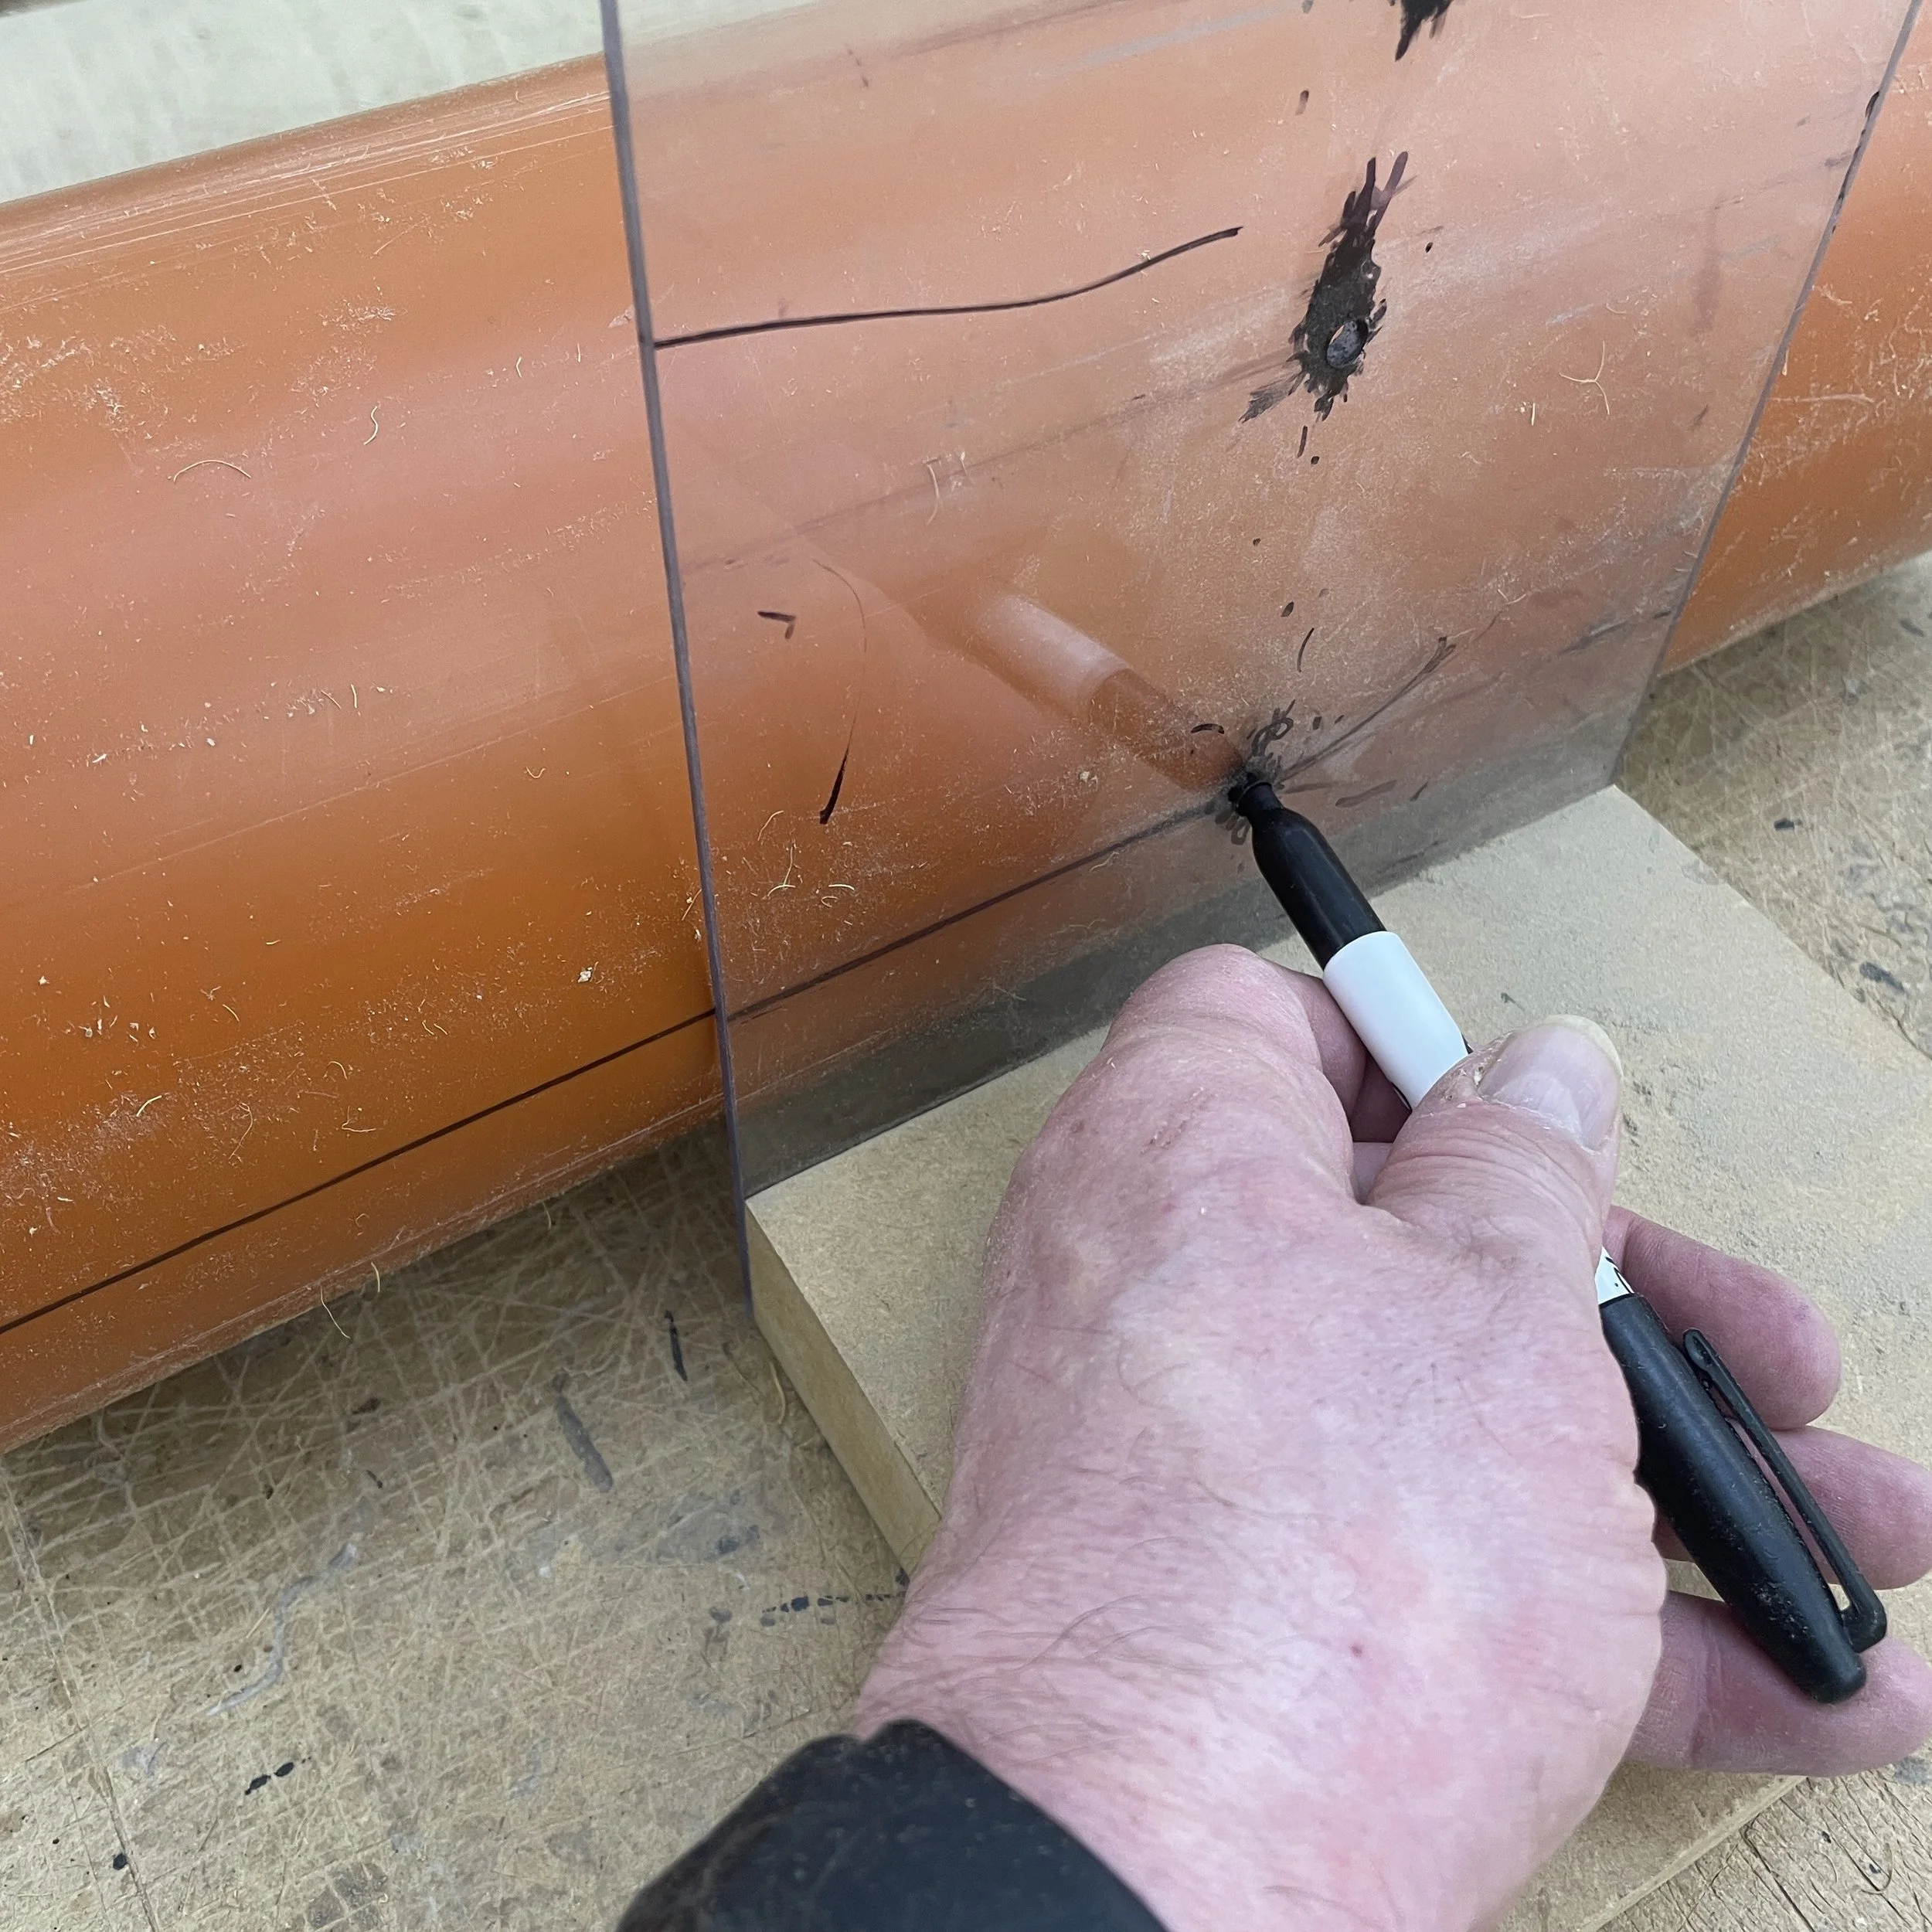
Scribe a horizontal line along the length of the cut tube - we use a template to do this but you can rest a pen on top of anything that’s approximately 8cm tall then run it along the length of the tube.
Check the fit of the end caps into the pipe - we do leave the end cap rebate slightly oversized rather than undersized so you will probably need to make some adjustments in sizing.
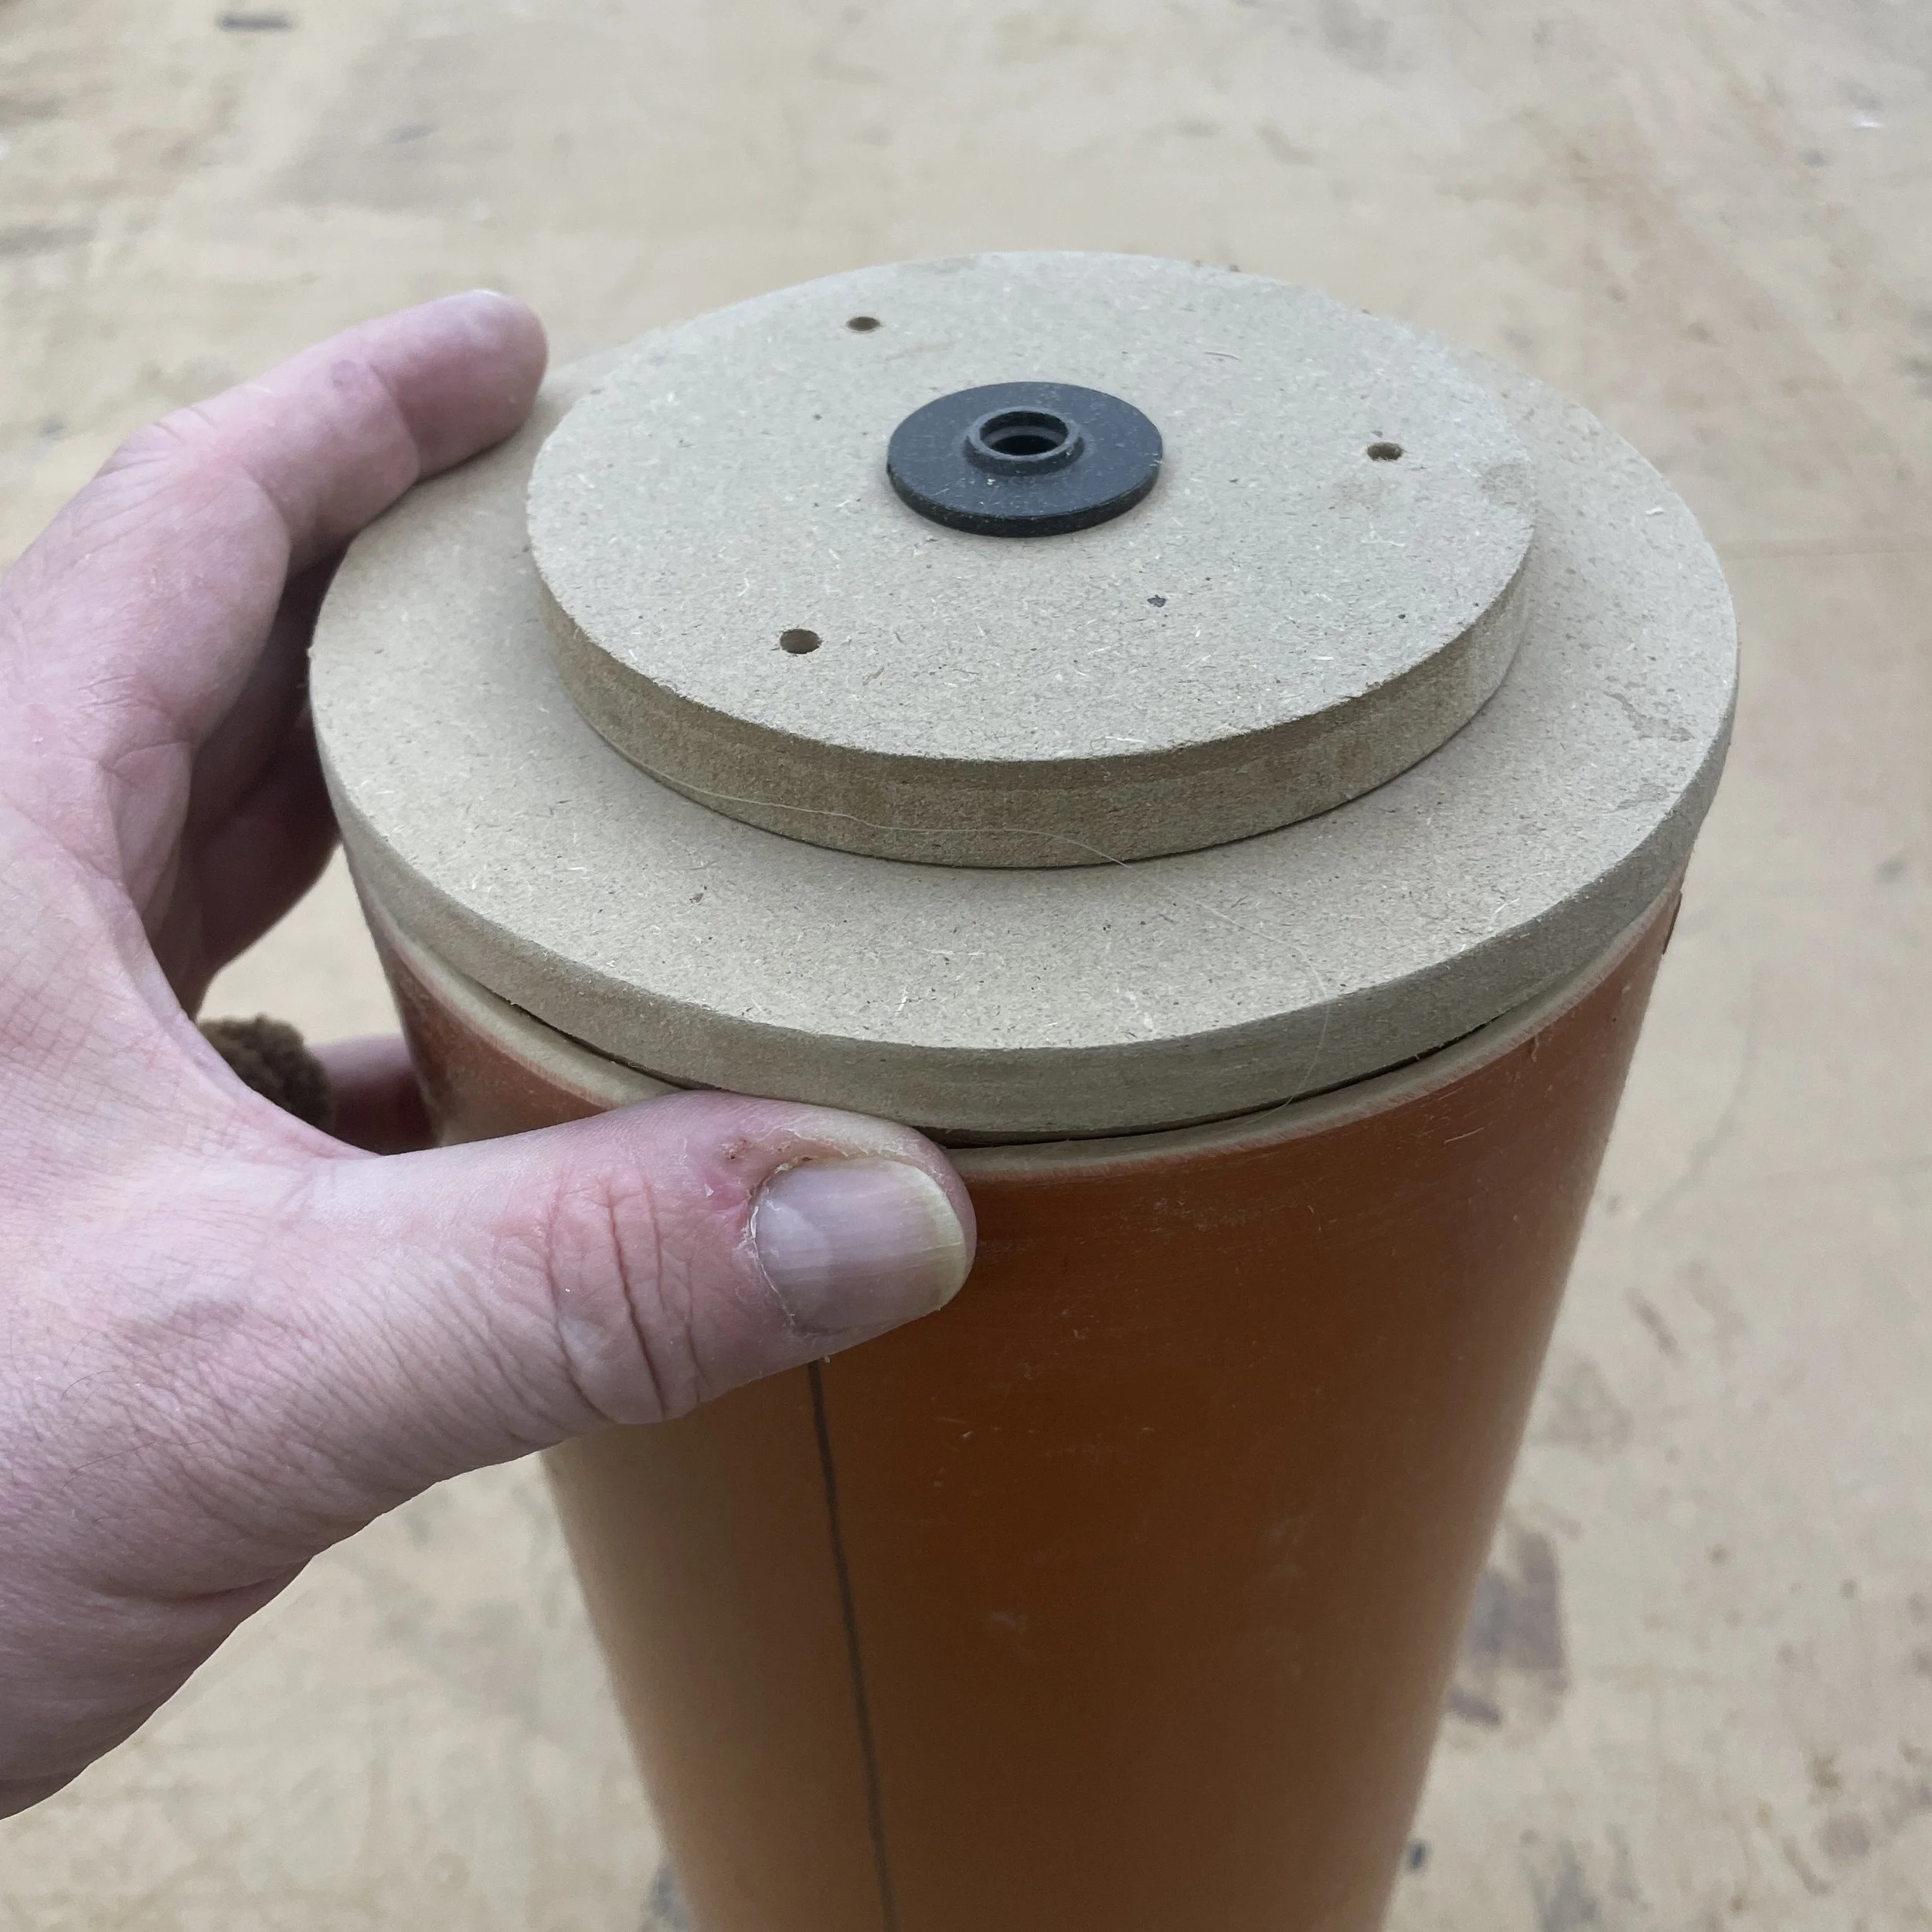
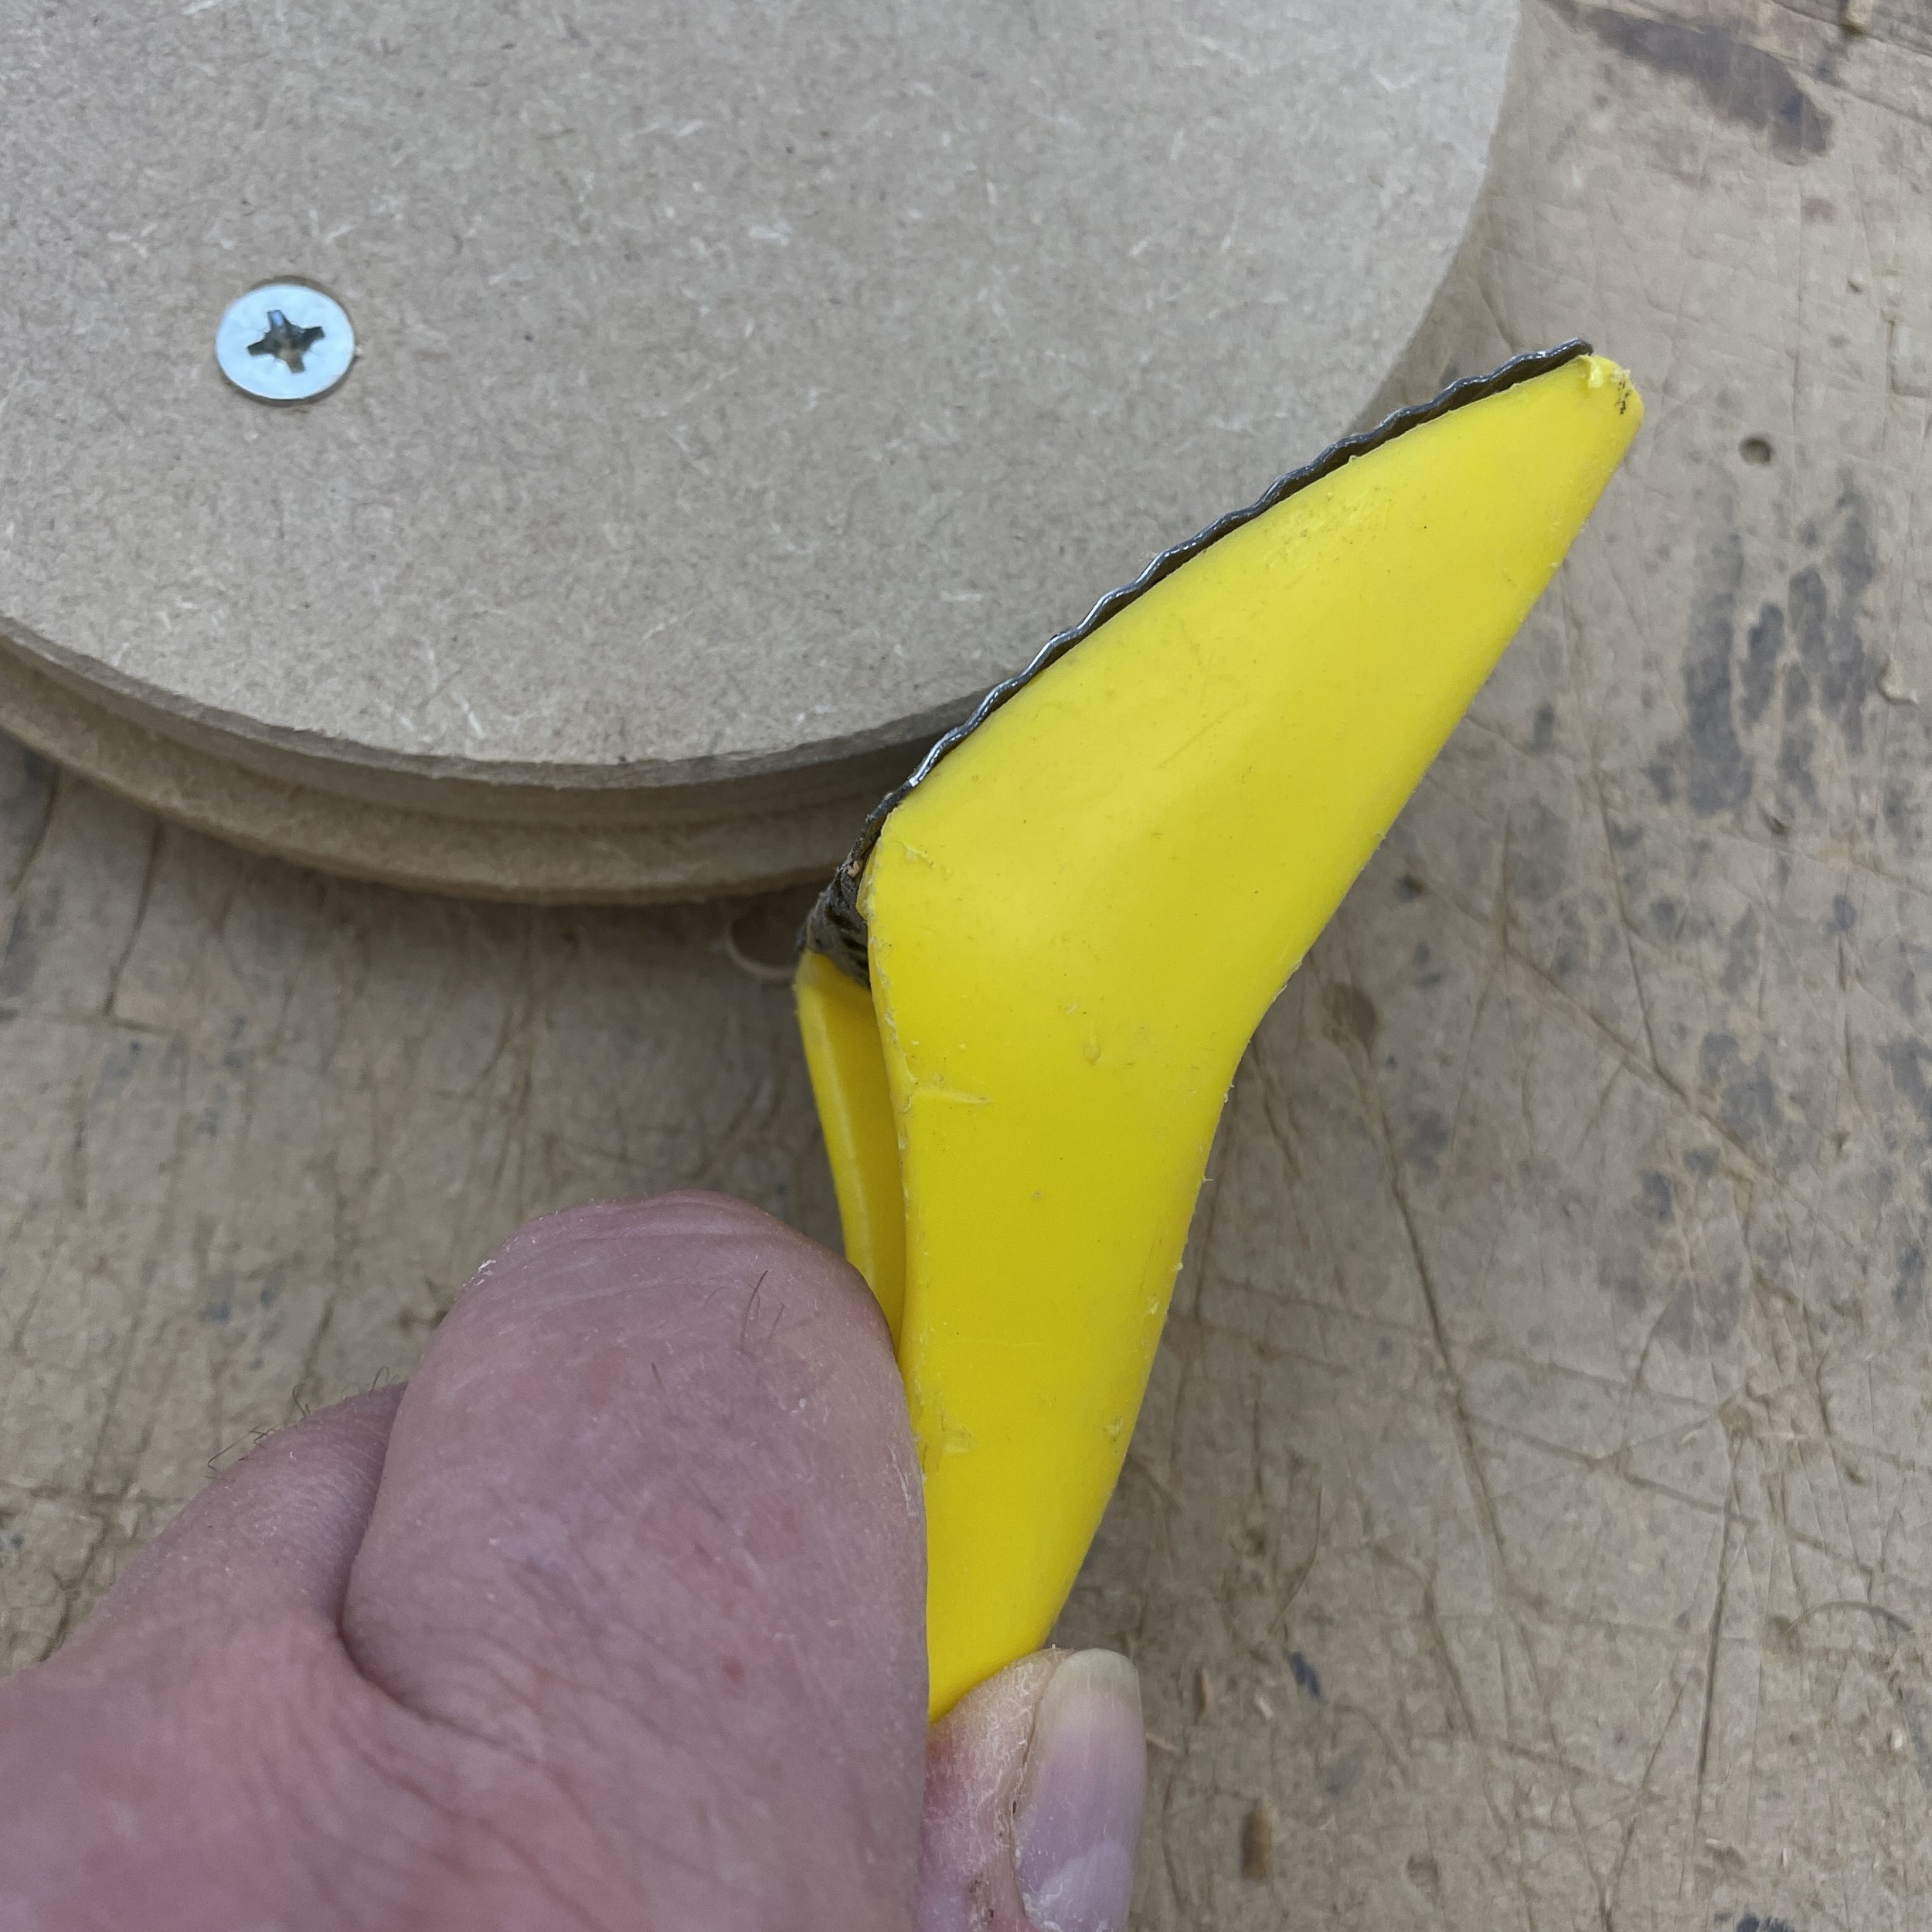
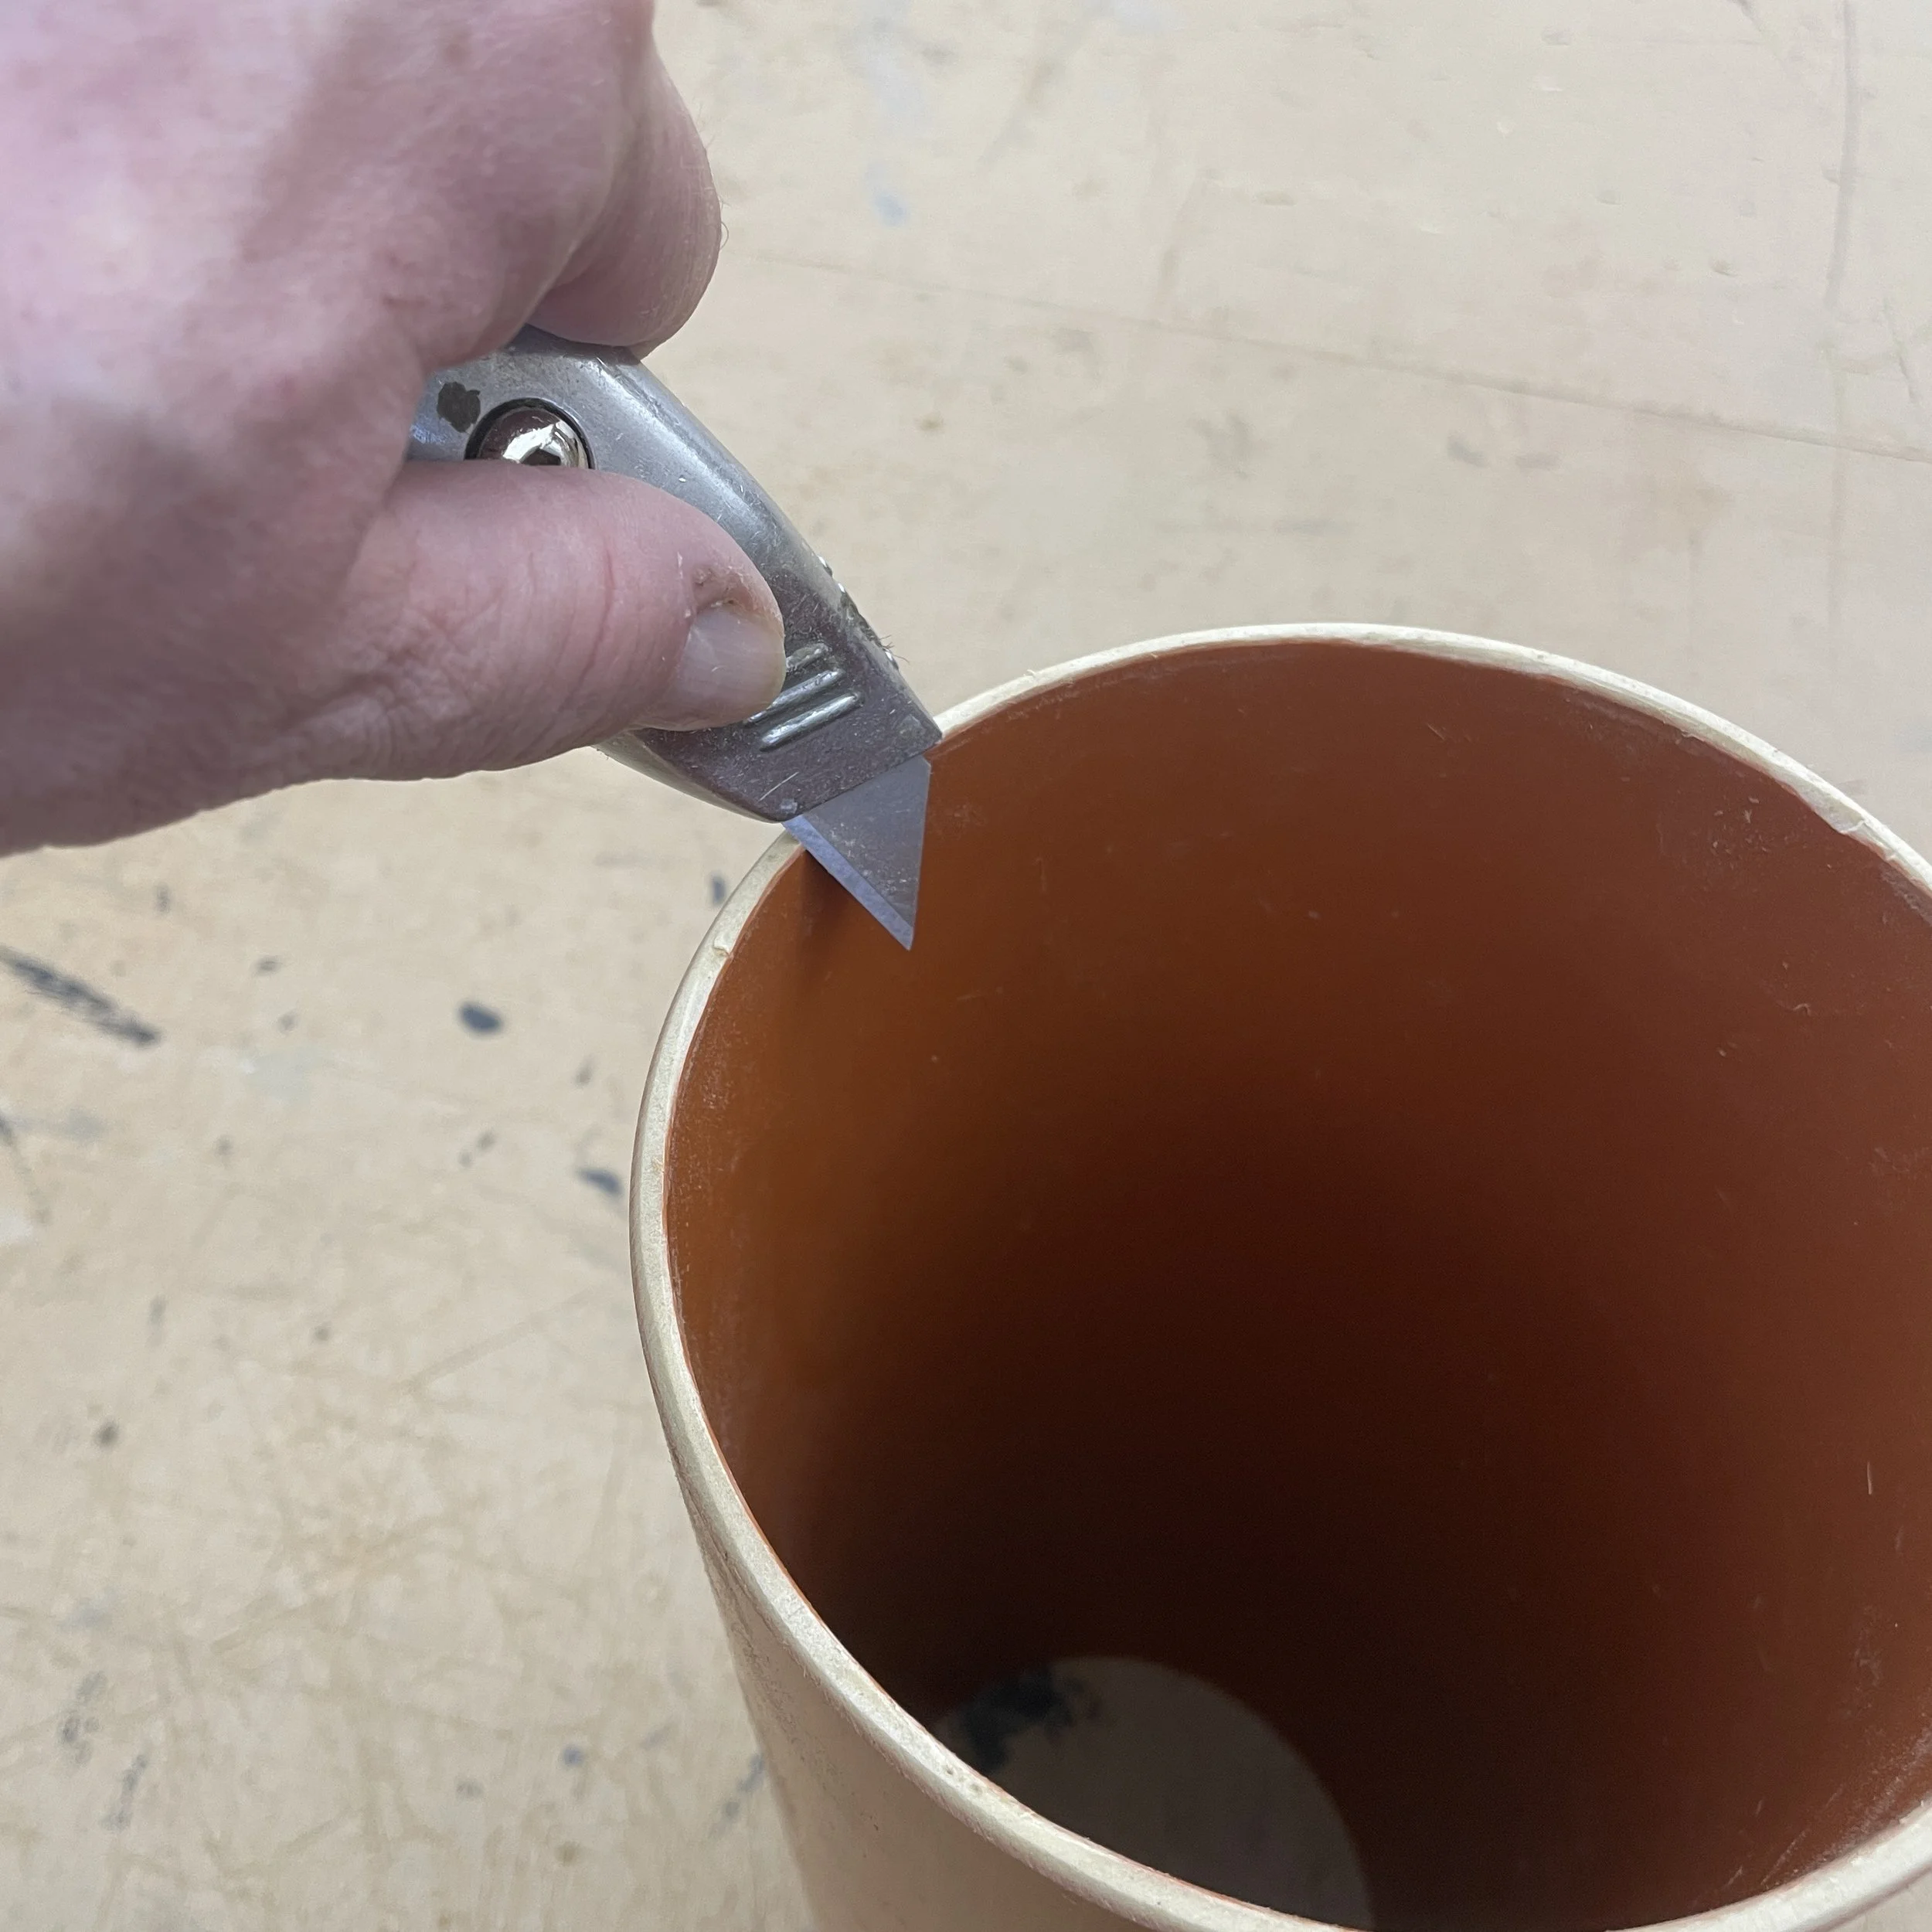
If the end cap assemblies are too tight you can trim back the diameter of the rebate using a surform plane - you can also chamber the edge of the pipe slightly to help fitment of the end caps.
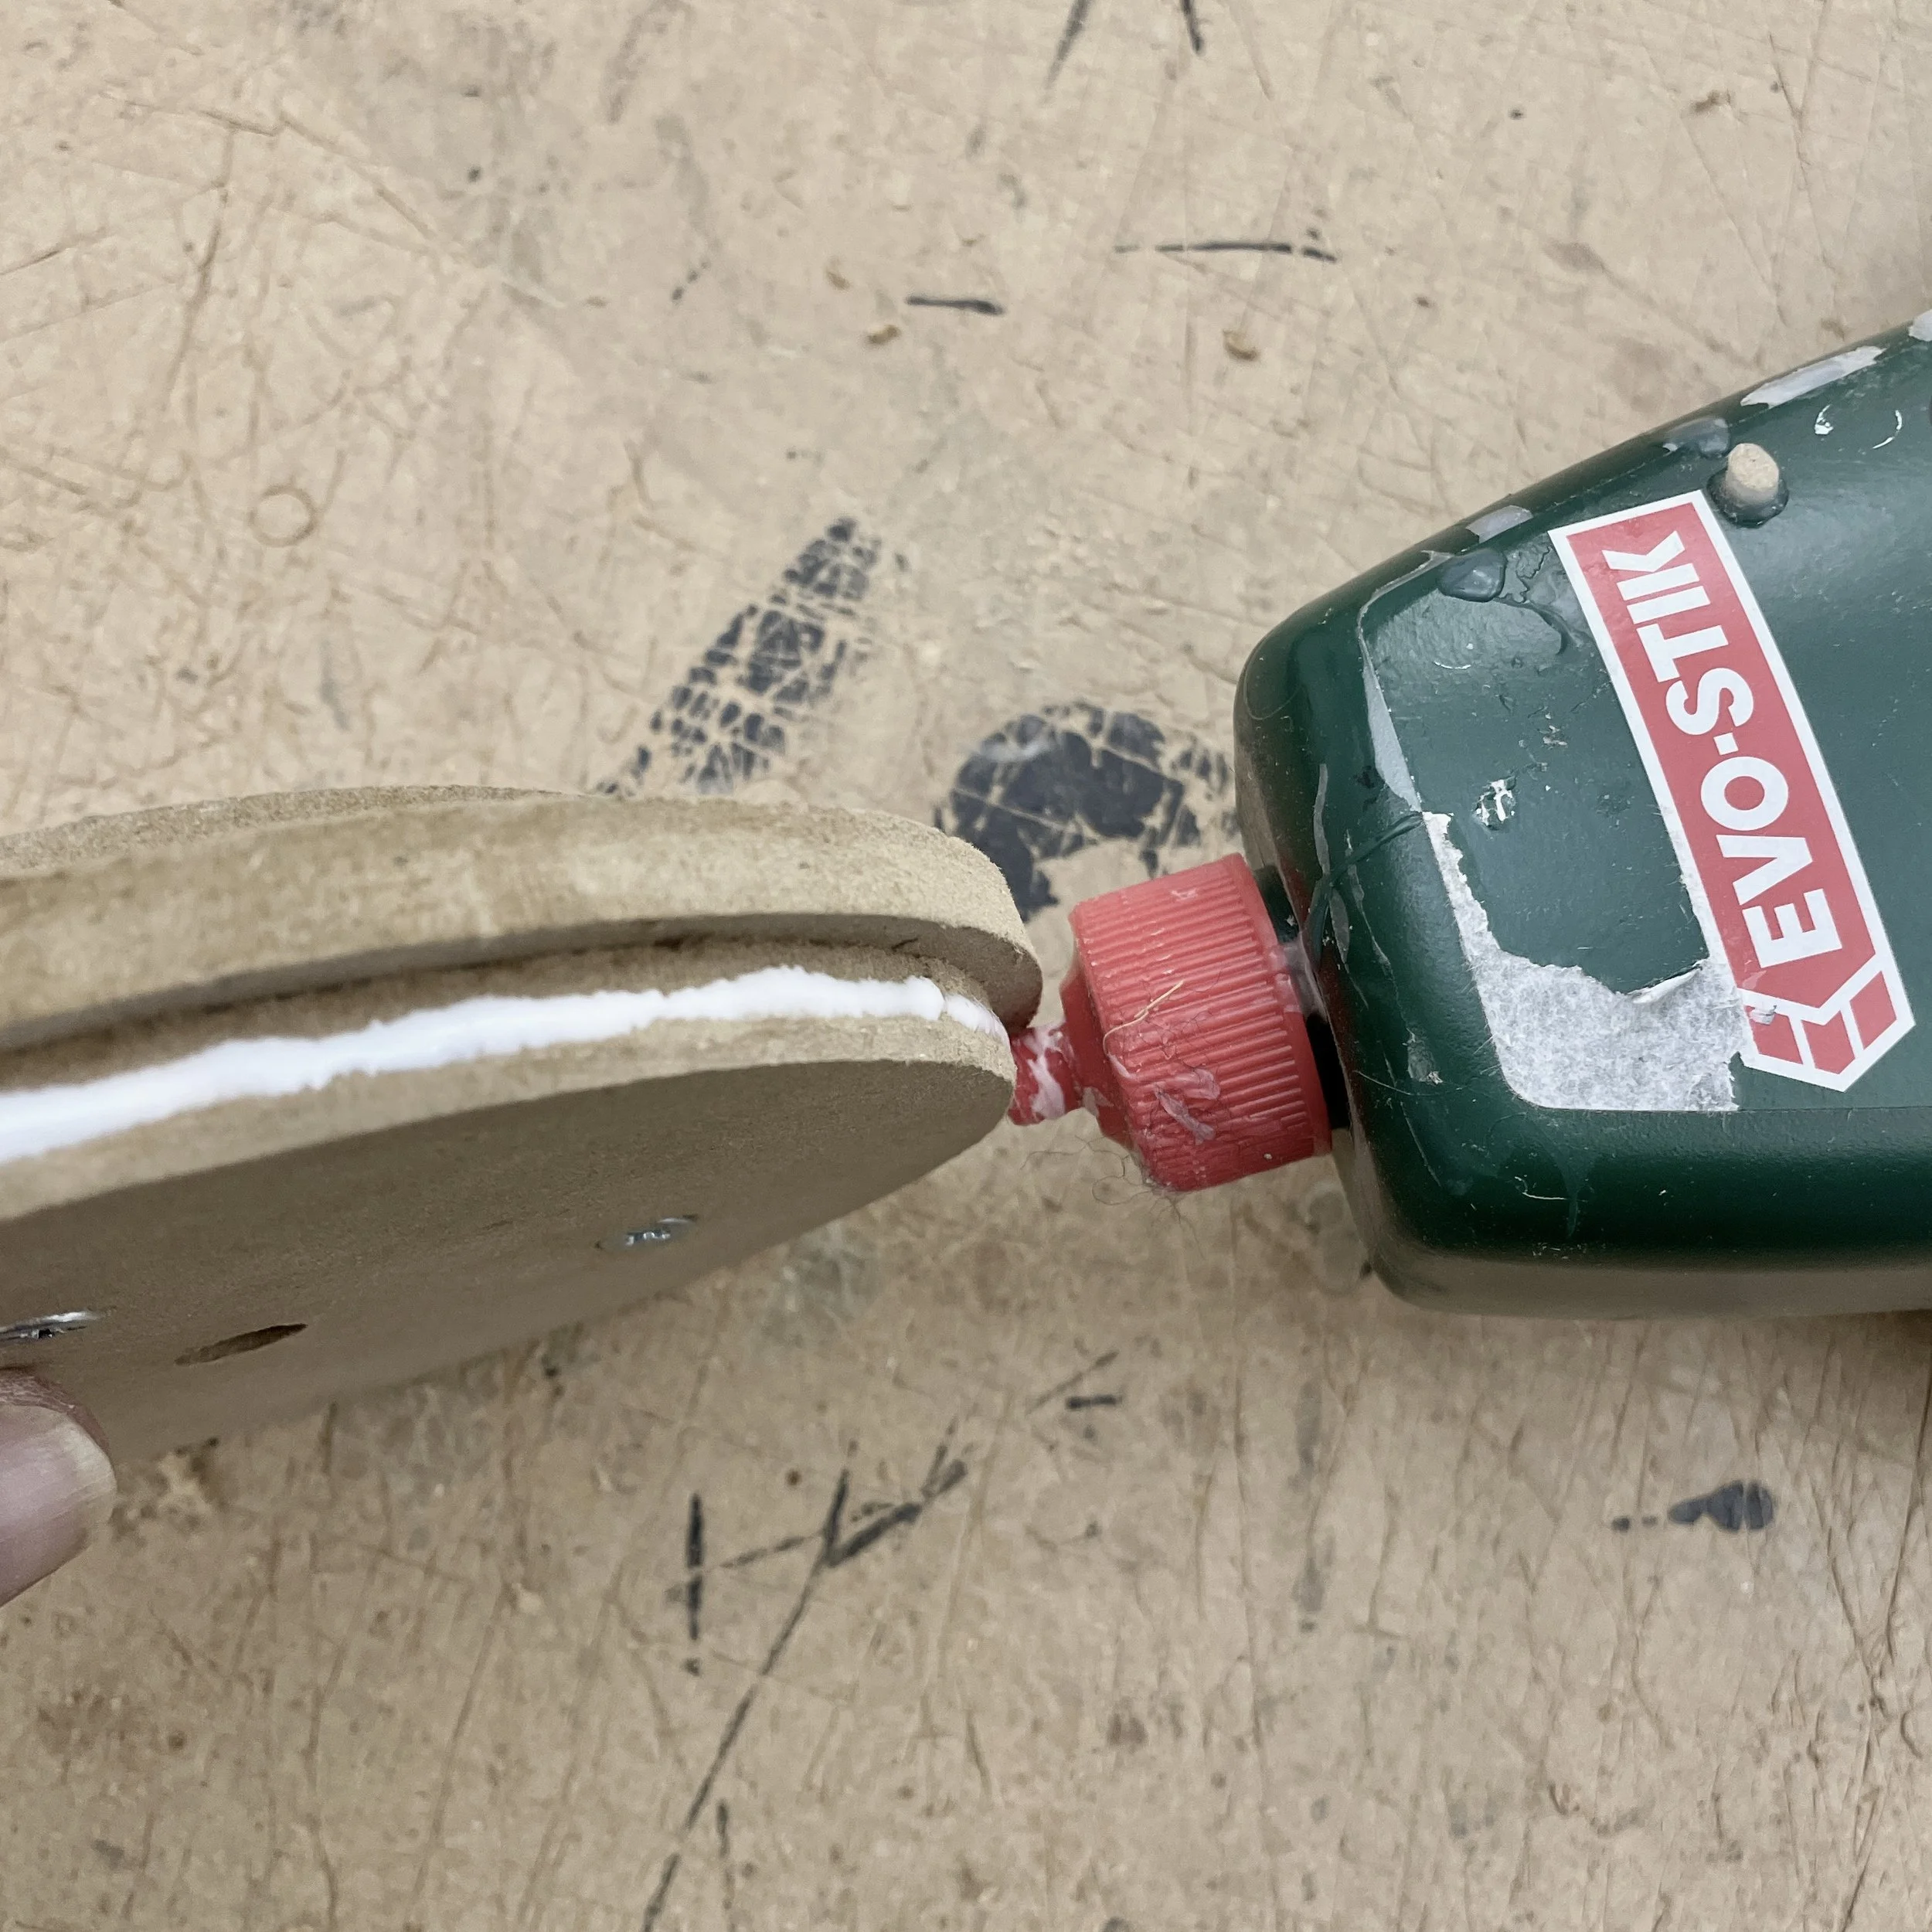
When you’re happy with the fit run a small bead of glue around the rebate & fit the end caps - leave the end caps to set for at least an hour or two then wrap the pipe.
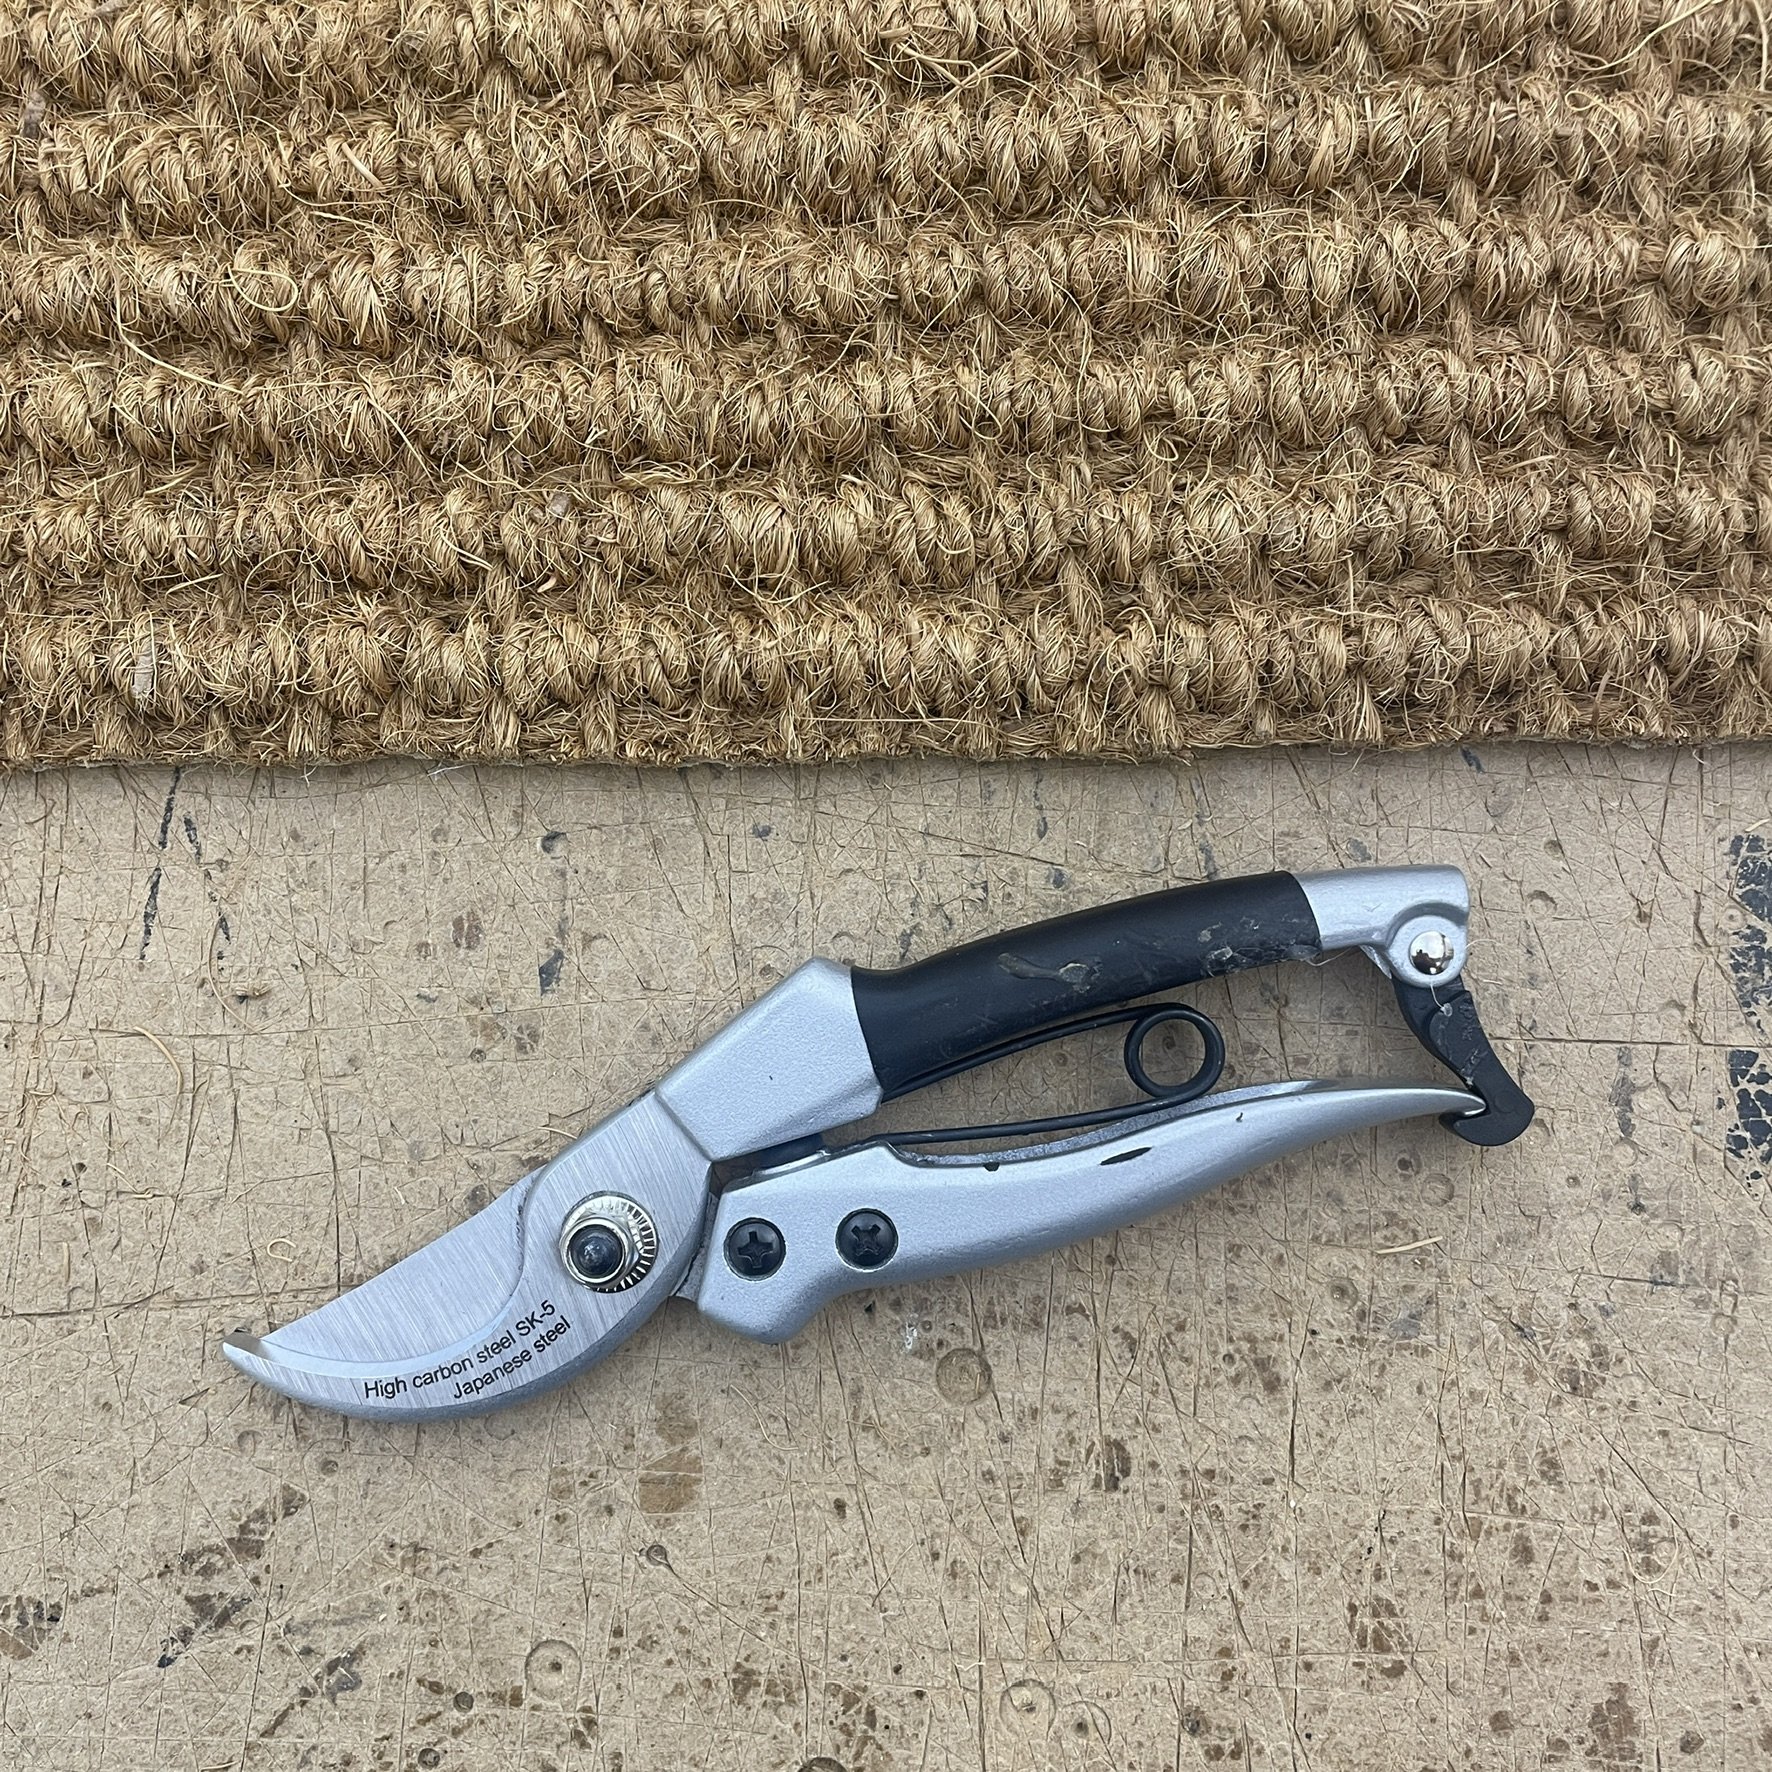
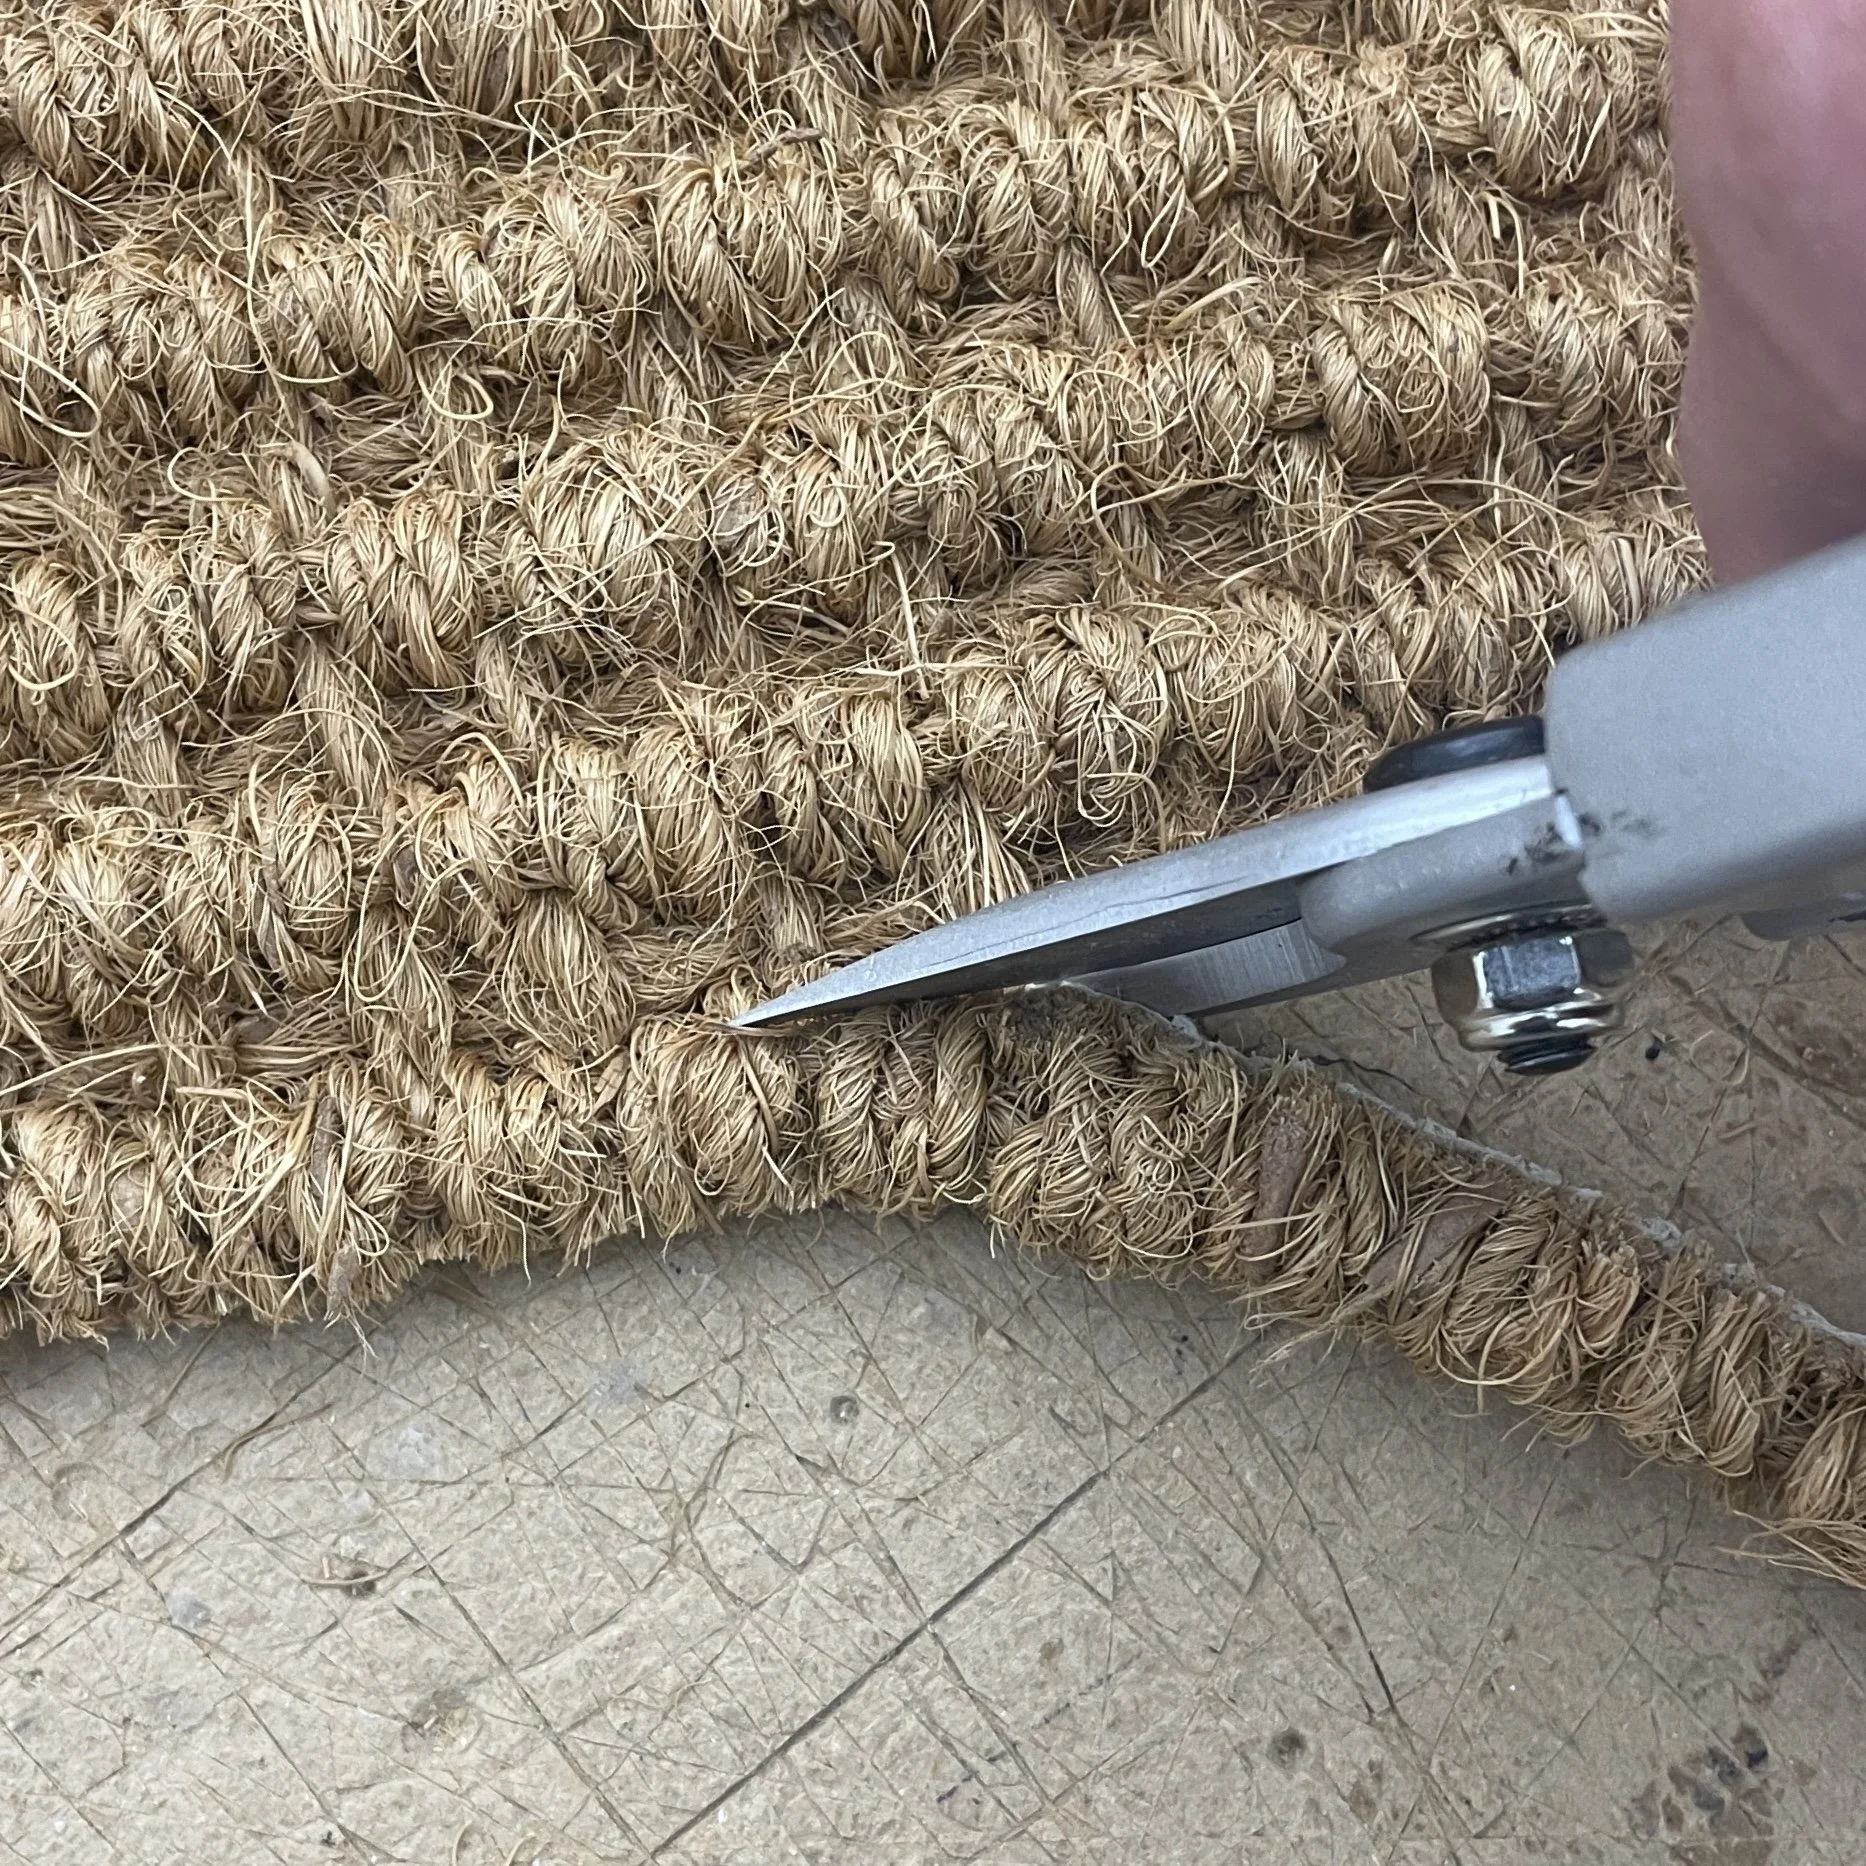
The carpet needs to be approx 15cm longer than the pipe length & 3.5 times wider than the outside tube diameter – use the secateurs to make a clean cut down the long edge of the carpet between the ribs making sure that you leave as much as possible of the flat section between the ribs of the carpet if using a boucle or looped pile material.
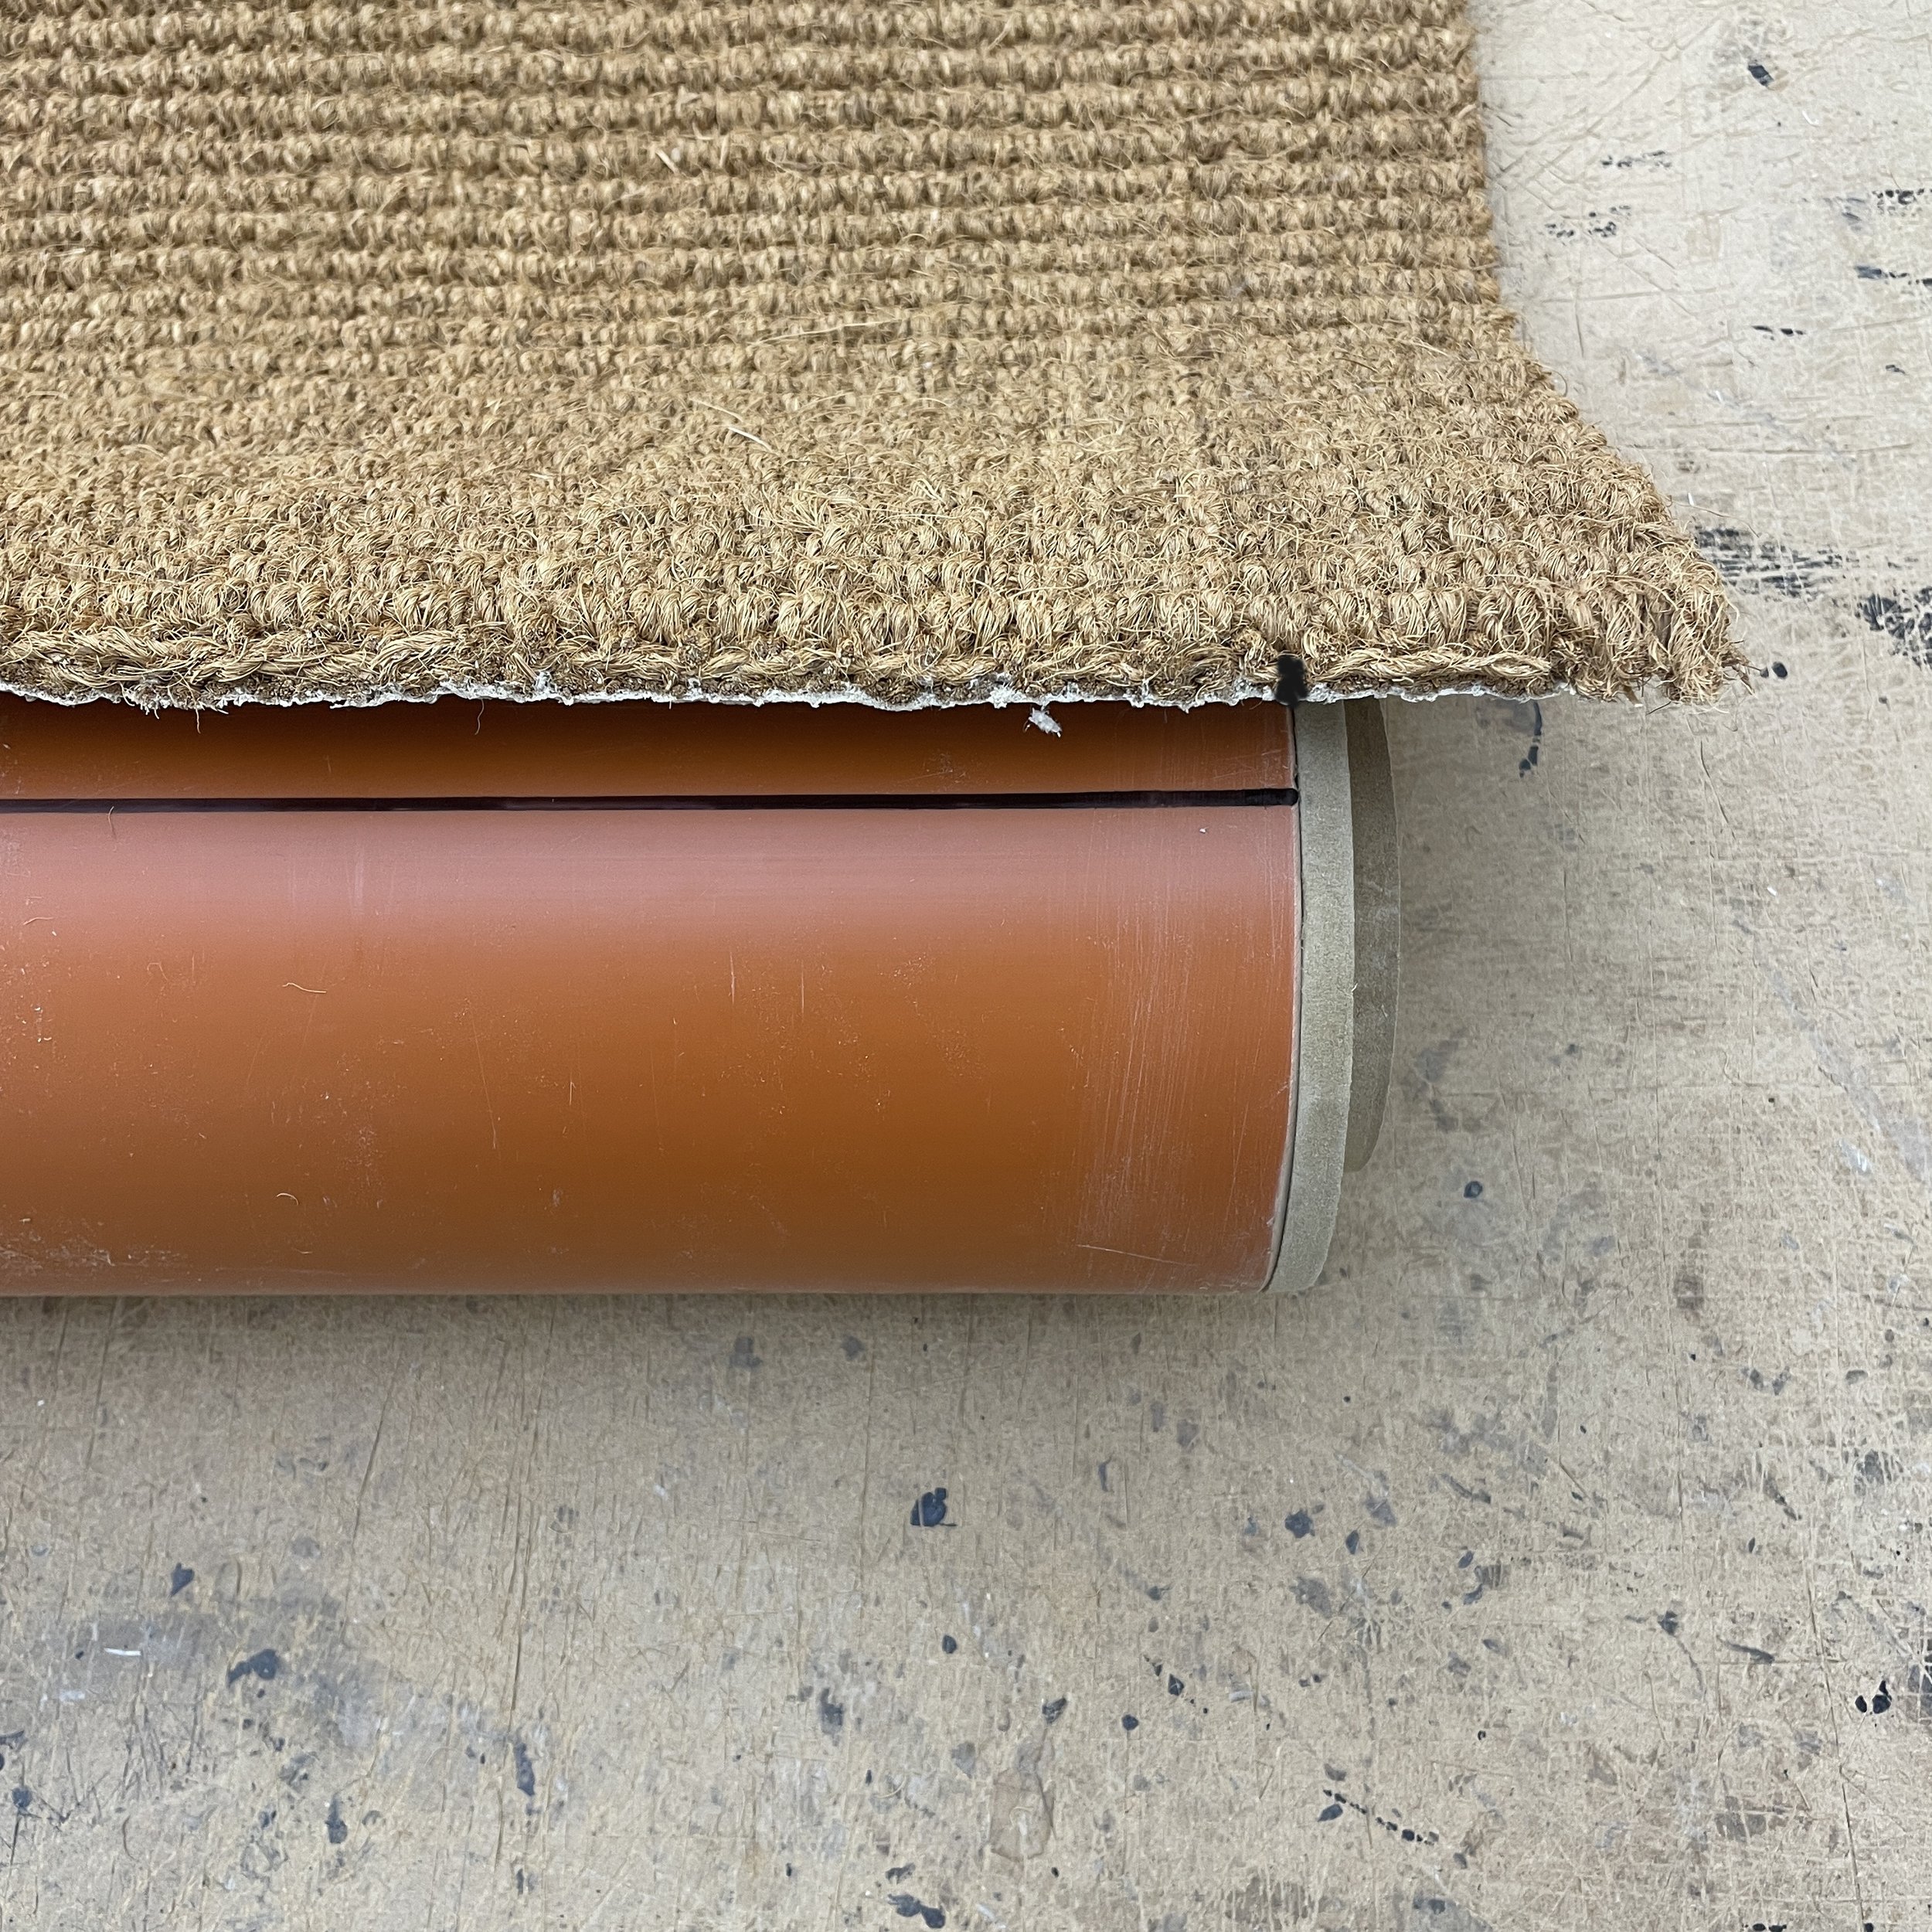
Offer up the cut edge of the carpet to the pipe to check alignment & mark up the overhang at one end once you’ve made sure they are equal.
Run a thick bead of hot melt glue along the marked-up line
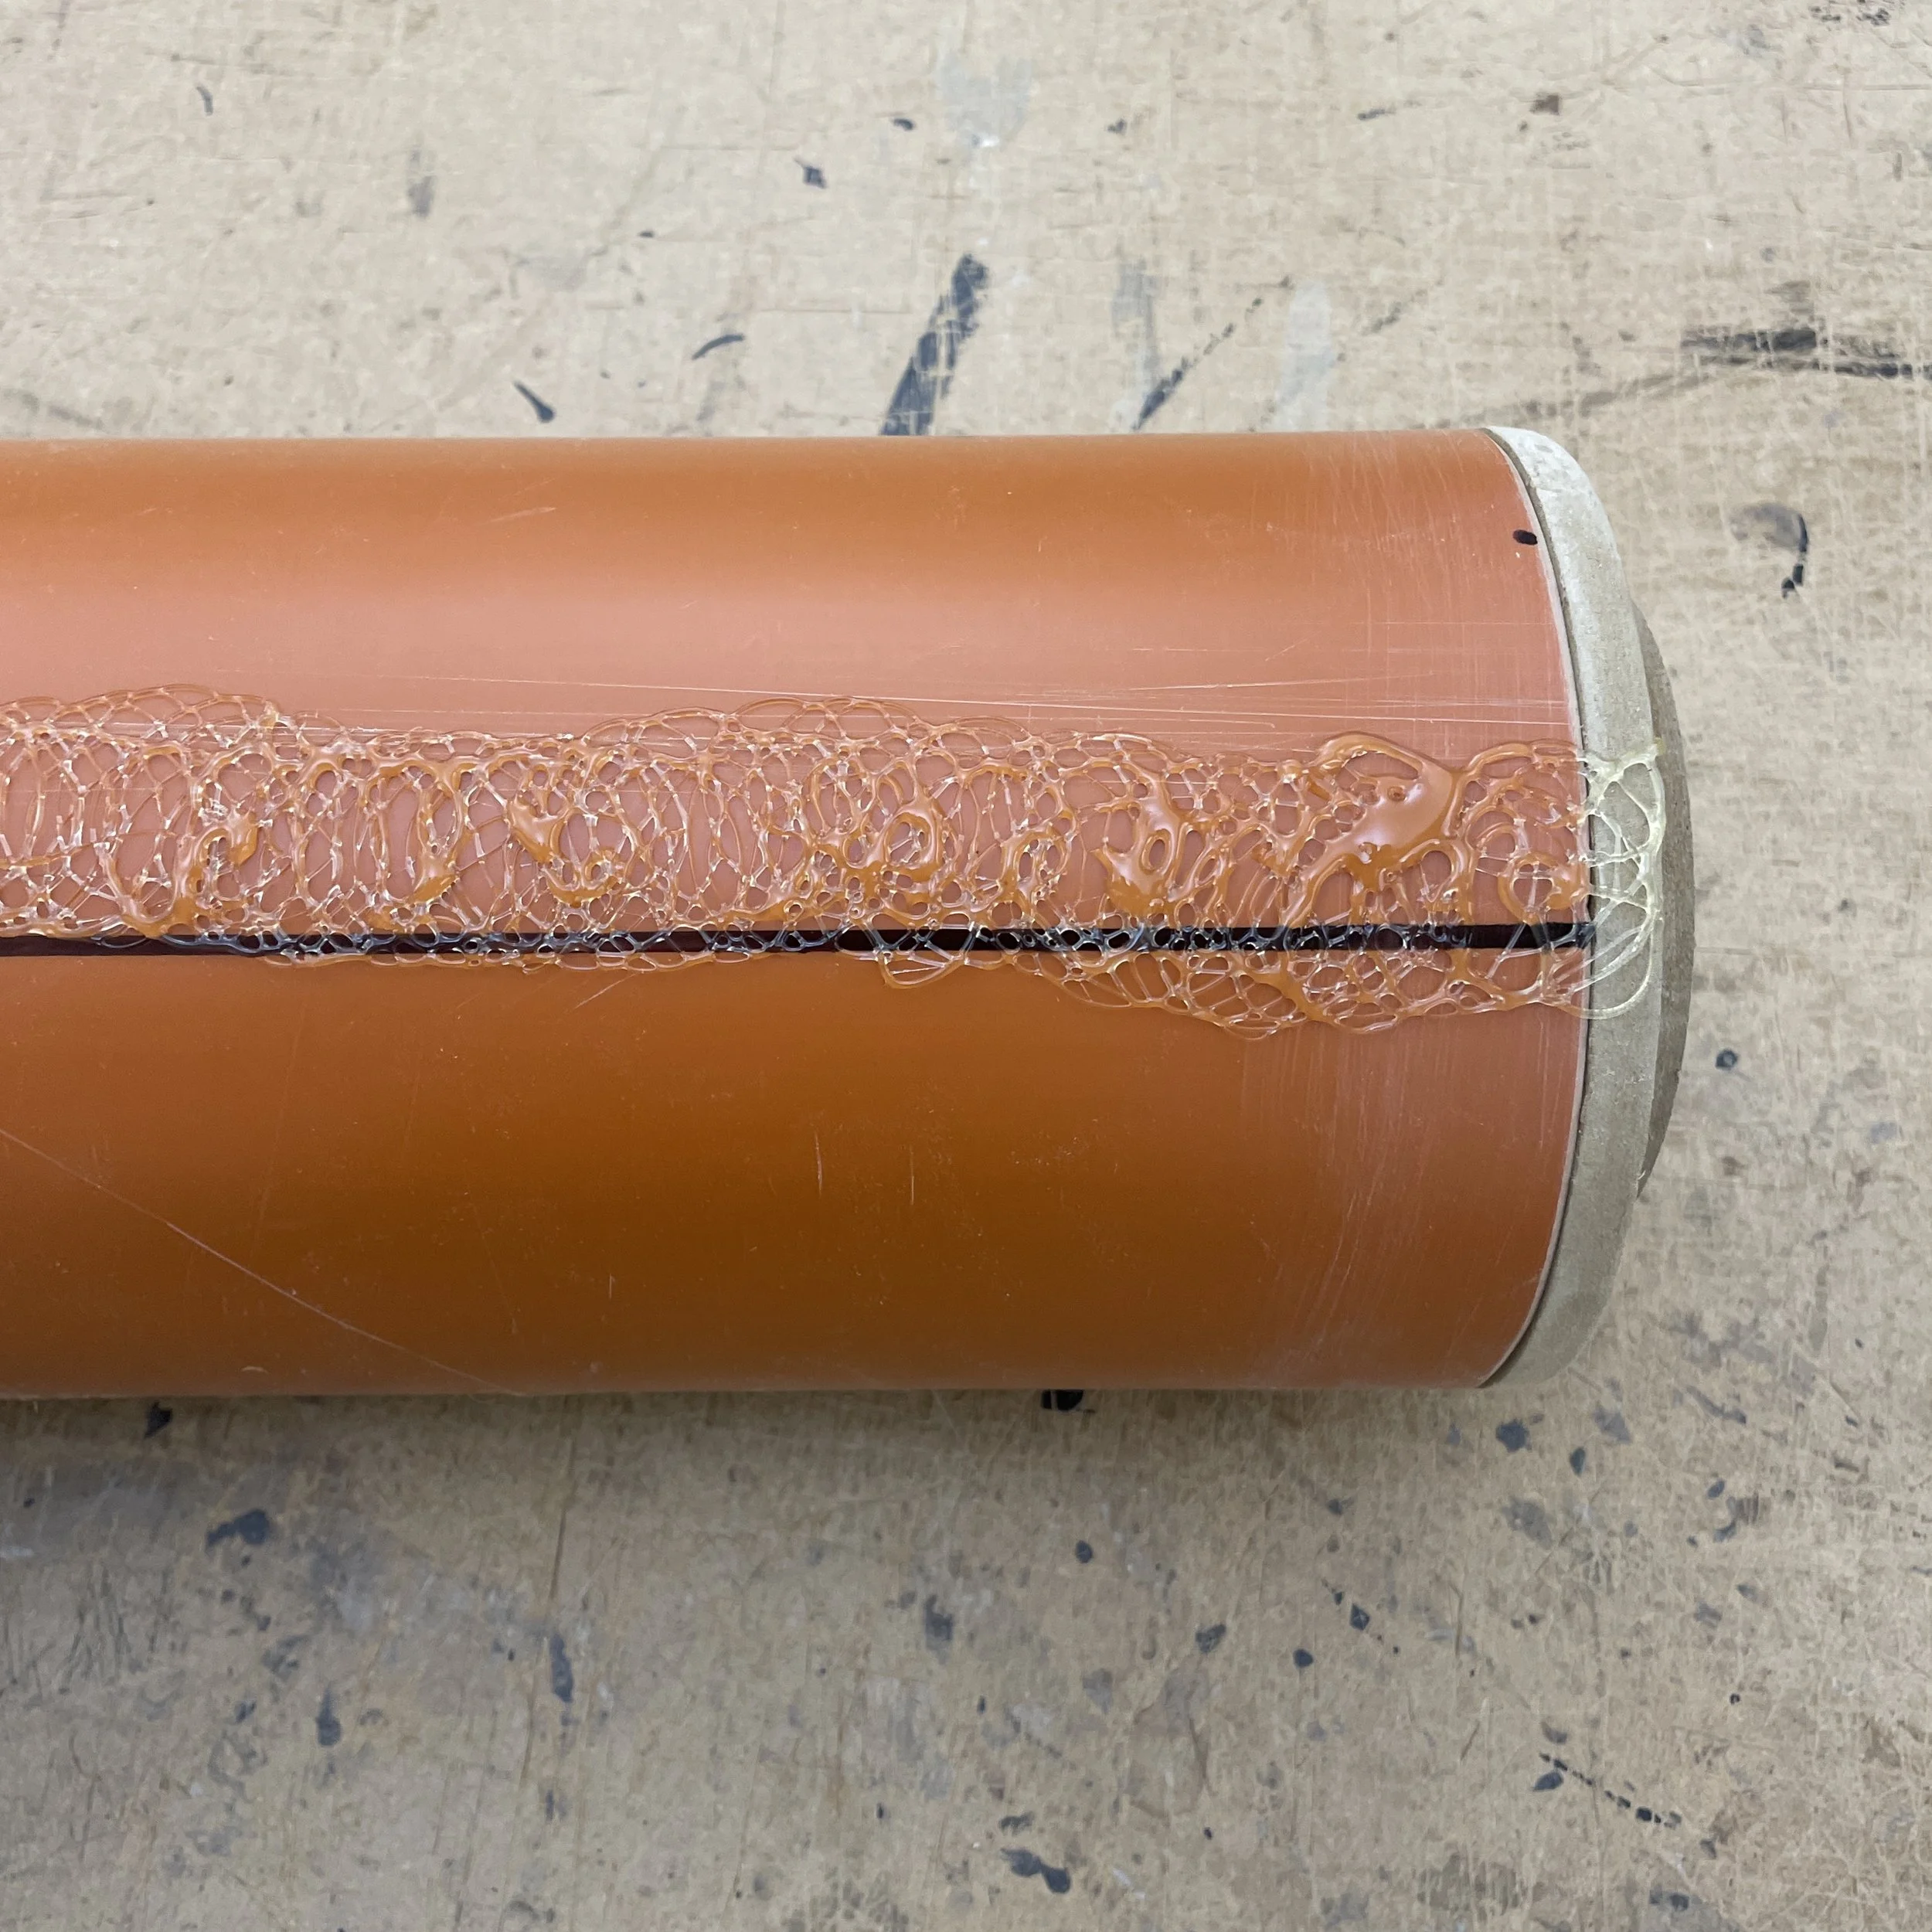
Fix the cut edge of the carpet to the tube along the scribed line – again, make sure you have equal overhanging carpet at each end of the tube.
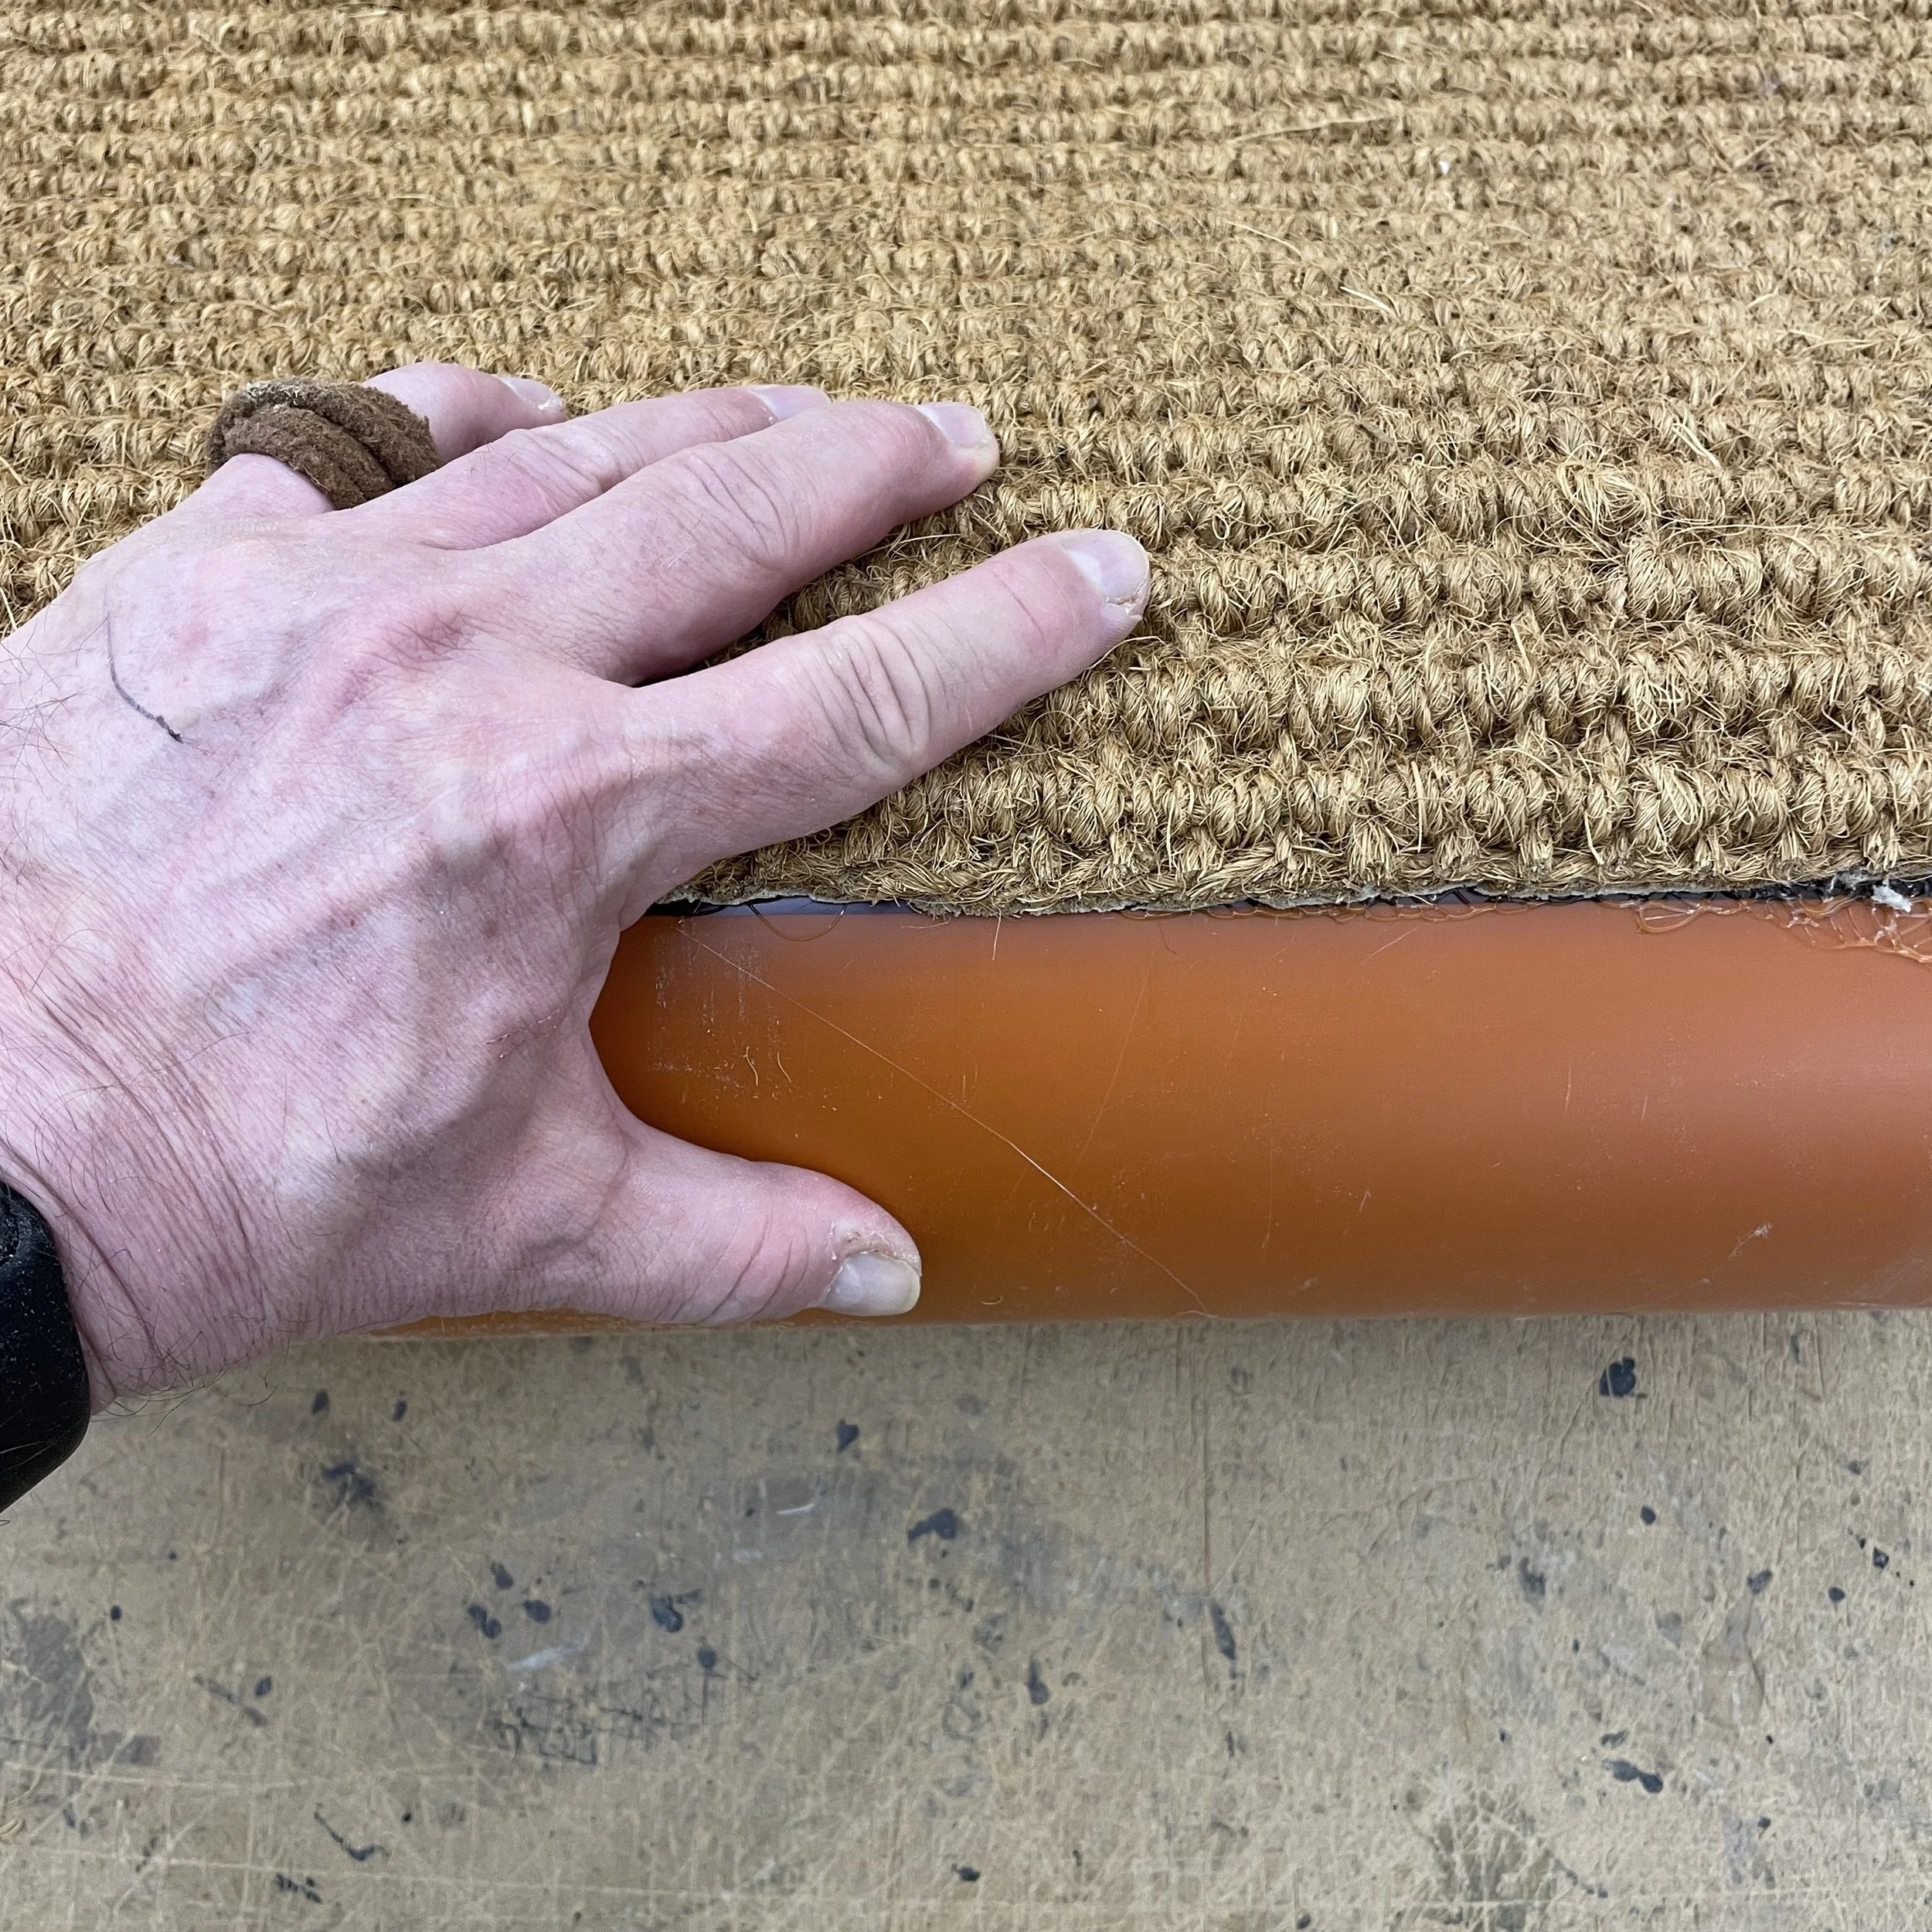
Work along the cut edge & apply pressure to make sure that the carpet has bonded.
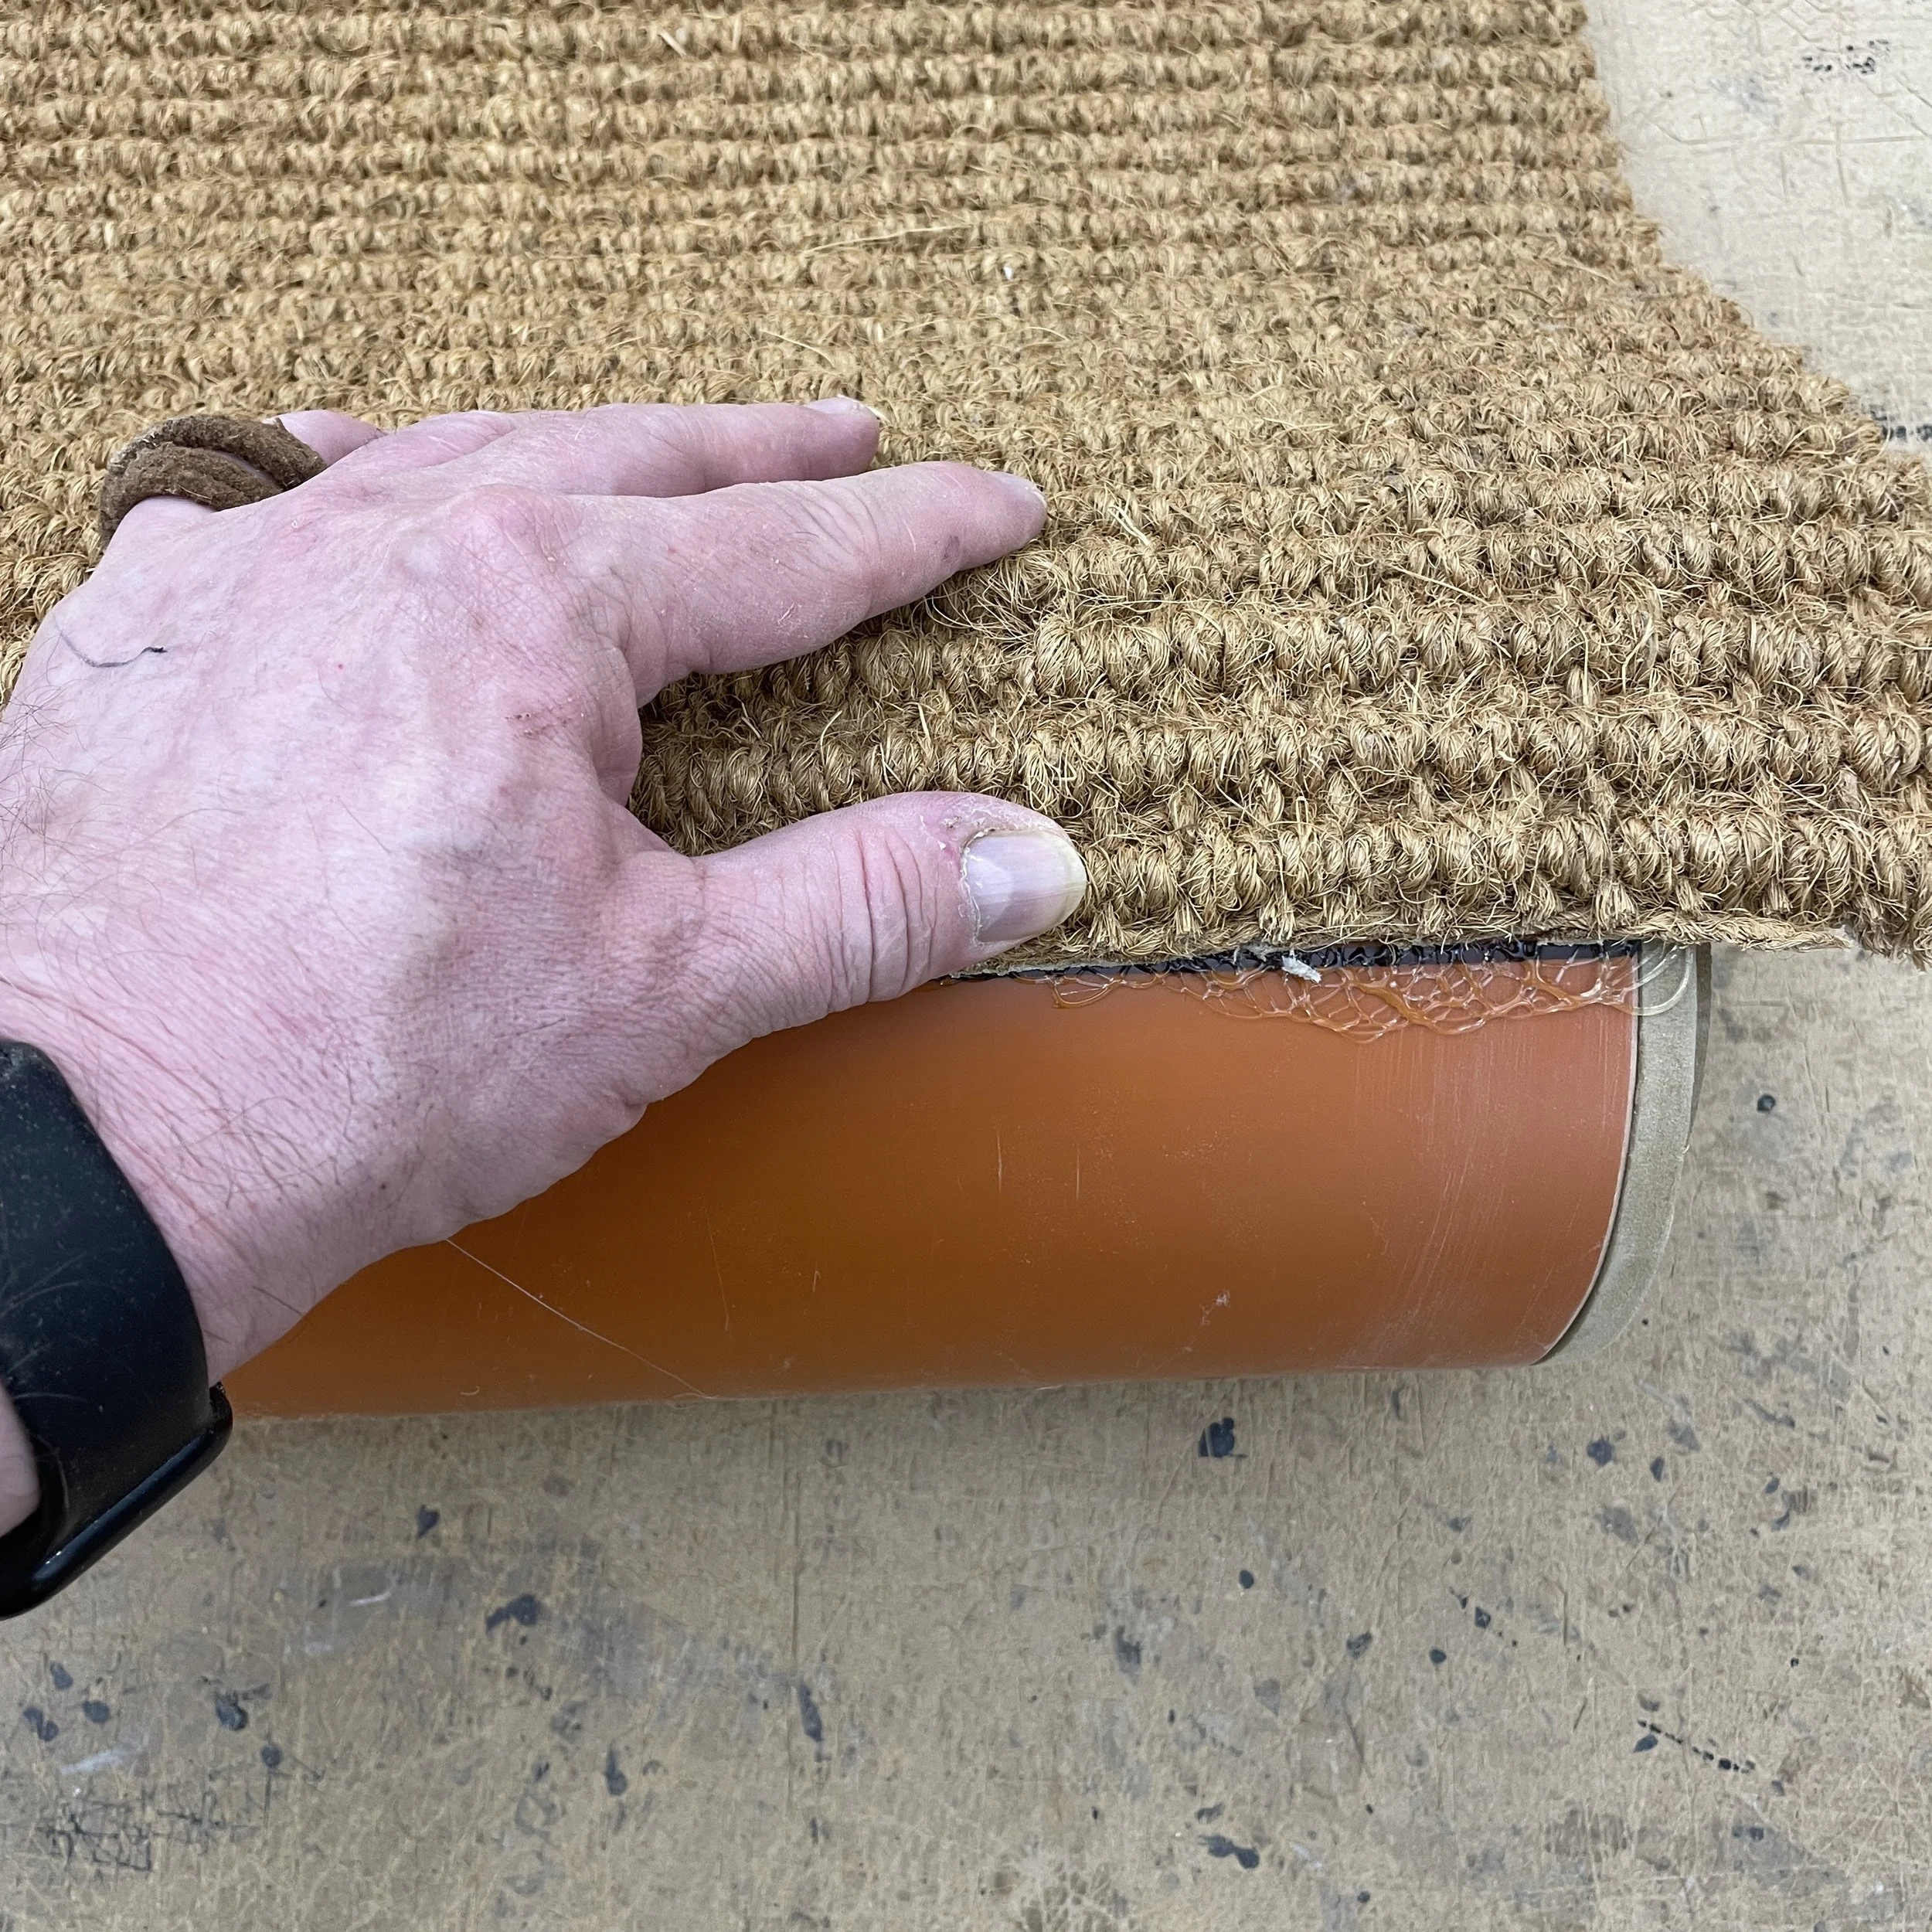
The check the seam join by wrapping the carpet around the tube by pulling & massaging to get the tightest wrap - then cut the edge of the carpet up to the seam leaving a complete rib closest to the glued edge if possible.
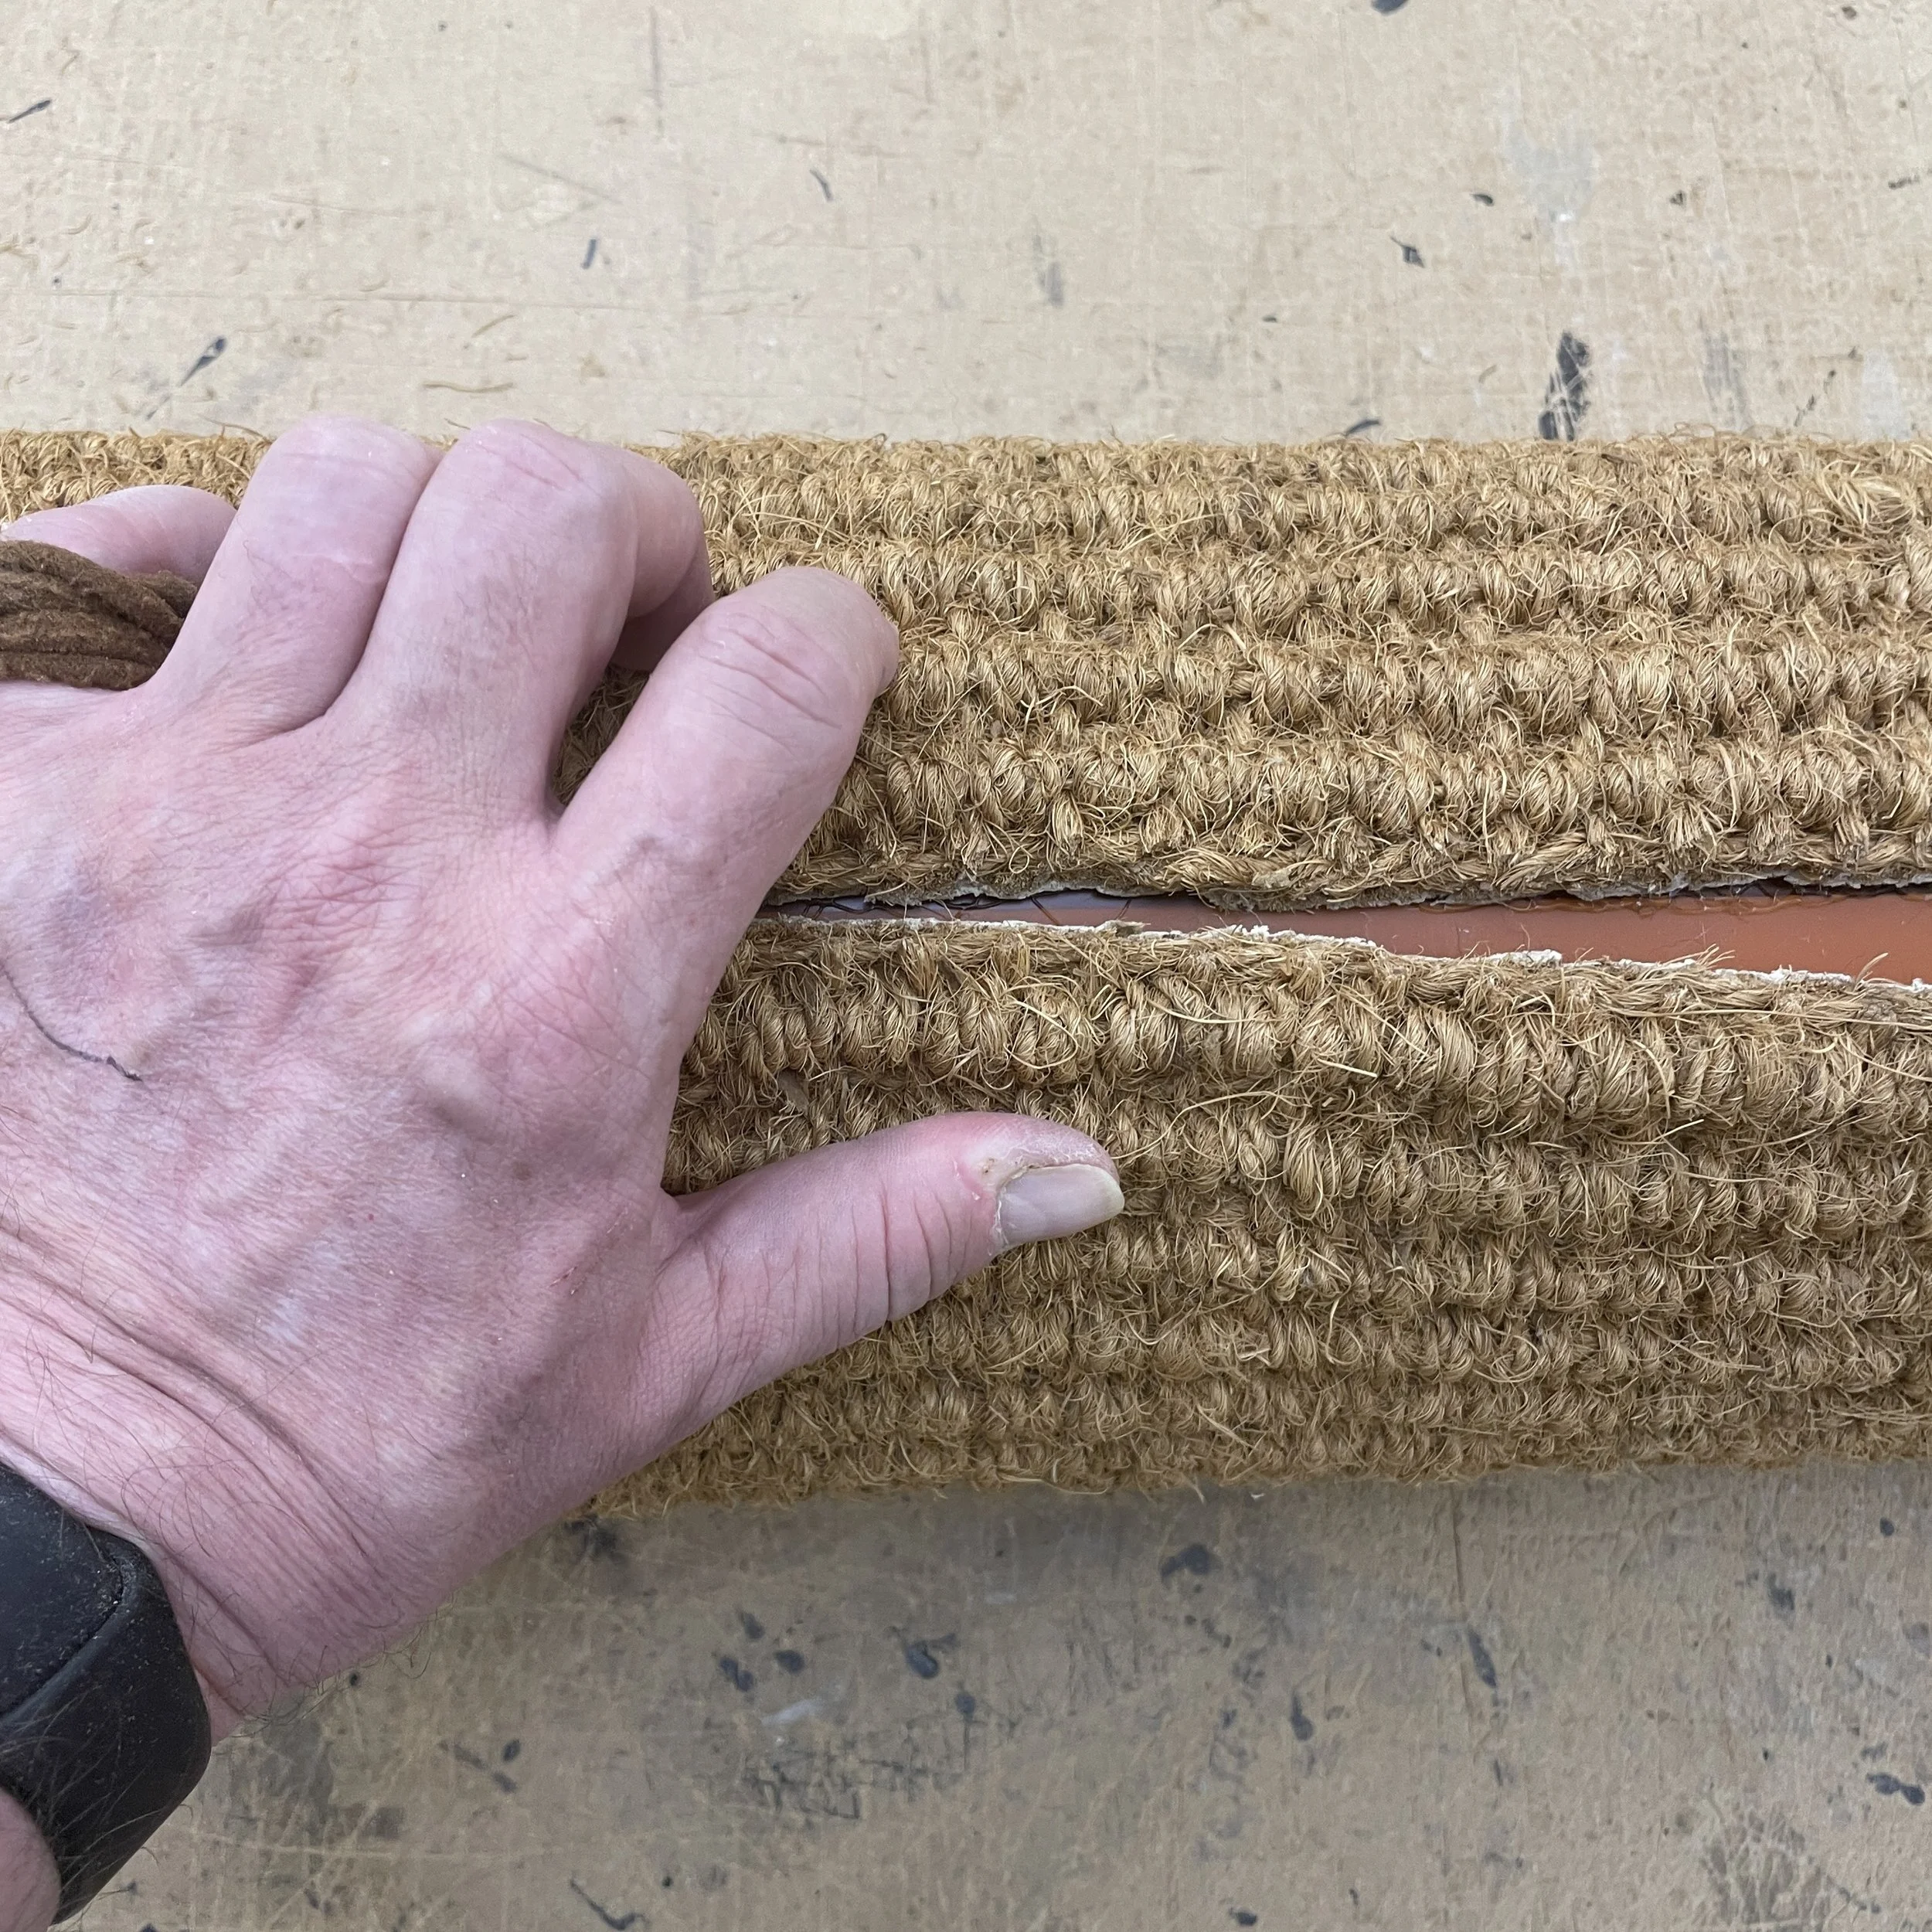
When you’re happy with the seam start applying the adhesive in sections along the pipe wearing rubber gloves - work the adhesive onto the pipe in ridges as this gives the best bond & is the most economical way of applying it.
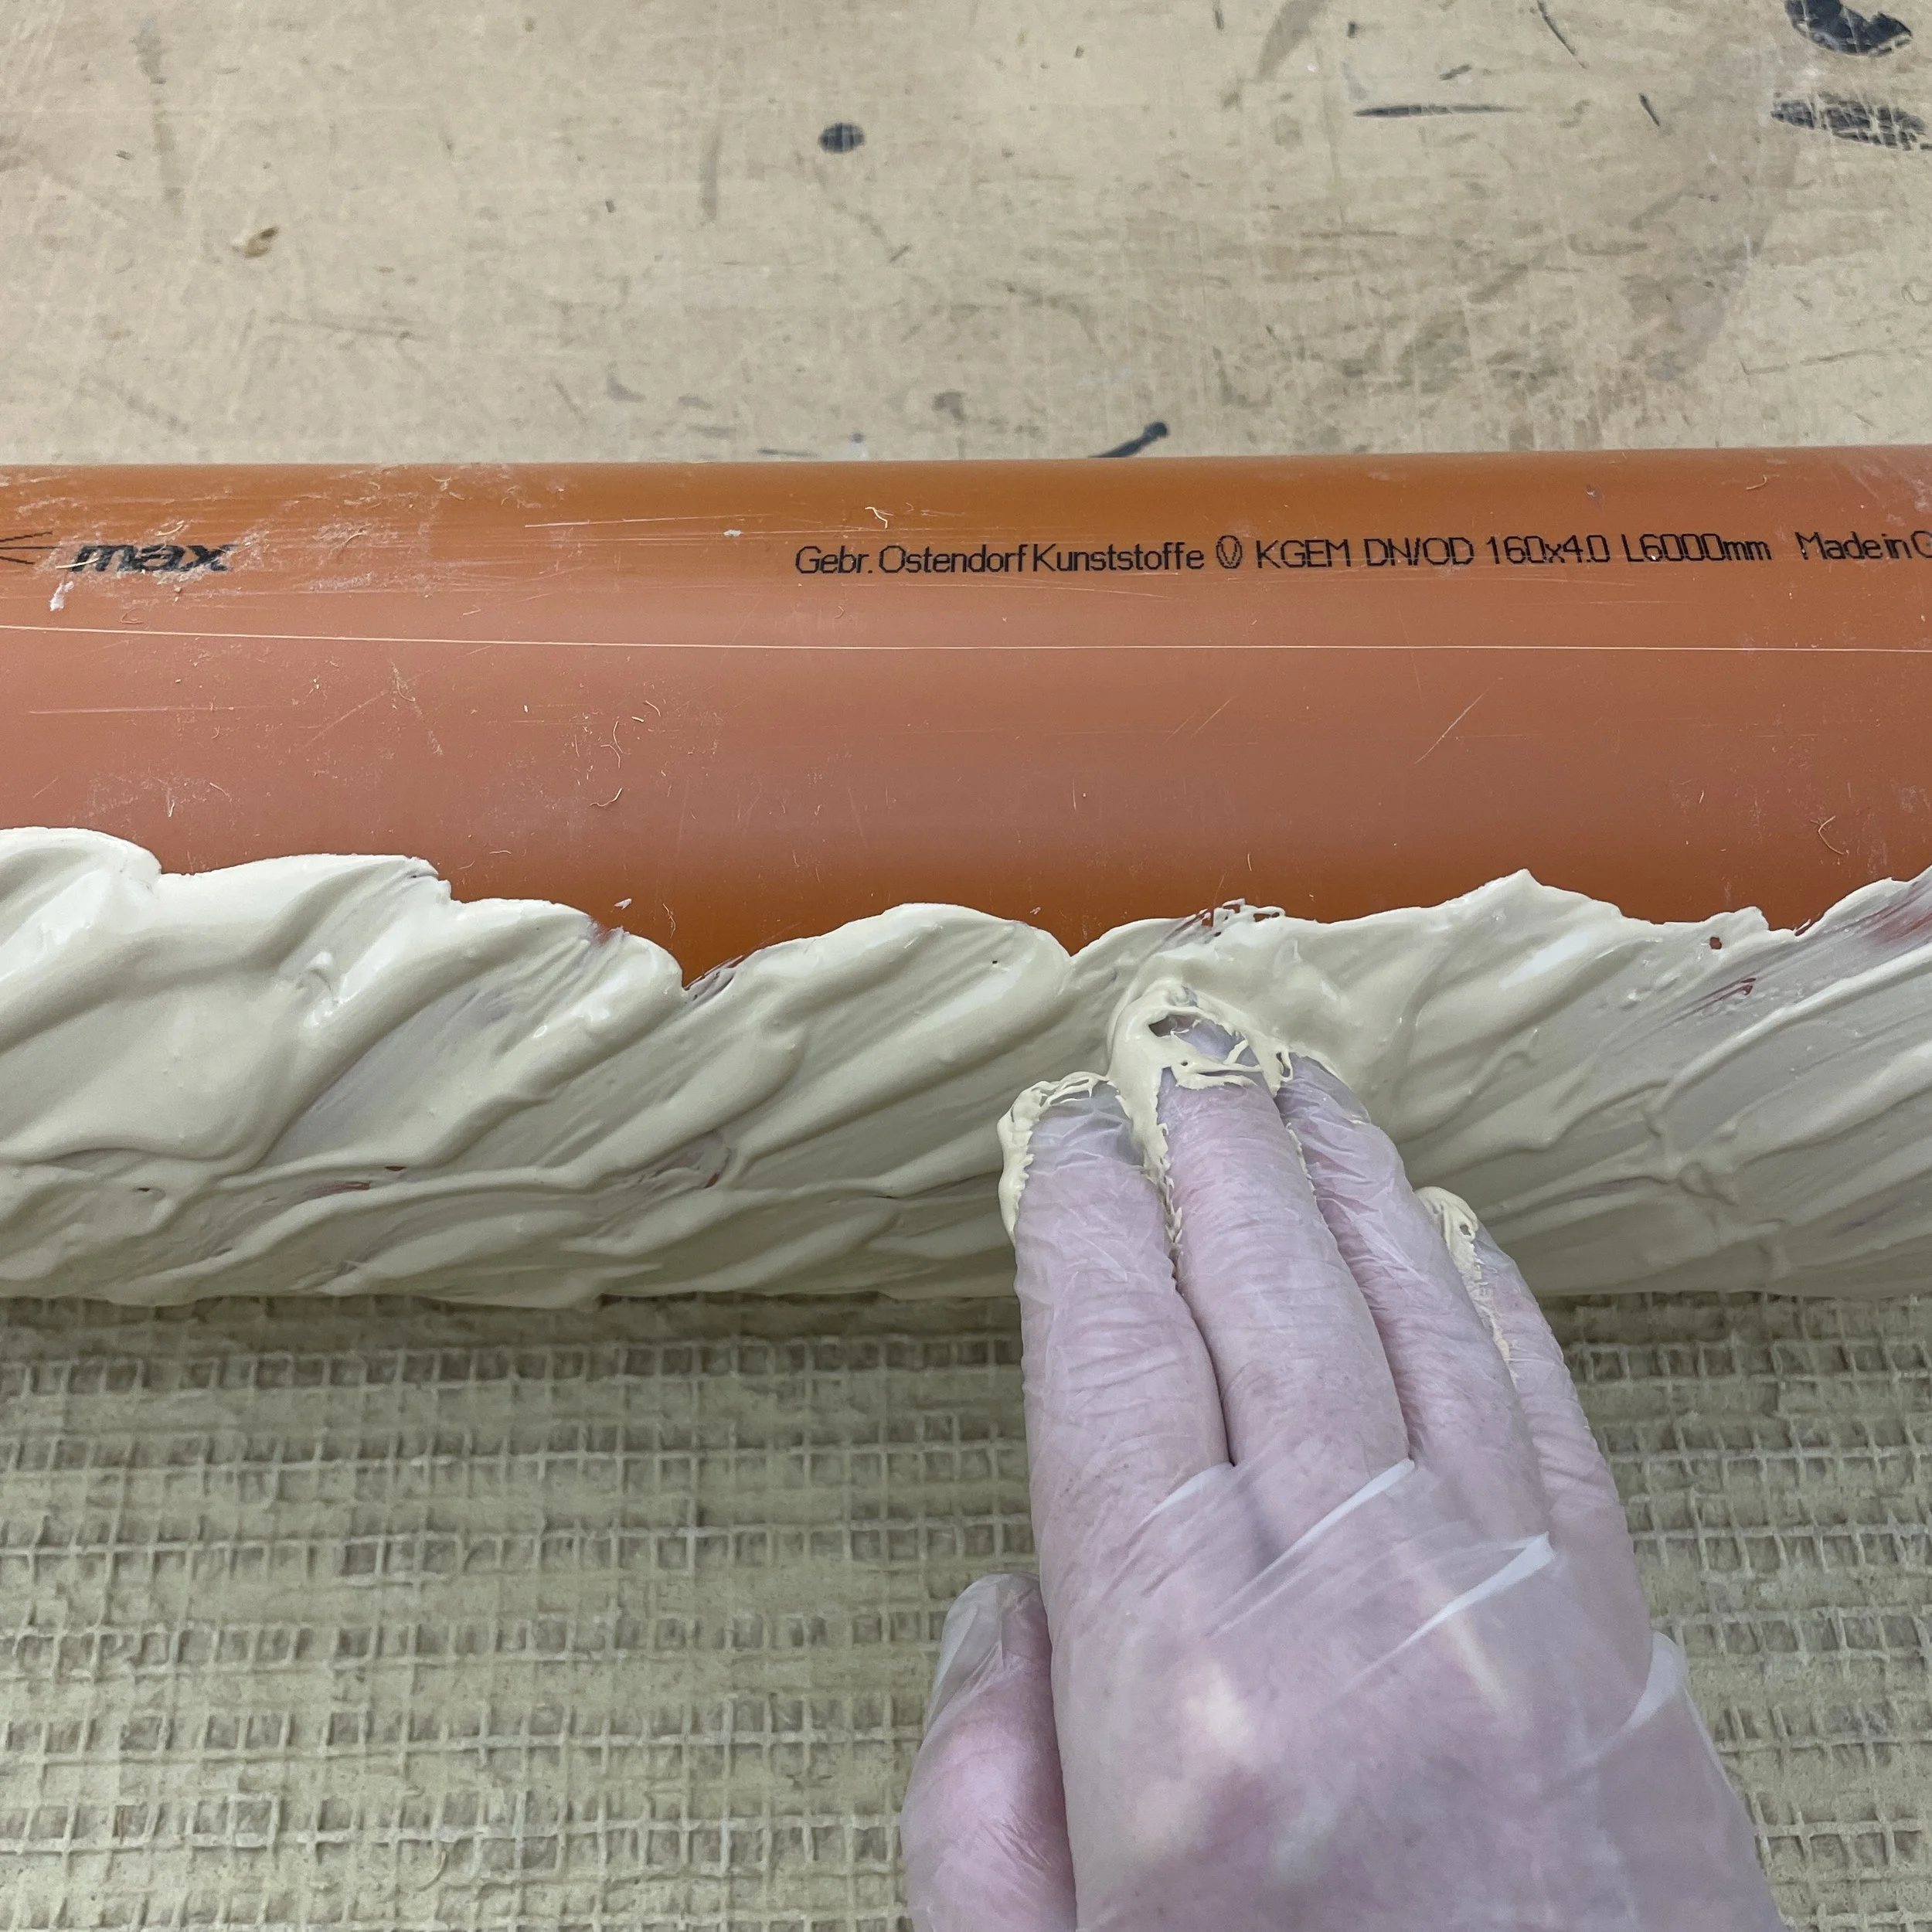
Continue applying the adhesive in sections rotating the tube working up tot he seam - try to apply a line of adhesive ridges along this point again noting that parquet flooring adhesive works better than just flooring adhesive when fixing coir carpet.
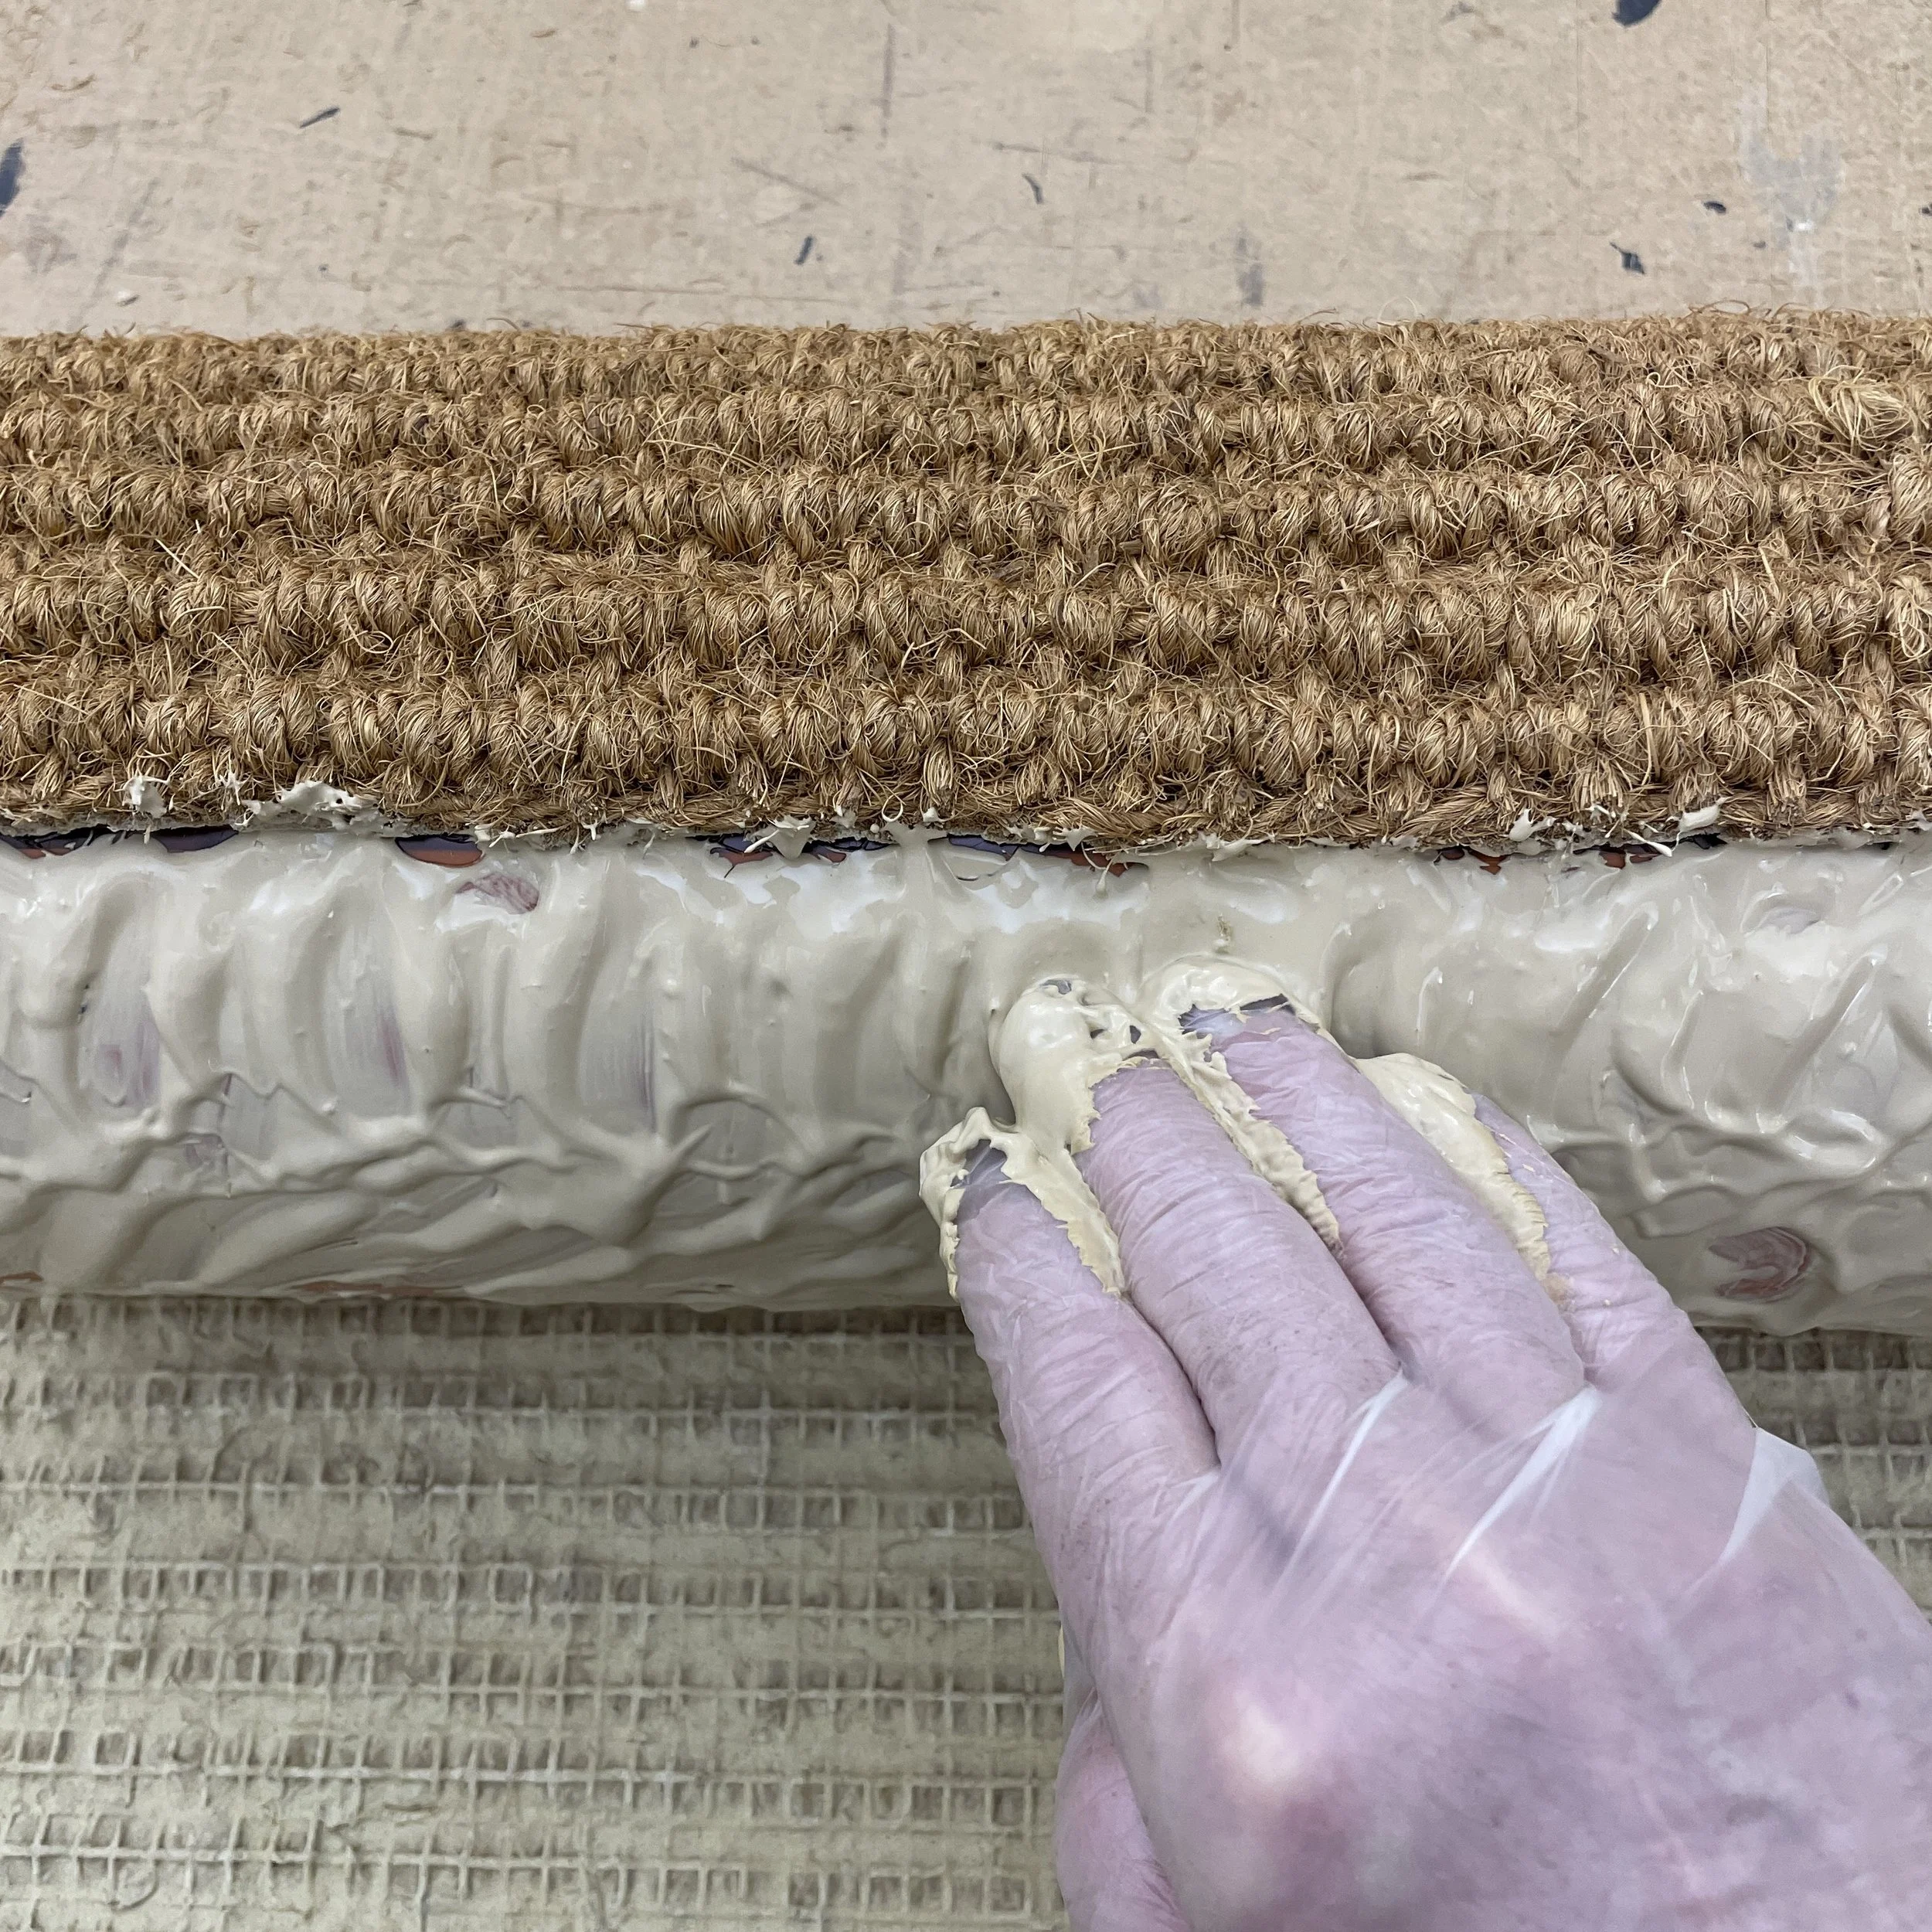
Work the fabric around the tube making sure that there is no give in the carpet & the wrap is as tight as possible - it will be easier working the coir around the tube if you place it on a carpeted floor then pull & massage the coir whilst rotating the tube bit-by-bit as the carpet will help to hold the wrapped sections tight.
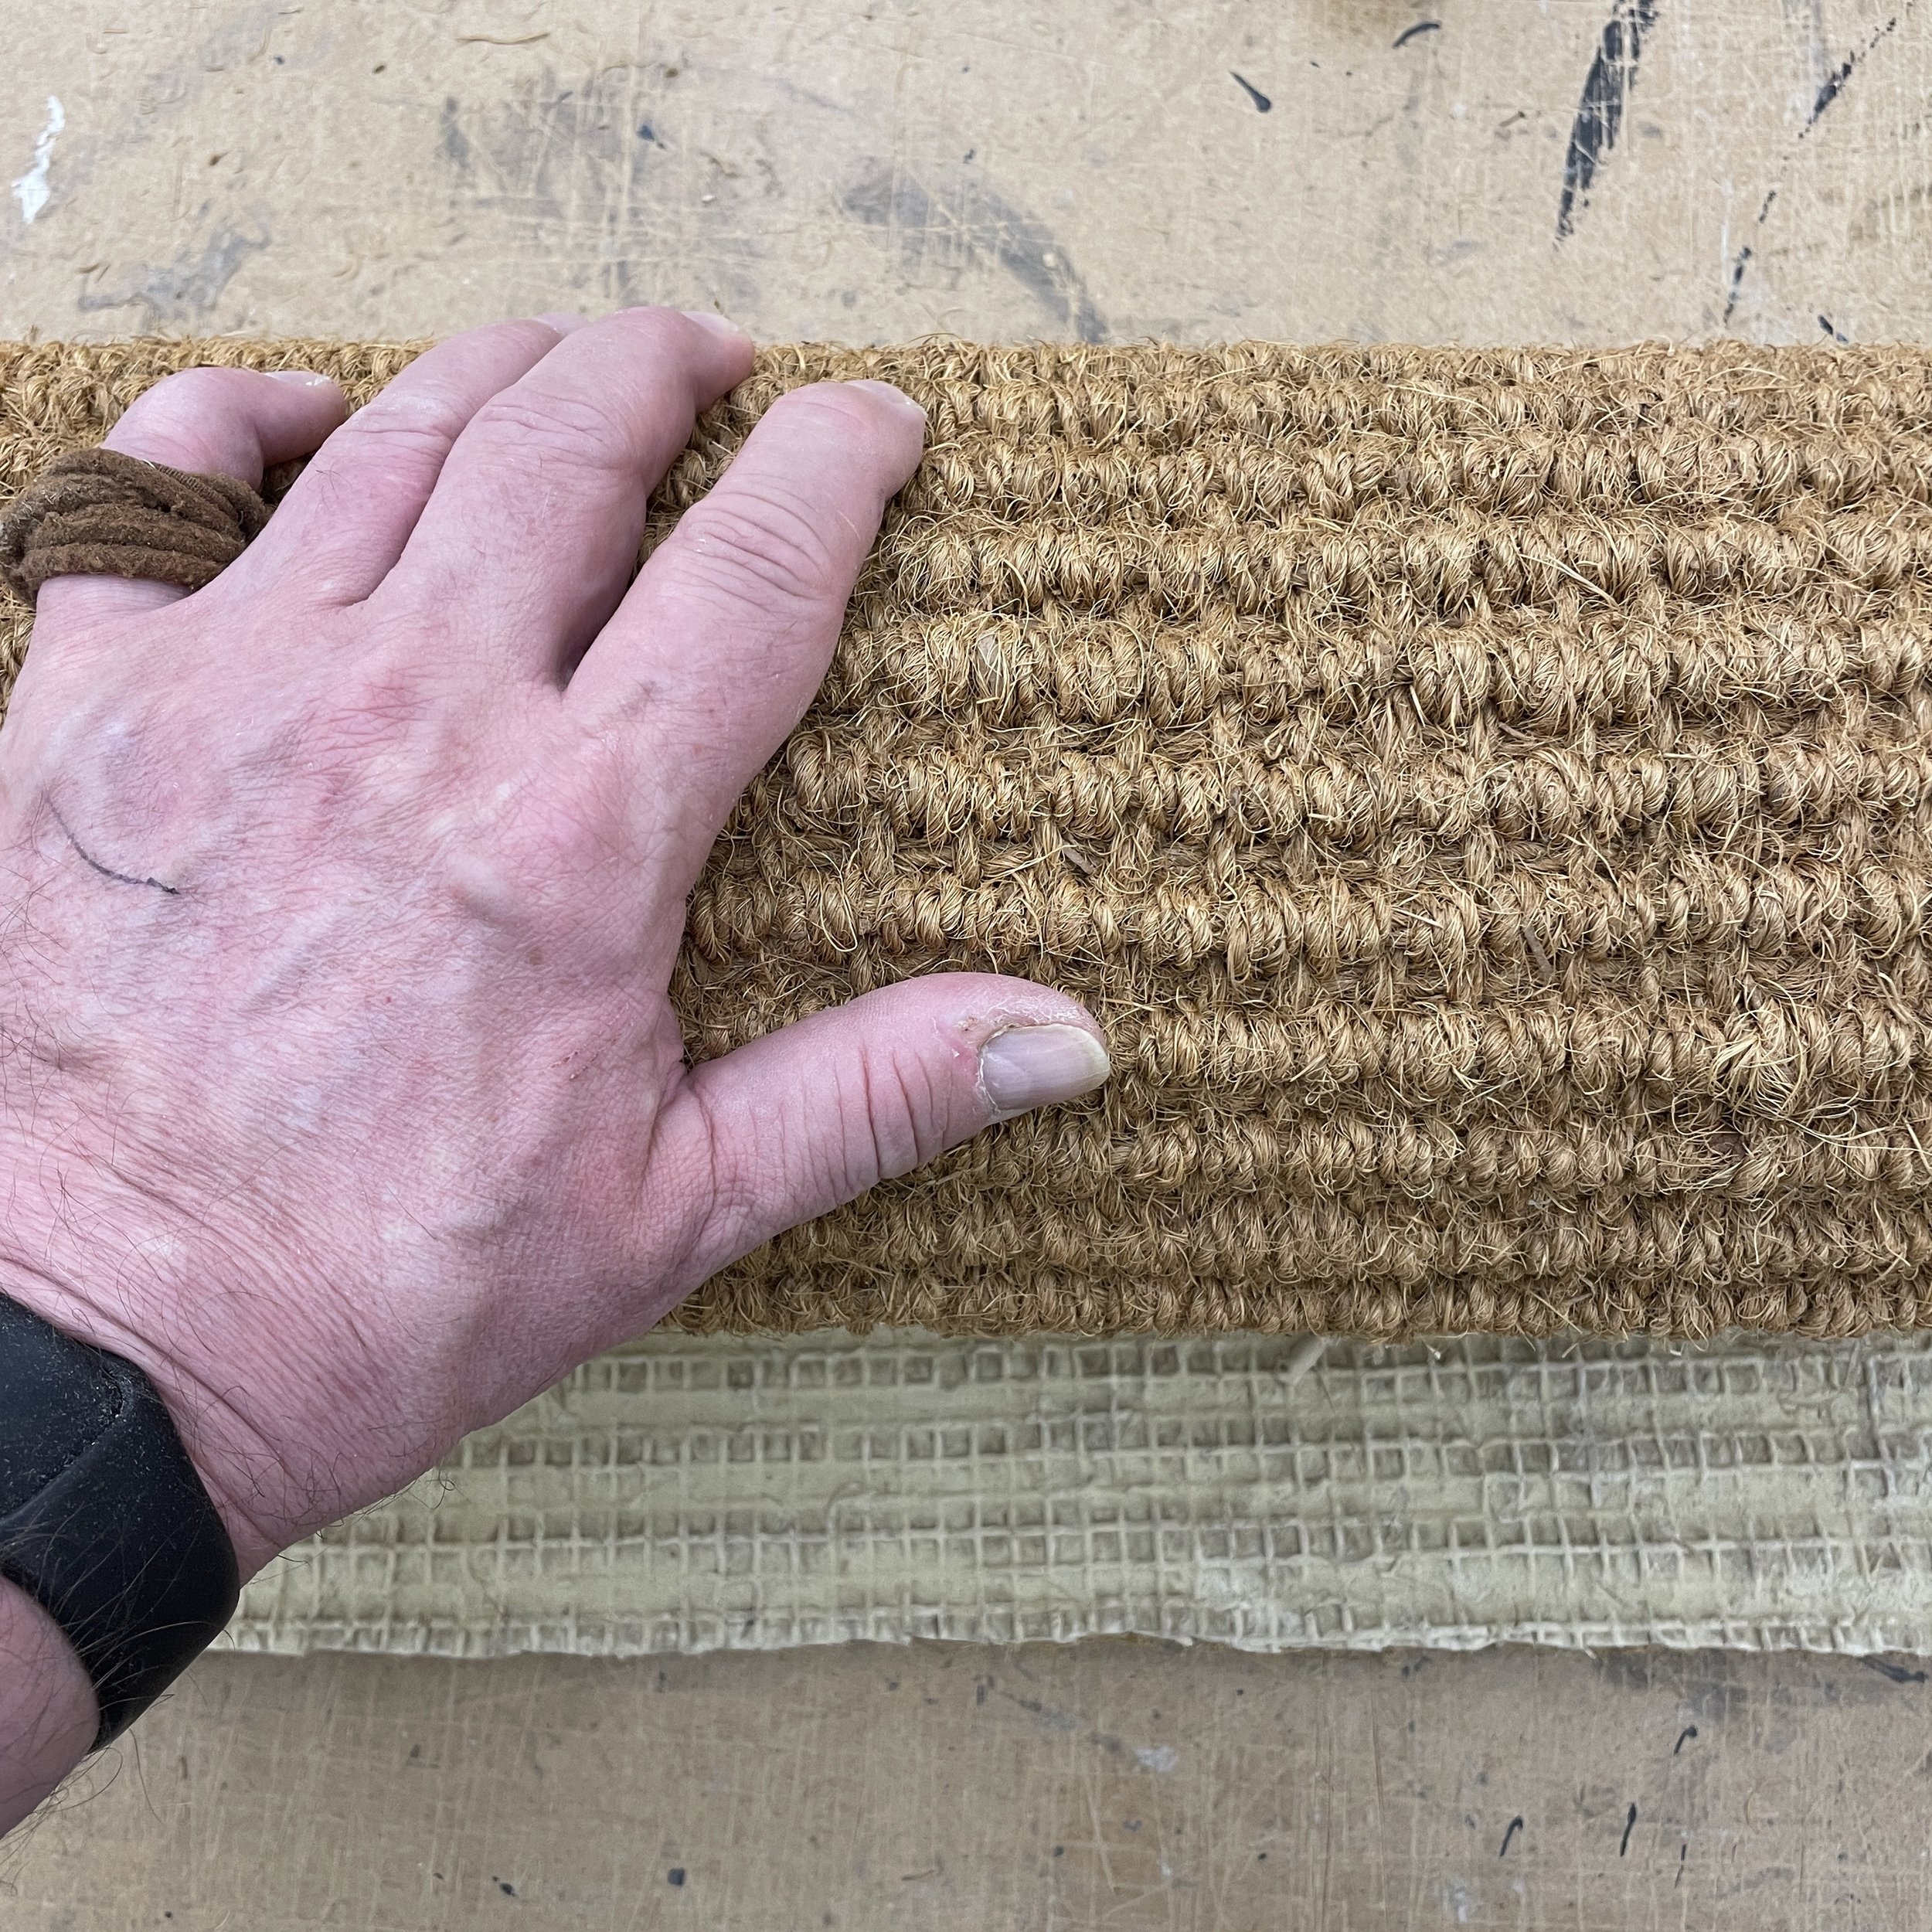
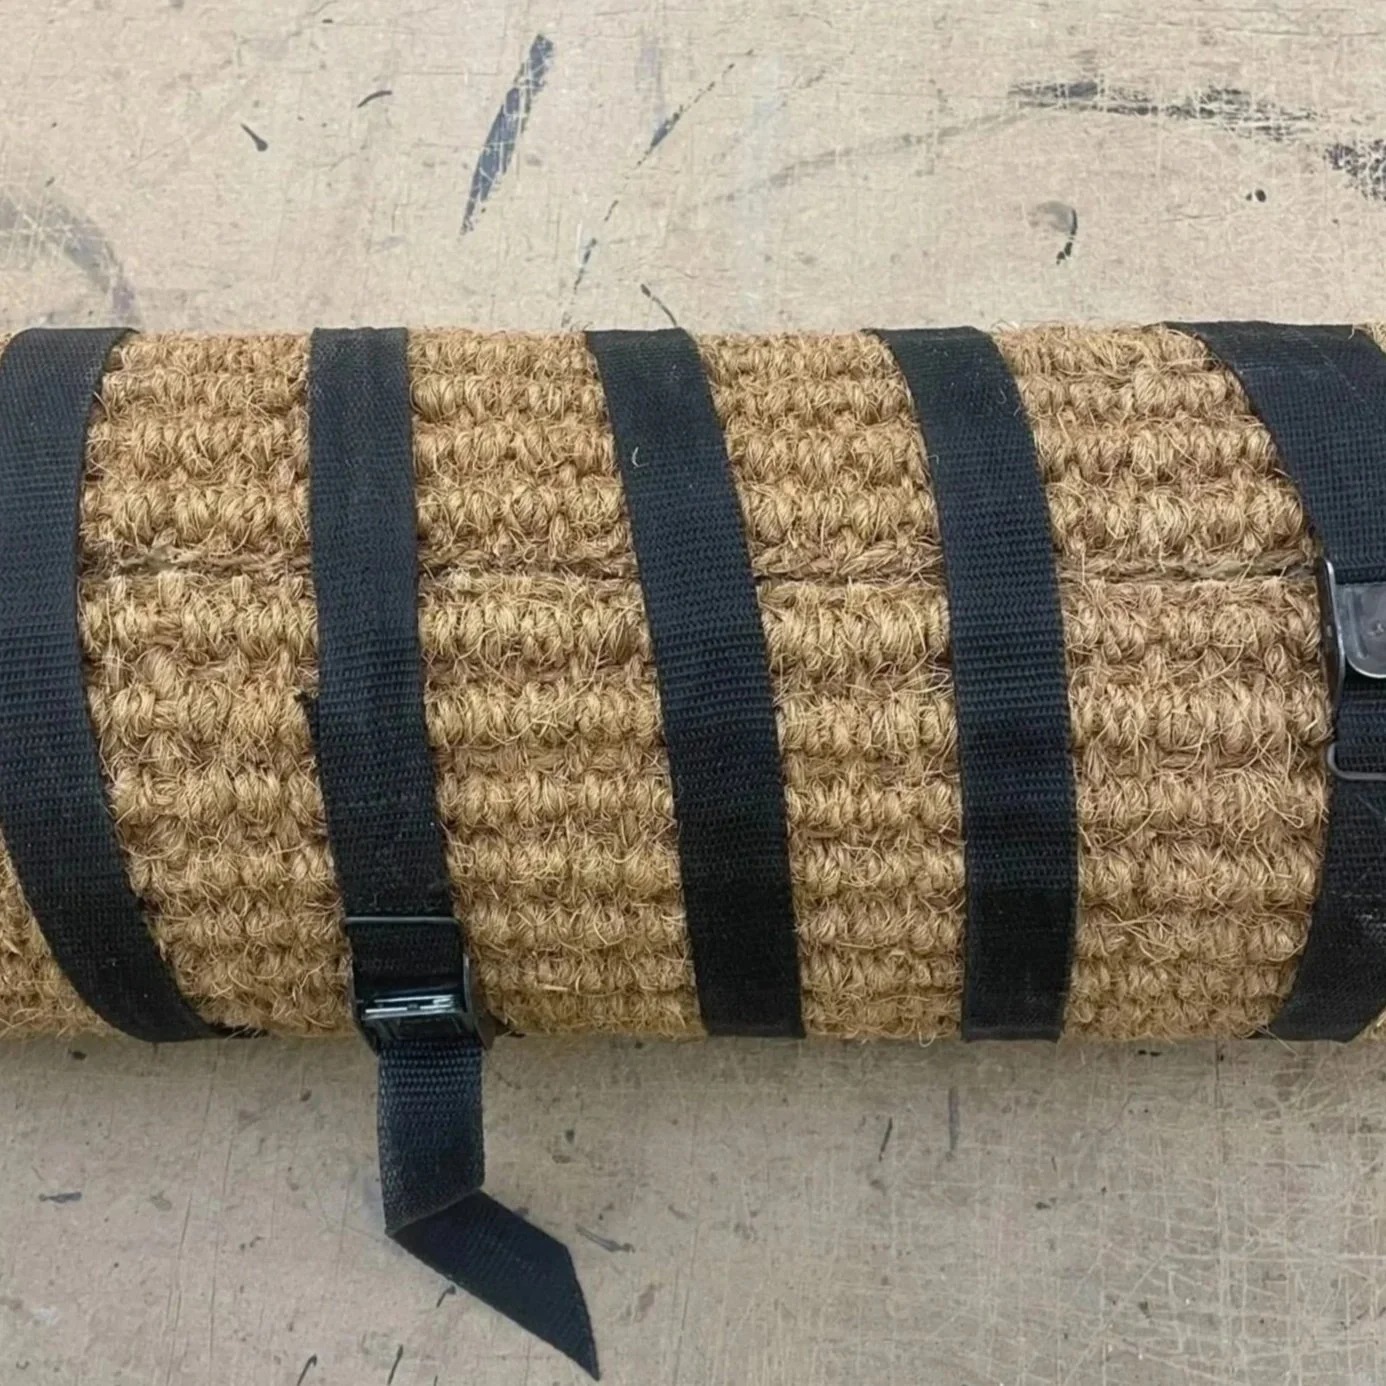
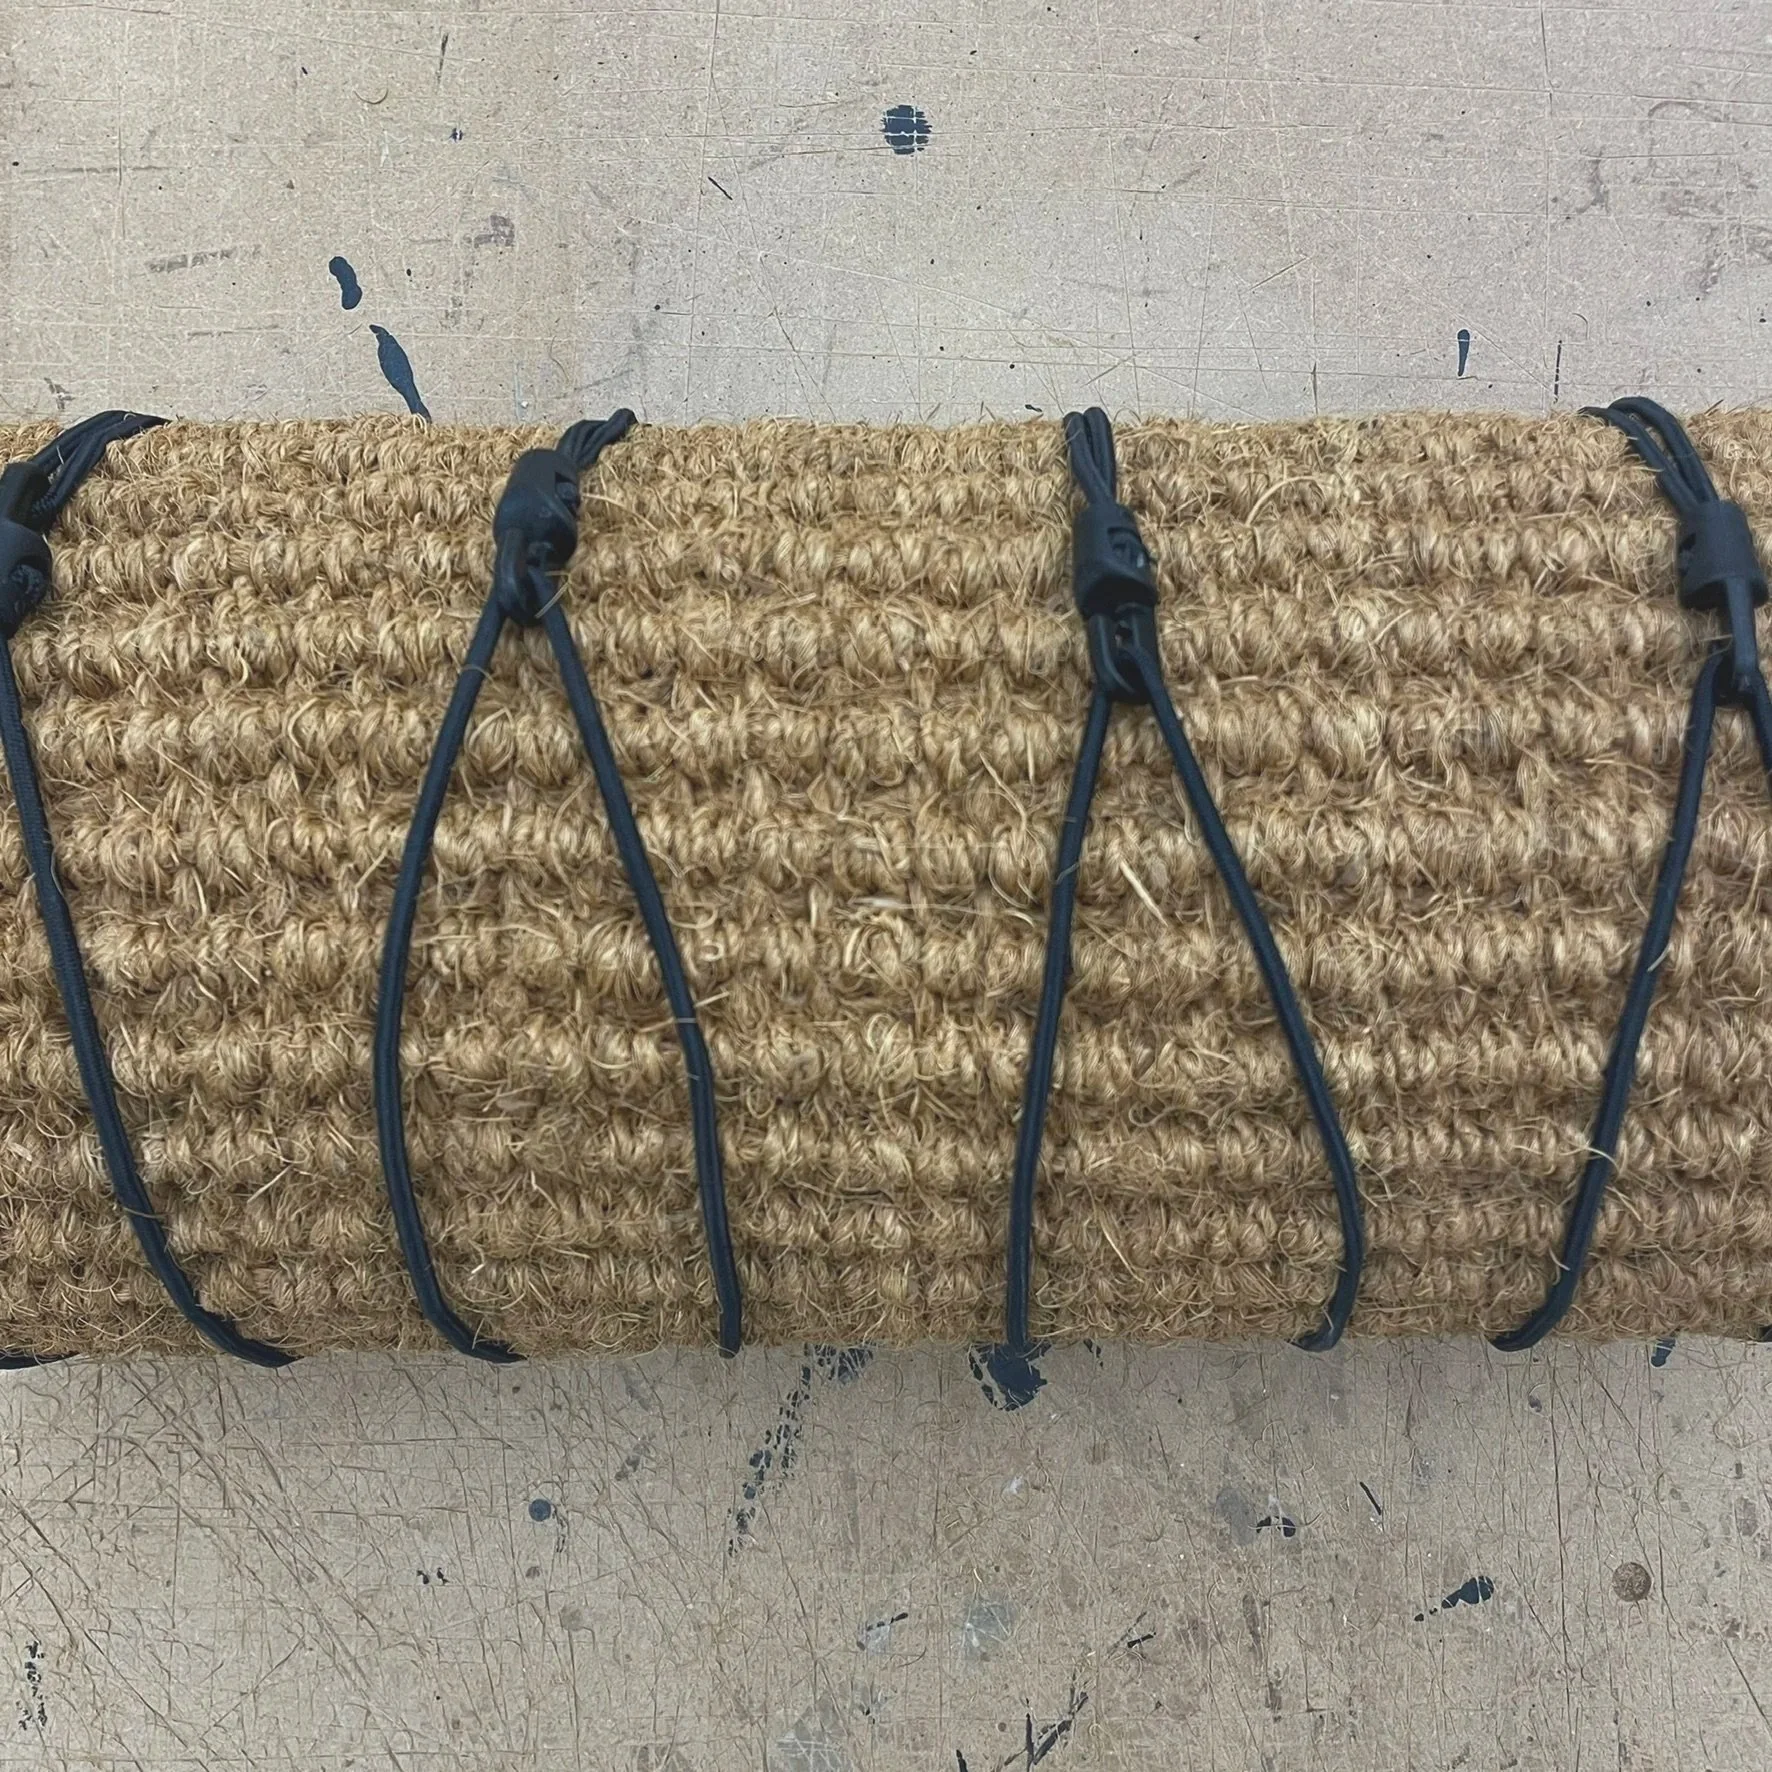
At this stage use clamps at this stage to hold the carpet seam together & then leave the unit overnight for the glue to cure - unless you’re a carpet fitter it’s very unlikely that you will have clamps so use one of the following options.
NB if you want to by pass the binding stage you do also have the option of leaving a 2-3cm unglued section along the seam then use the hot melt glue gun to bond the cut edge up to the fixed seam but make sure you have a really tight wrap before fixing the seam - it’s also best to work in small 10-15cm sections along the seam to give yourself time to pull & massage the carpet around the pipe.
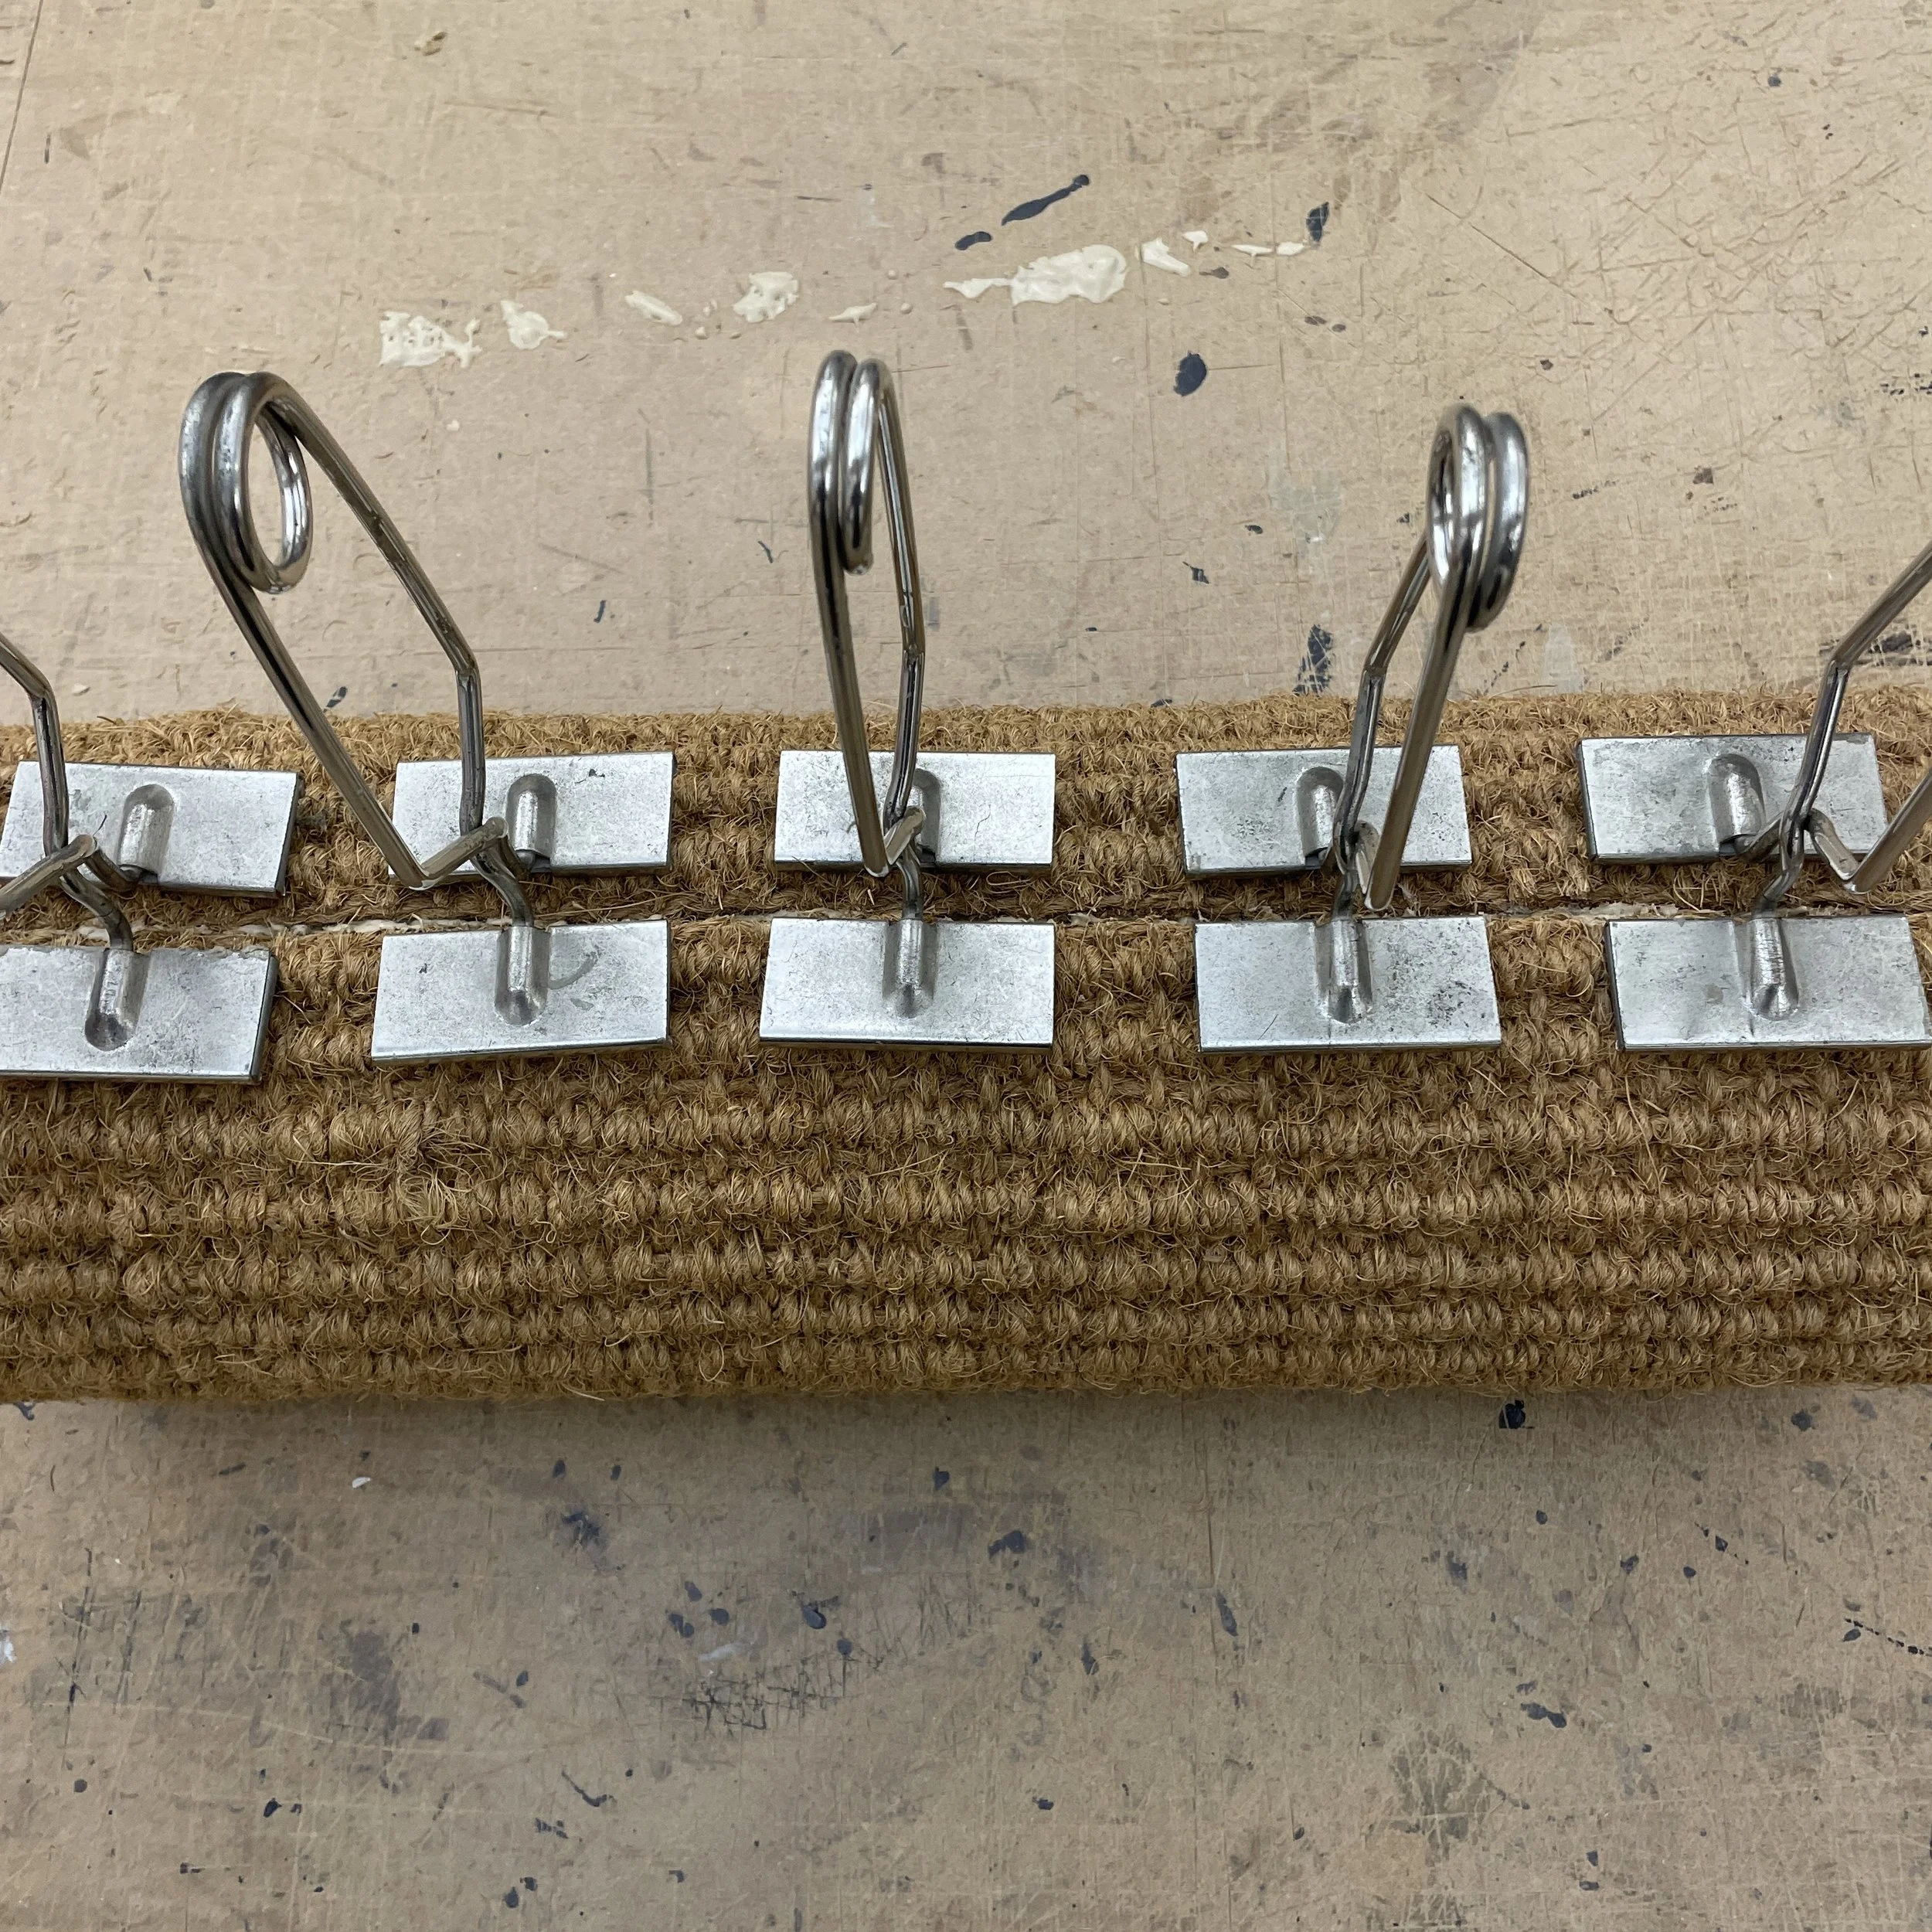
Get a tight wrap then rotate the tube back on its seam & place weights on the tube until the glue sets - if you are going for this option make sure there isn’t any exposed glue on the seam before doing this, especially if you are leaving the tube to set on a carpeted floor.
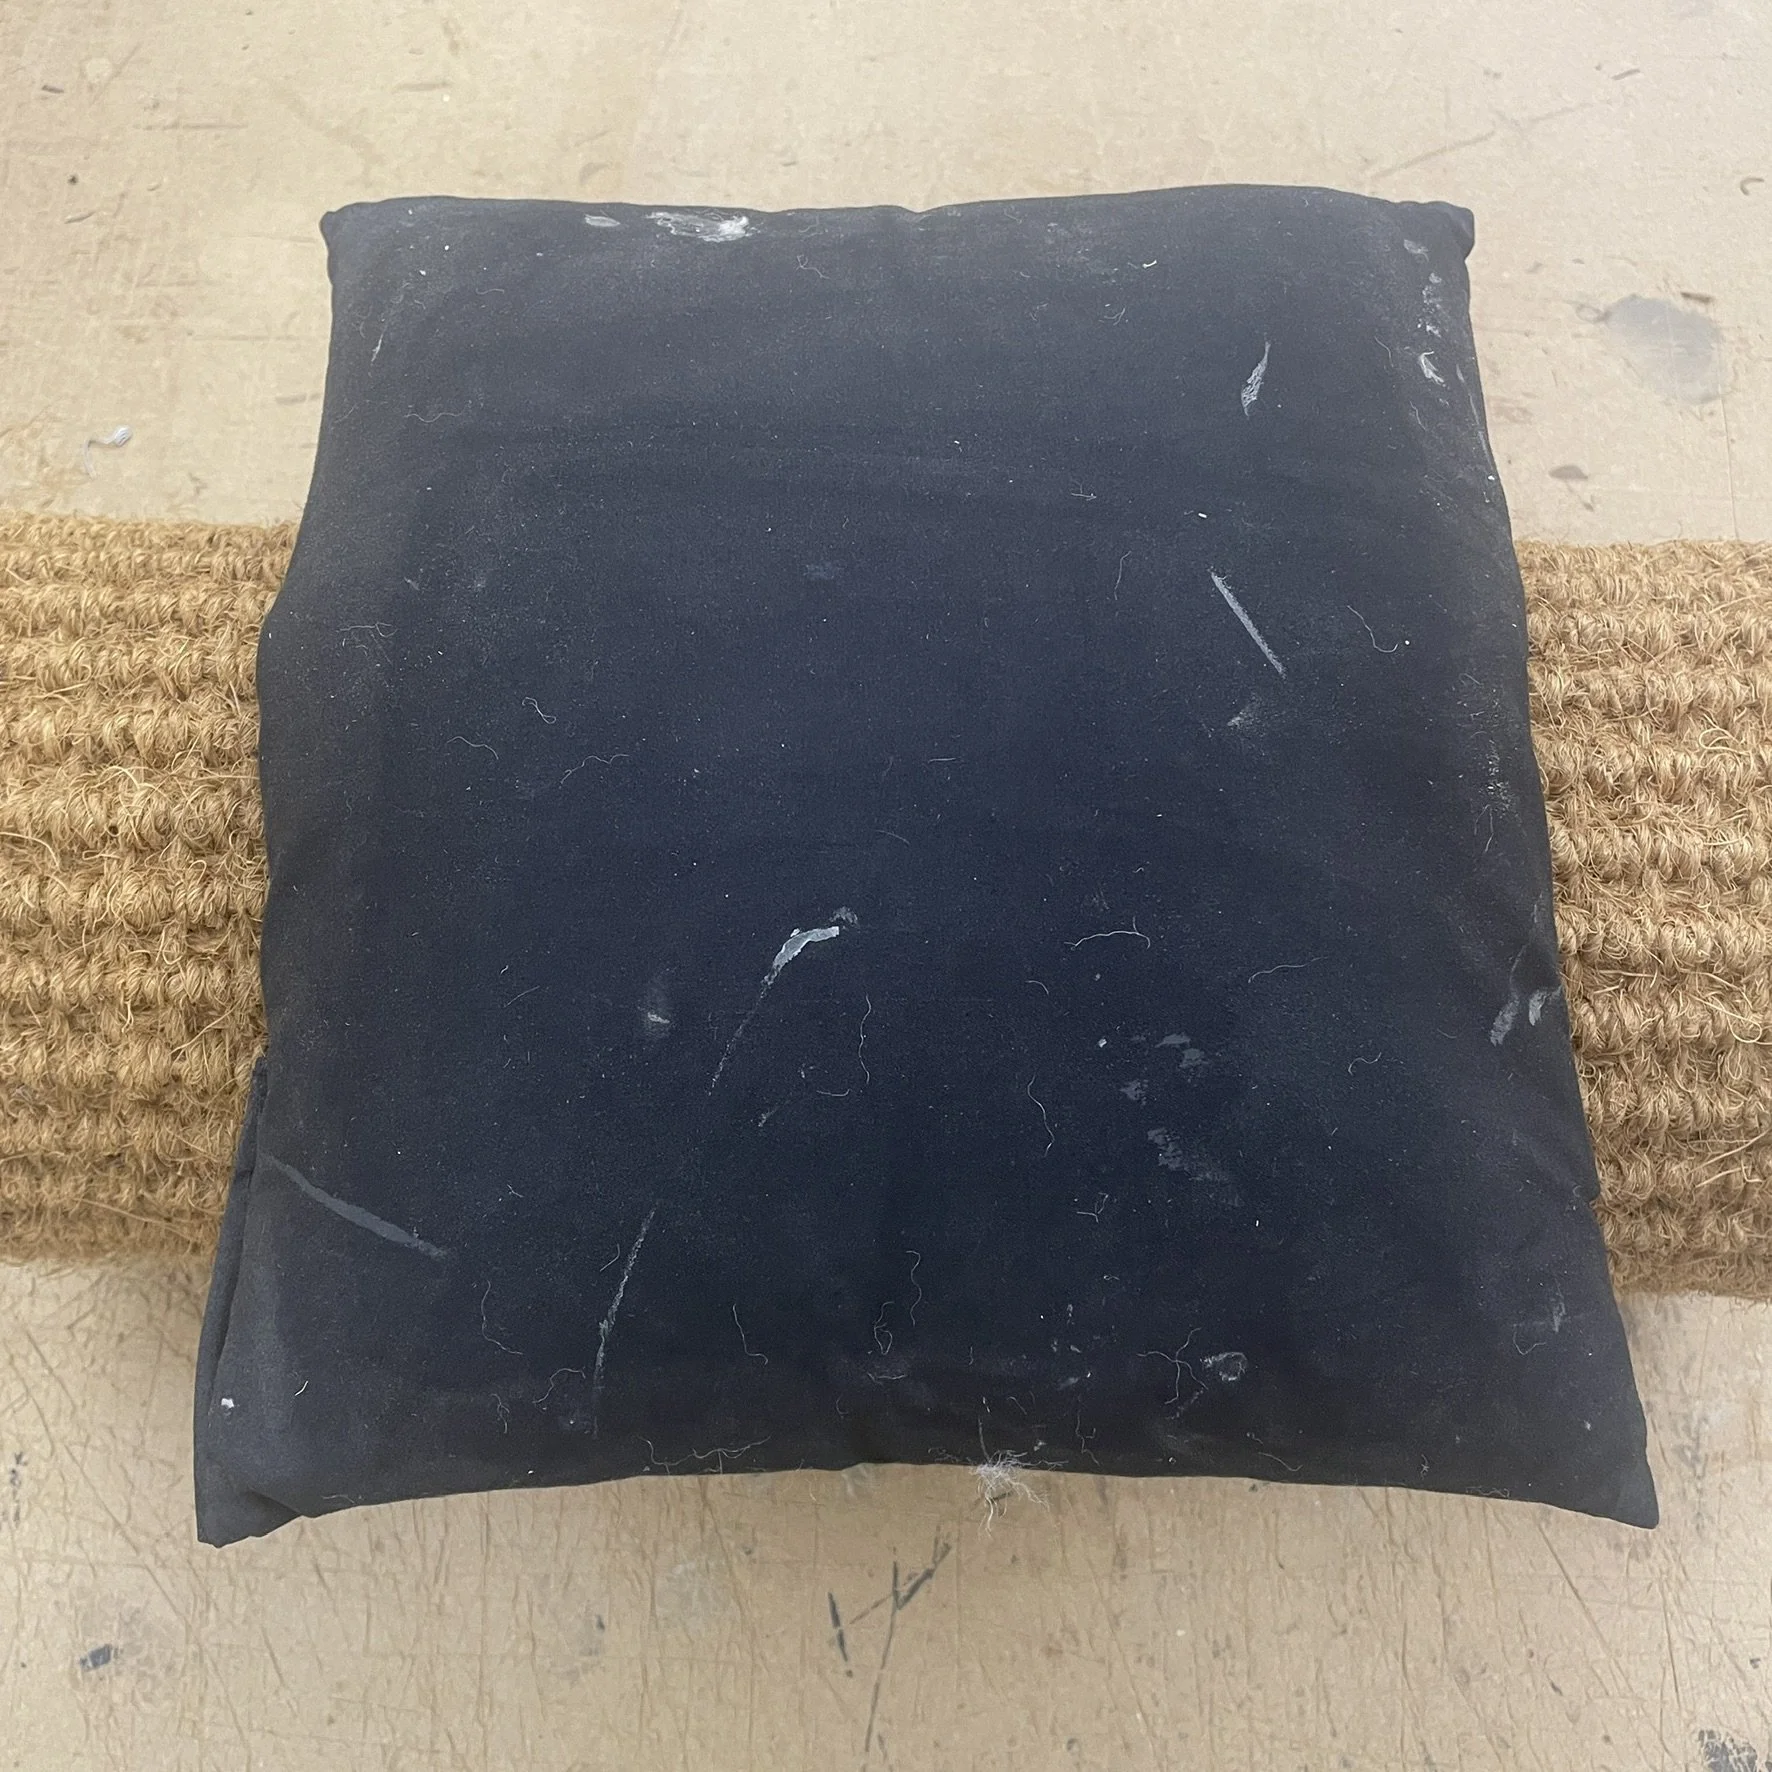
Other options that we’ve played about with include luggage & bungie straps to bind the carpet while the adhesive sets but these options proved to be a bit cumbersome as tensioning across the length of the pipe is not easy.
When the outside wrap has set cut the ends to form the wrapped end details.
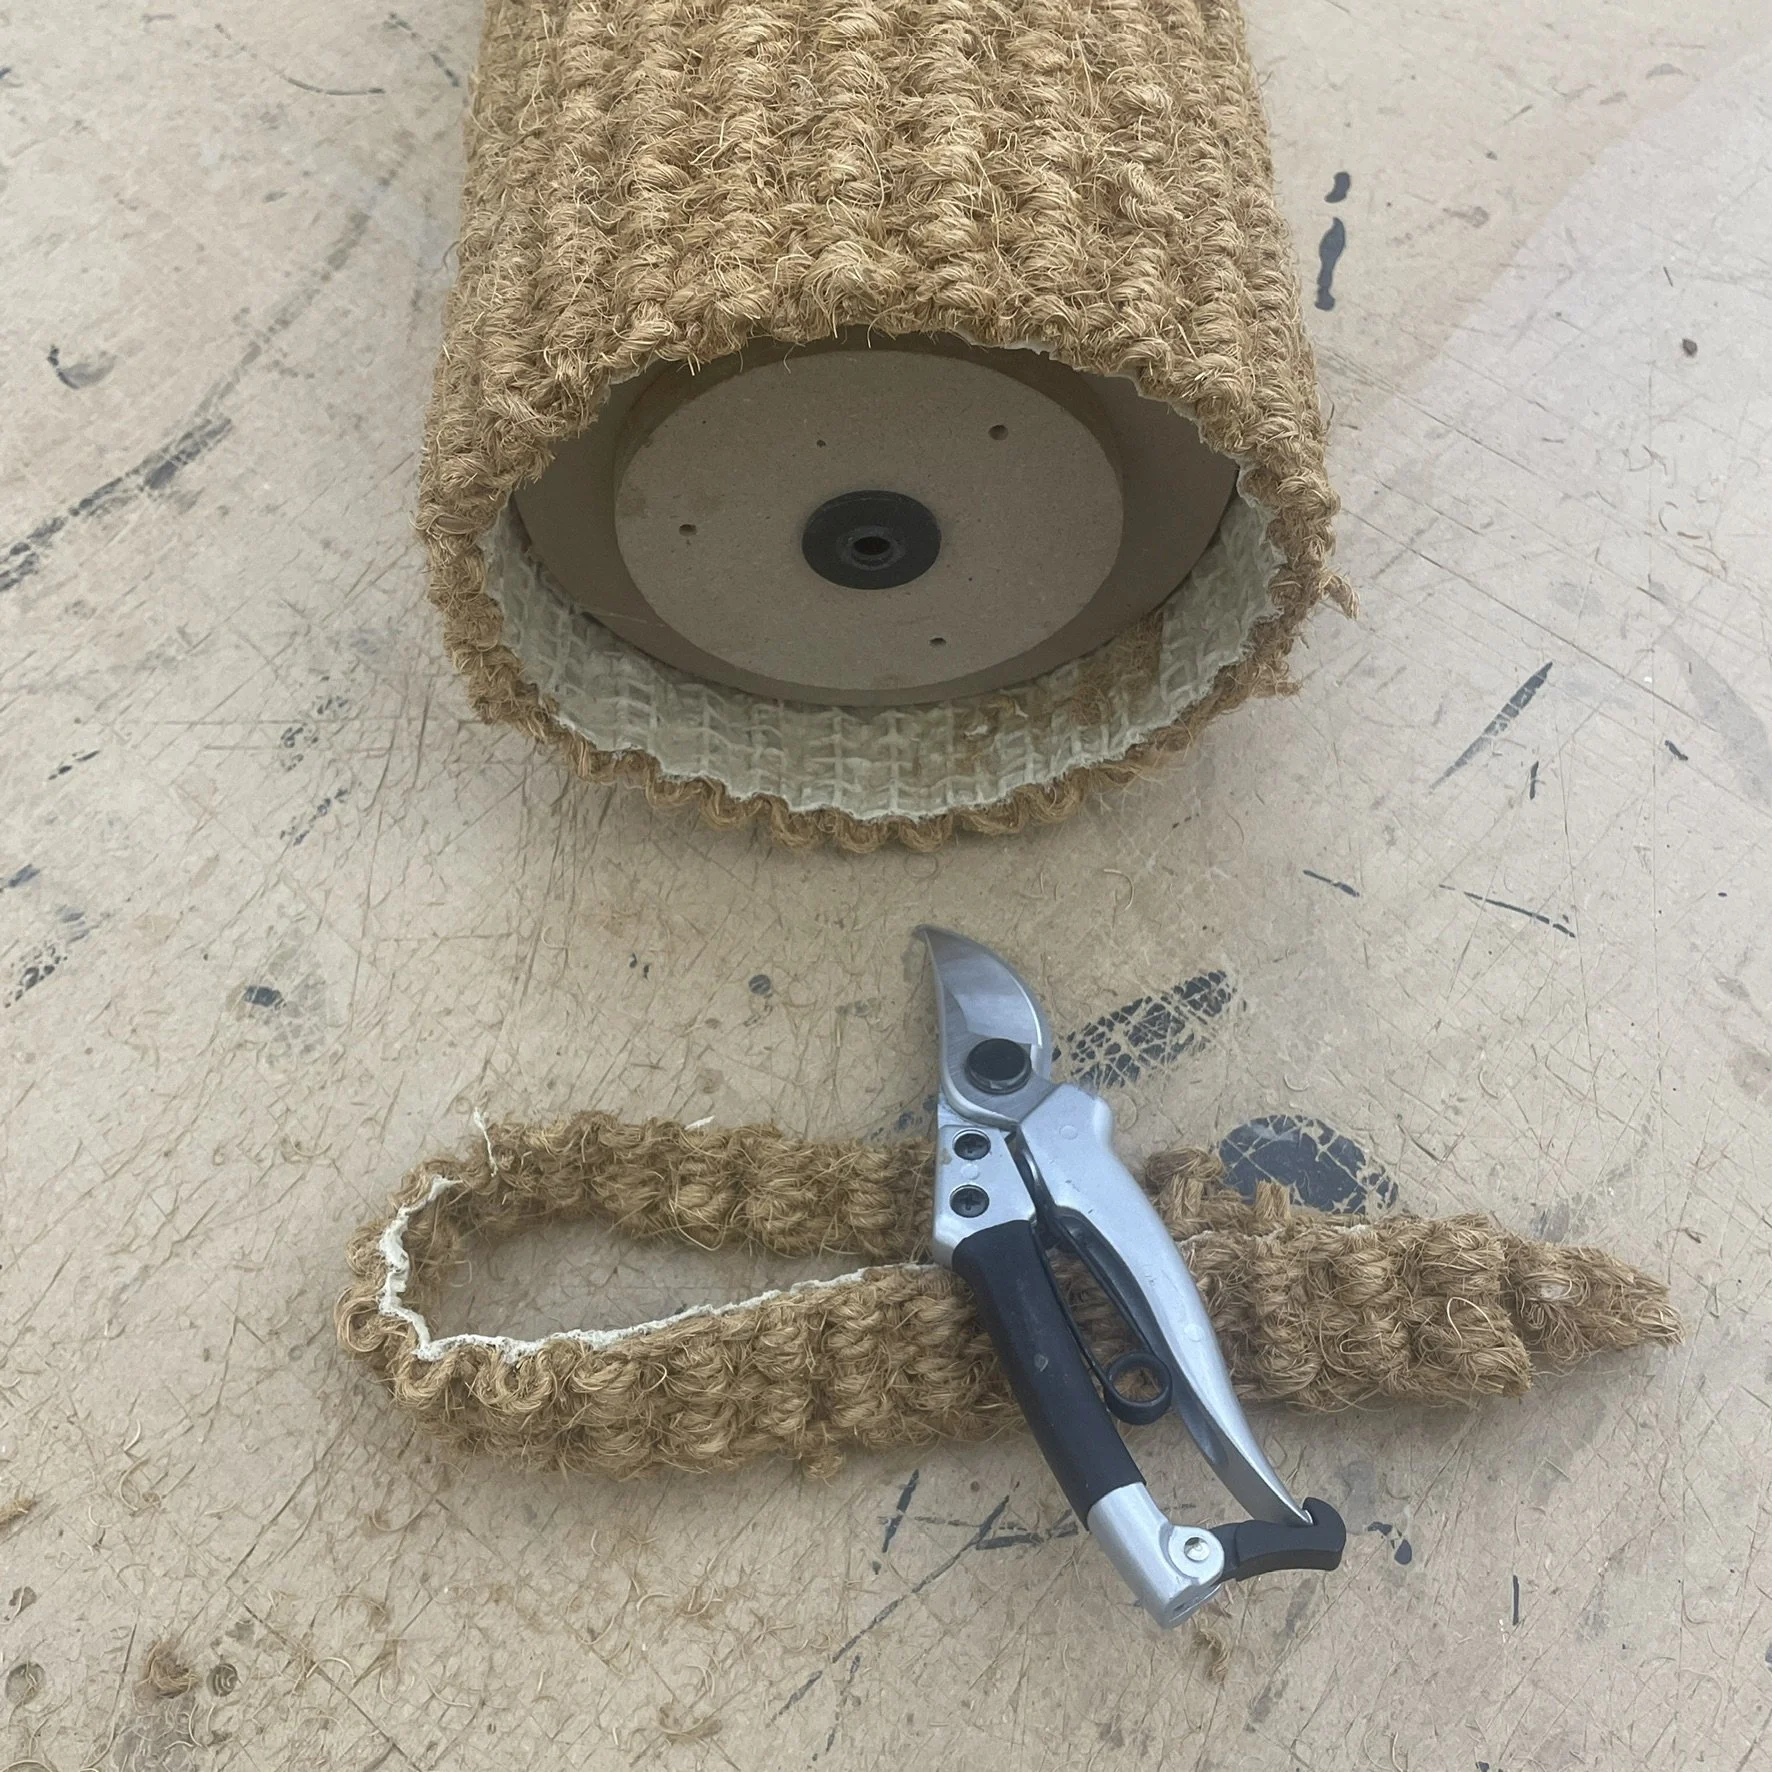
Start by working the coir over the end cap to loosen the weave before trimming - you can use the inside edge of the end cap collar as a guide when making the cuts.
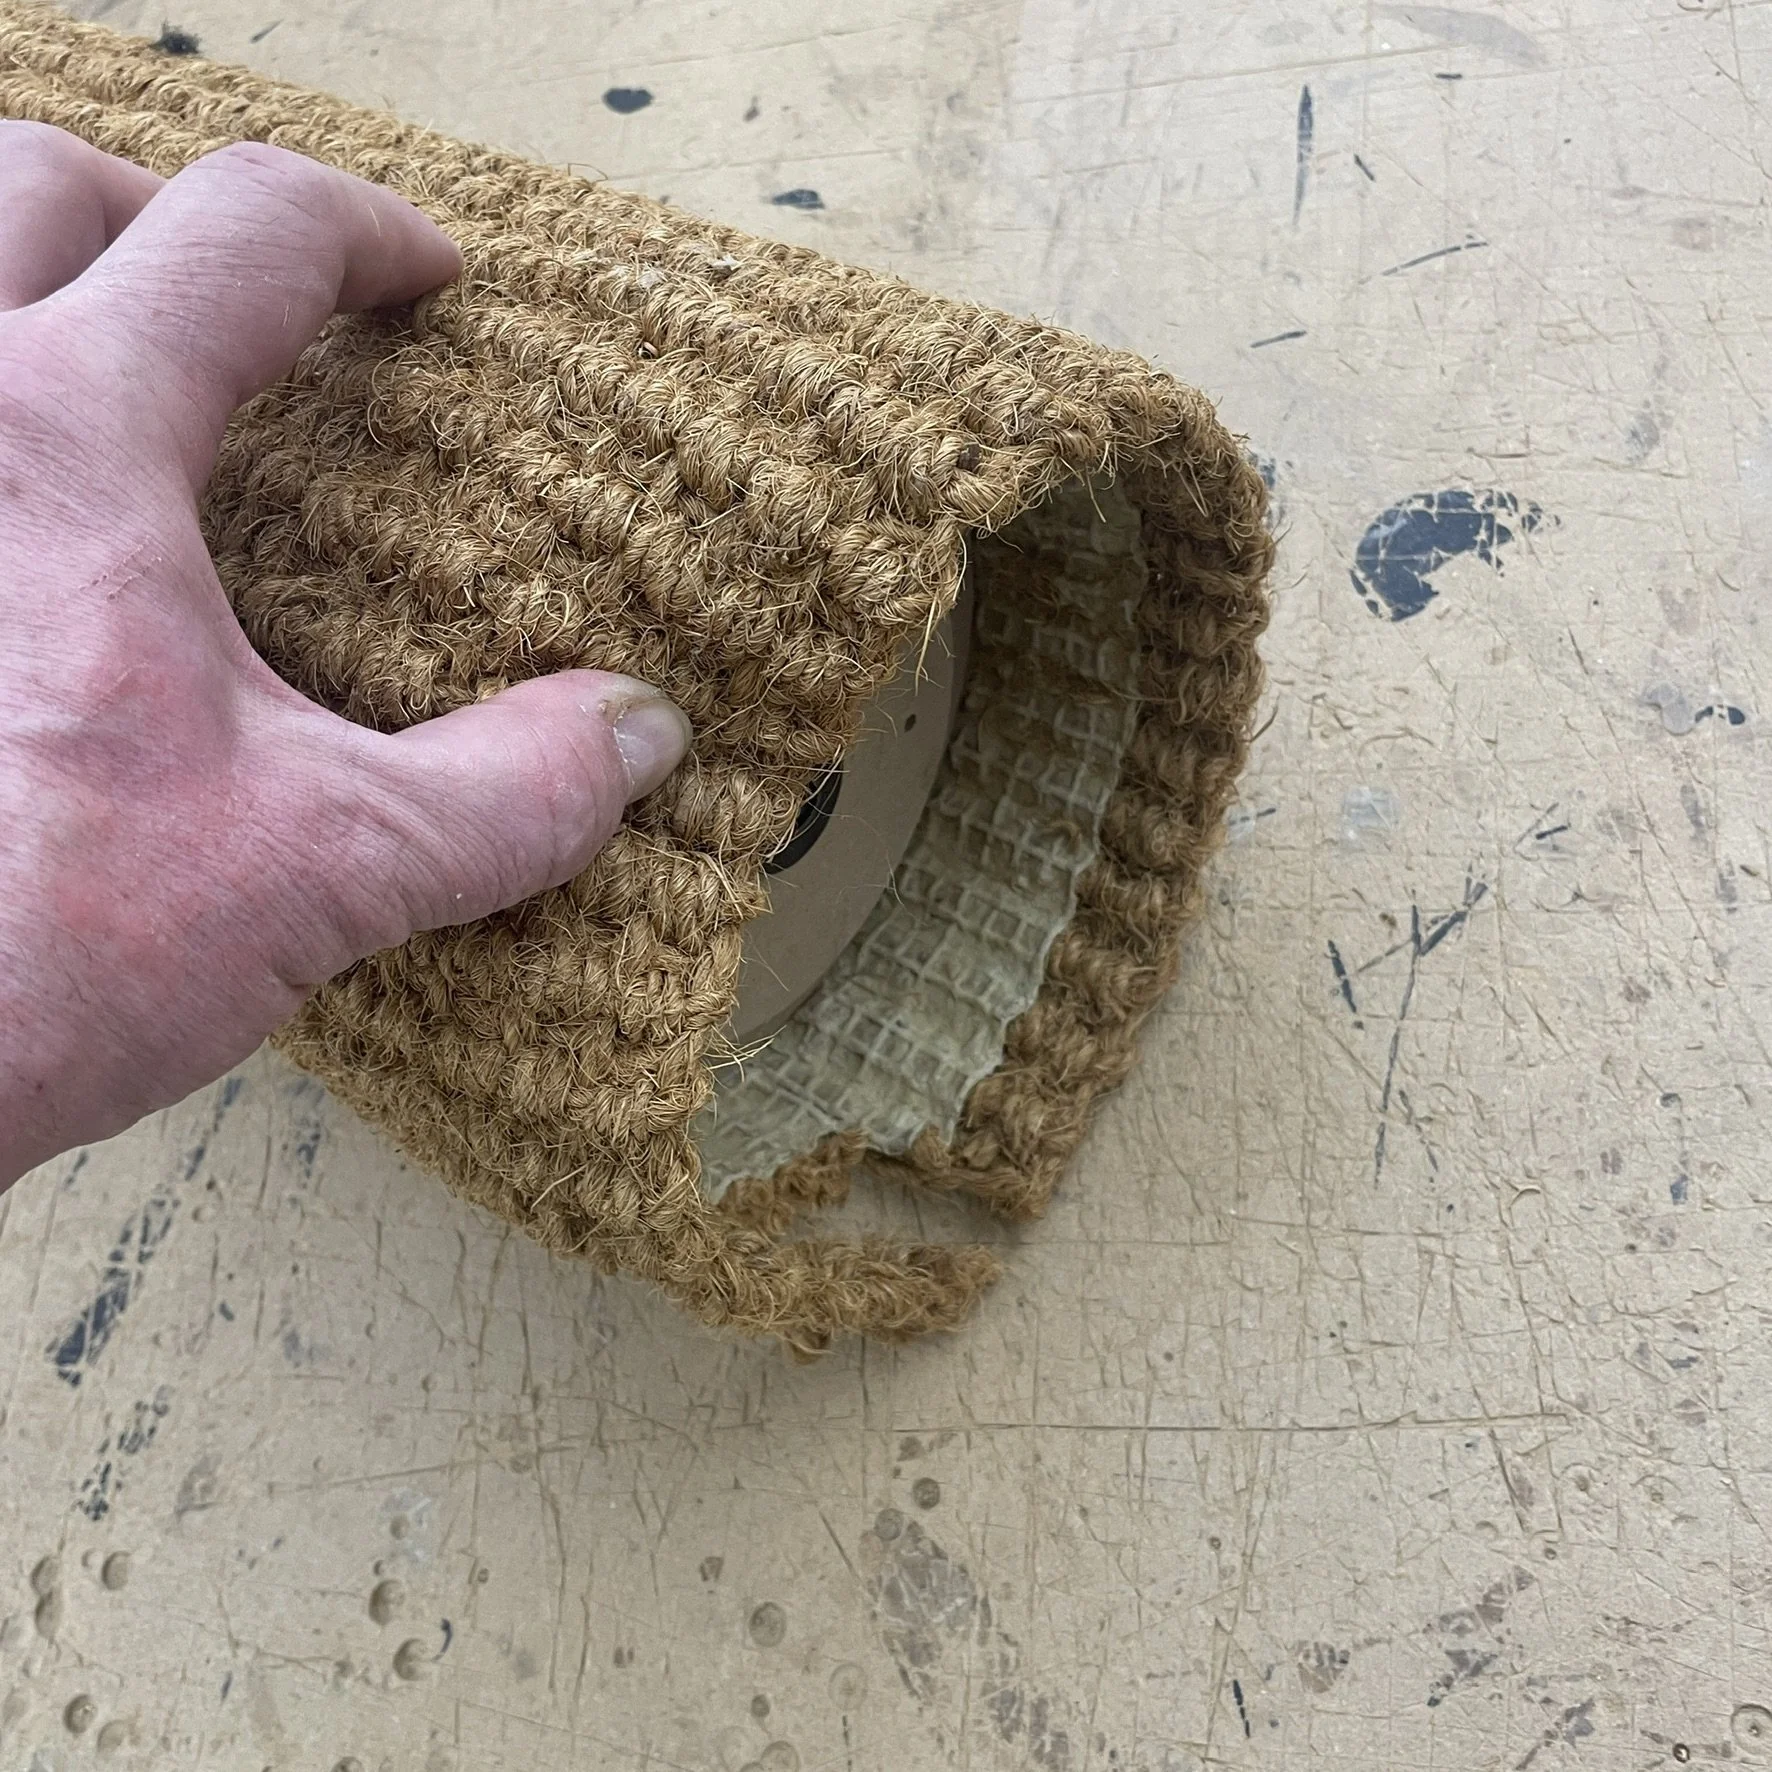
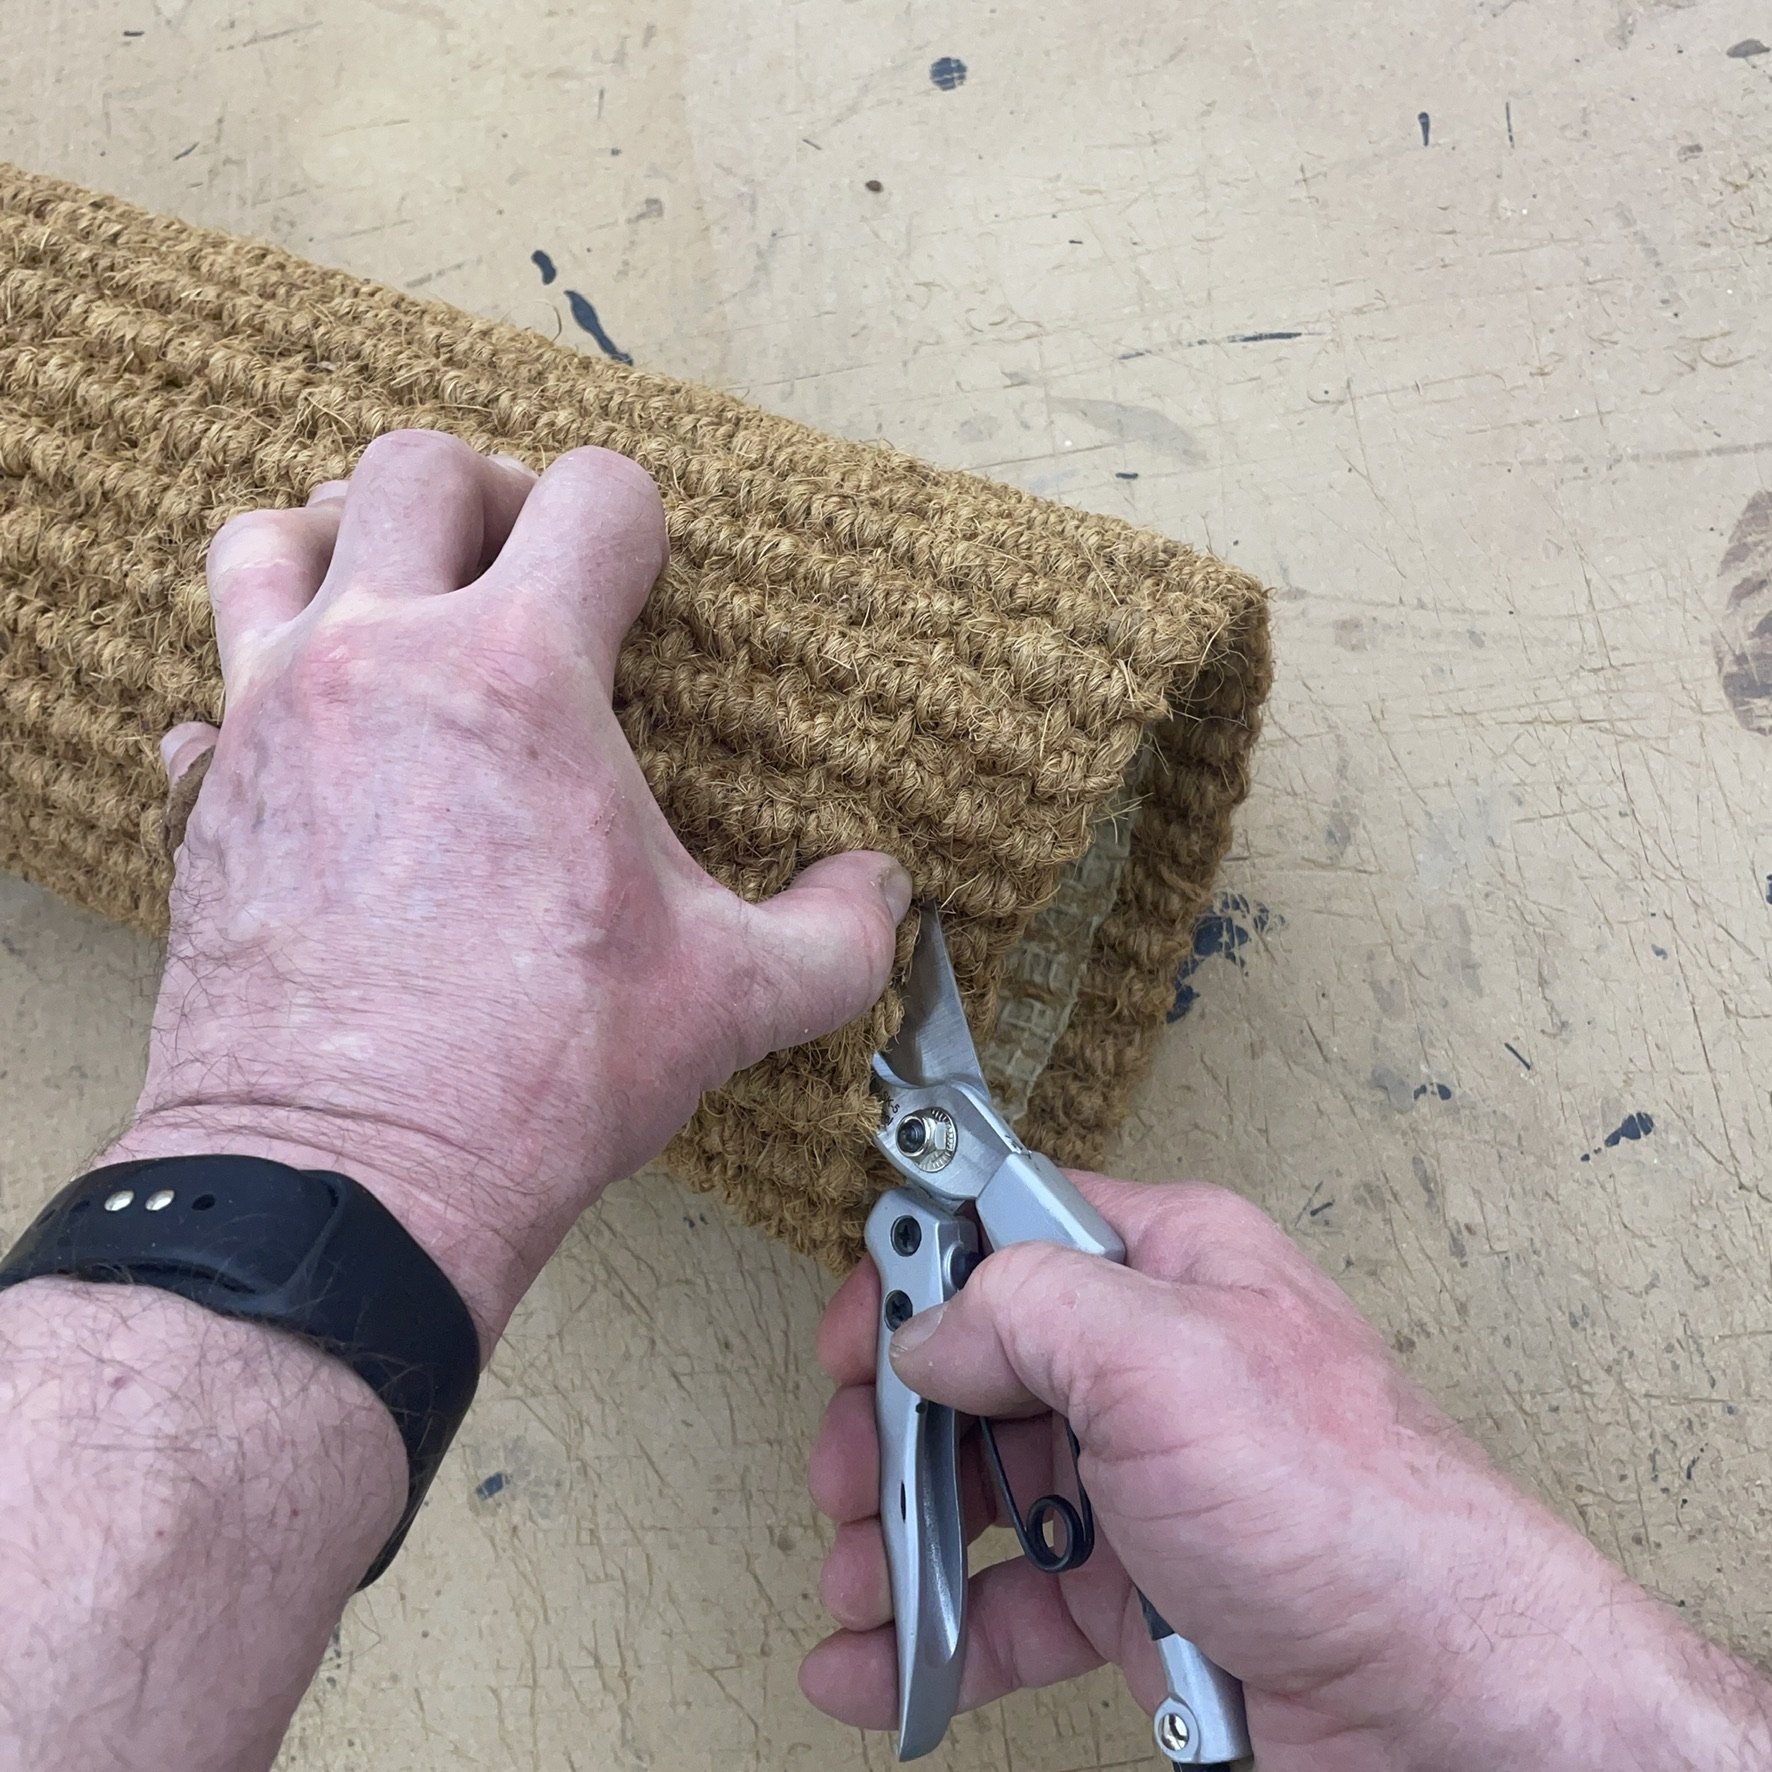
After the carpet has been trimmed cut v-shaped grooves in between the ribs - we normally cut every 3-4 ribs but it will be easier to form the wrapped end if you cut every two ribs.
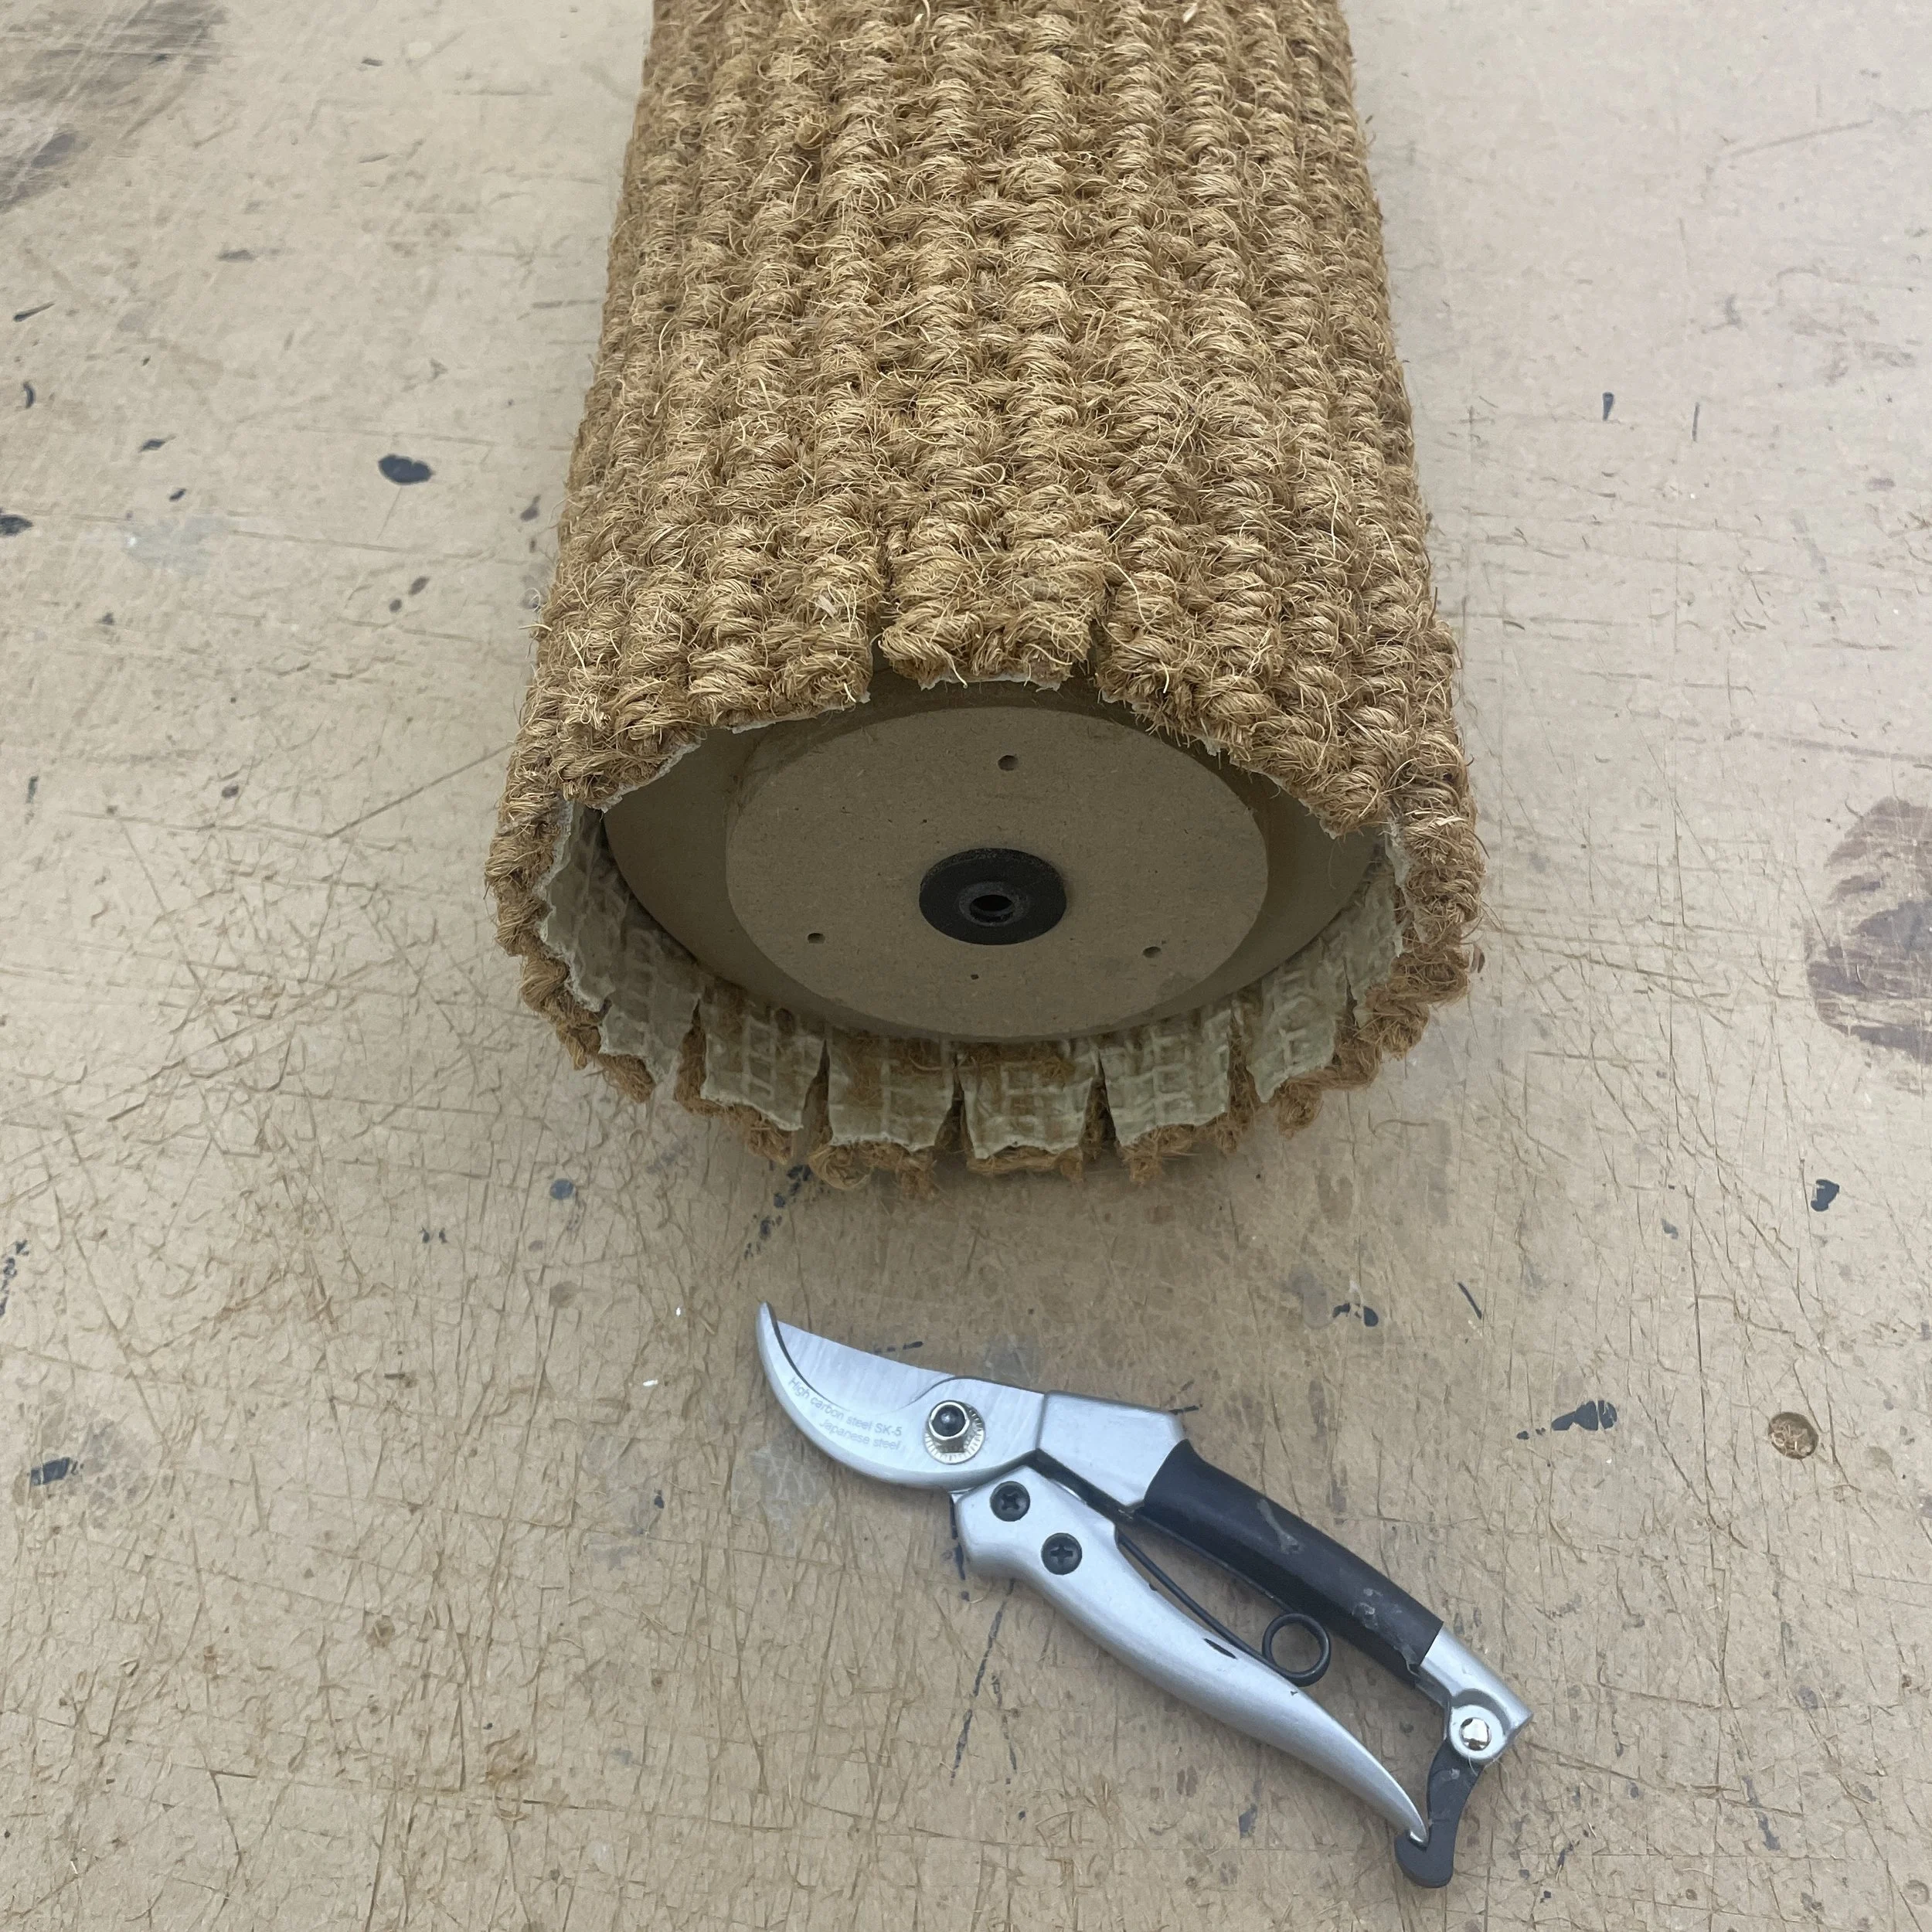
Make sure that the groove sits between the ribs & the cuts run up to the edge of the end cap.
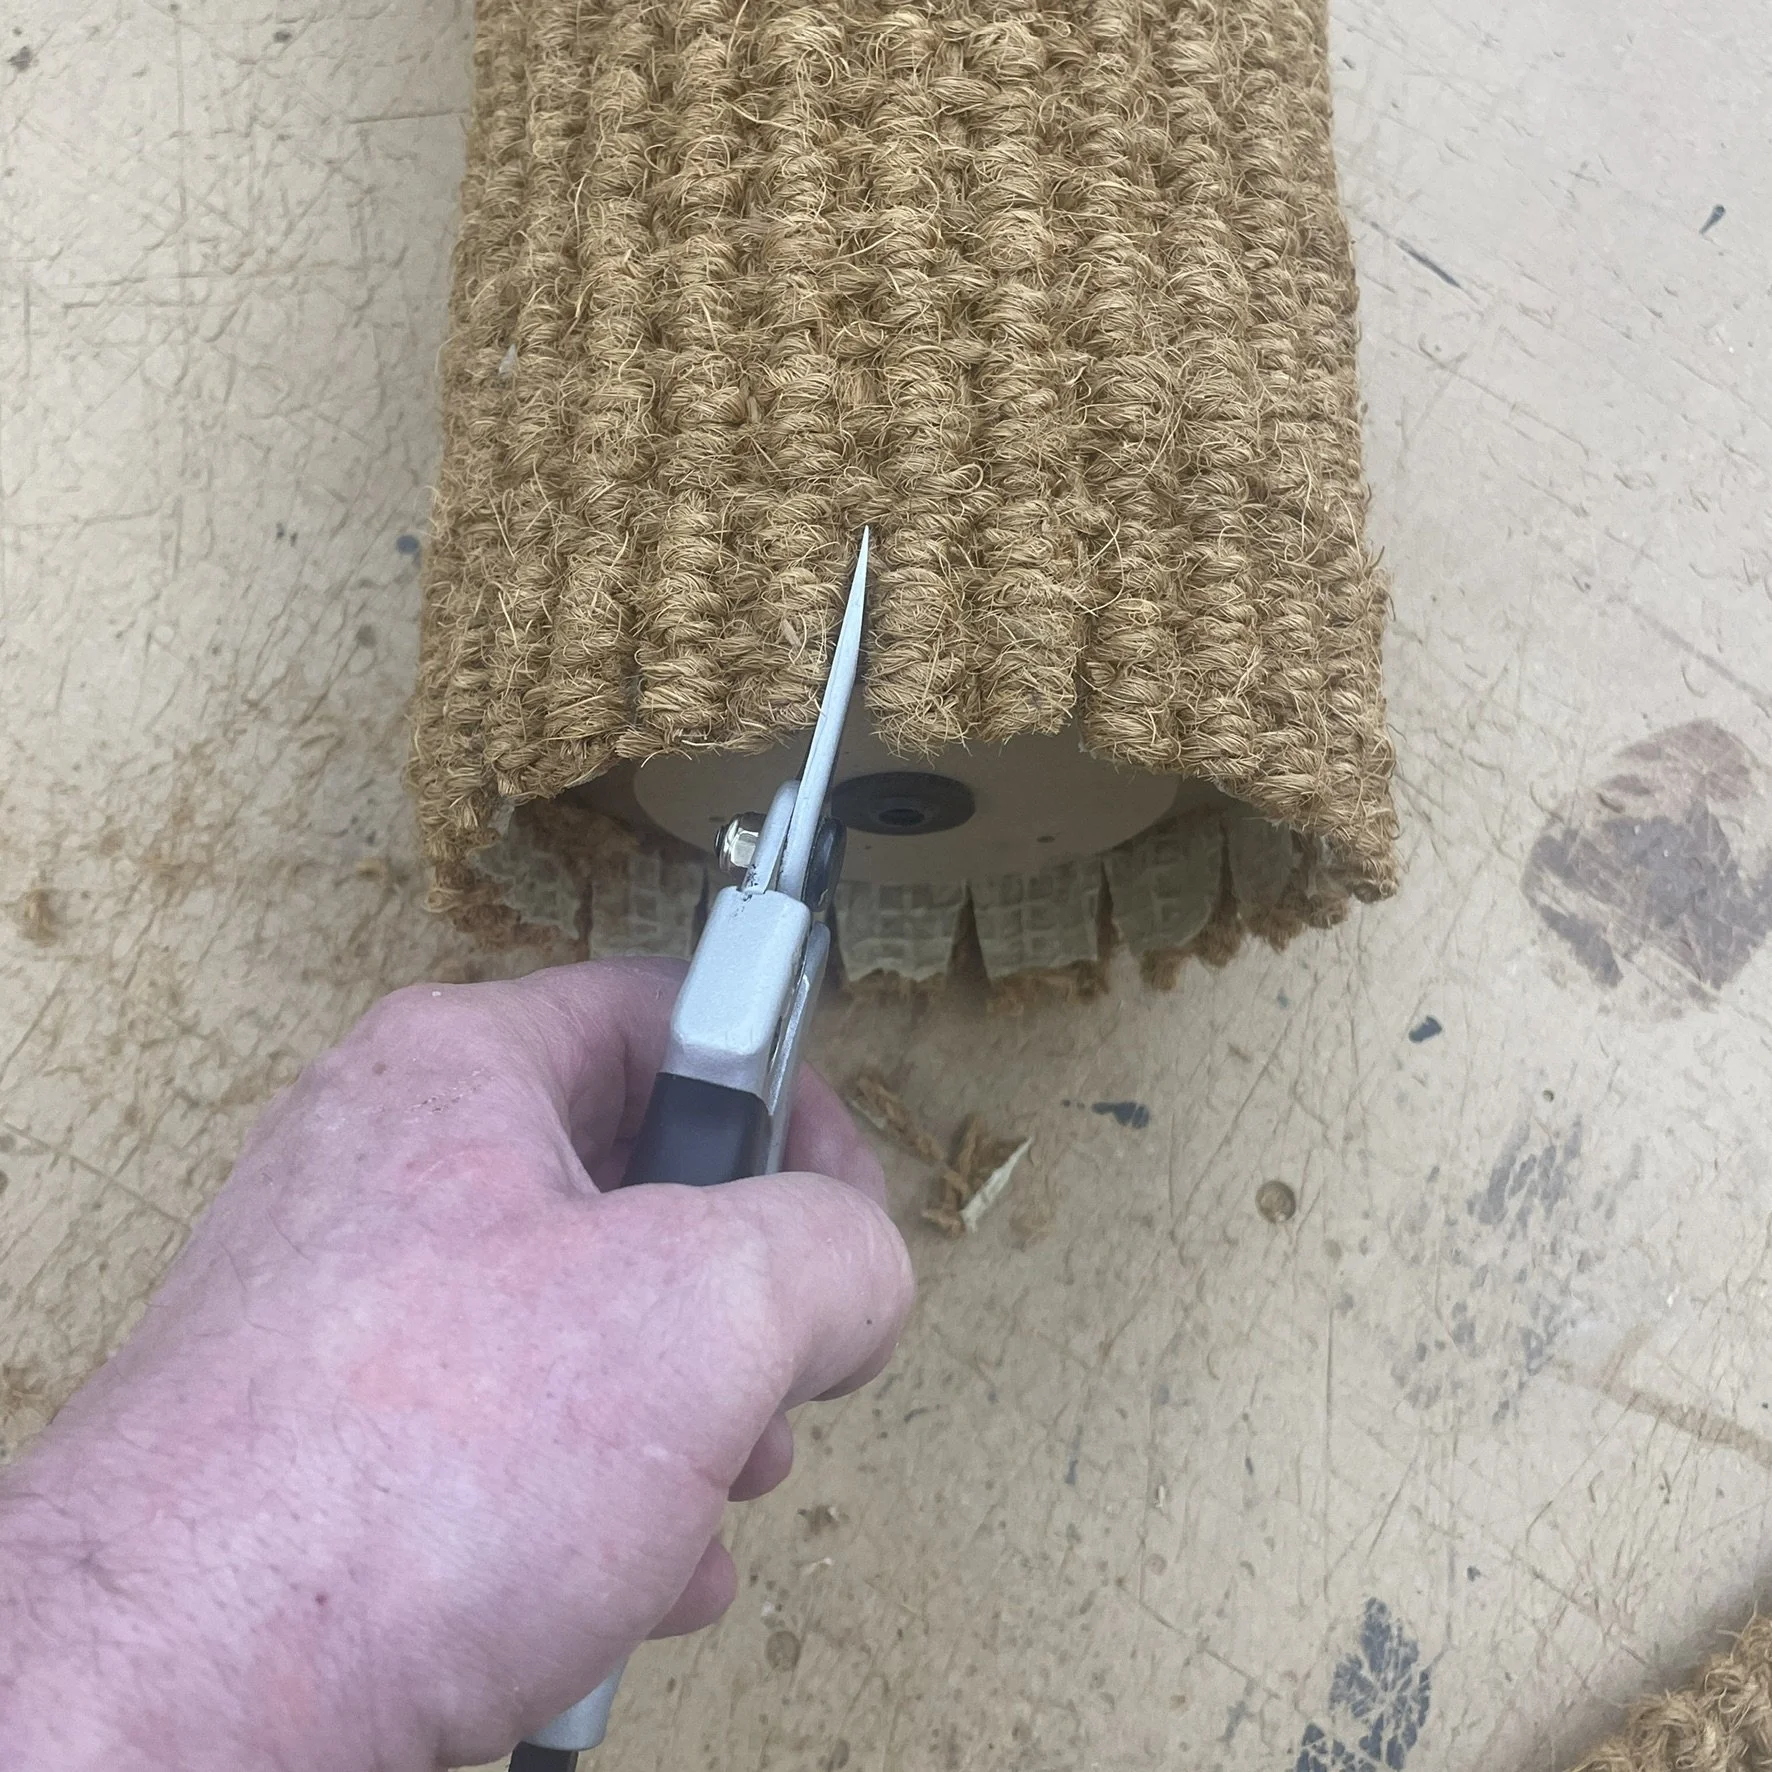
After cutting check that the folds sit up to the edge of the end cap collar - if they don’t fold in neatly then use the inside edge of the end cap collar again to trim them back.
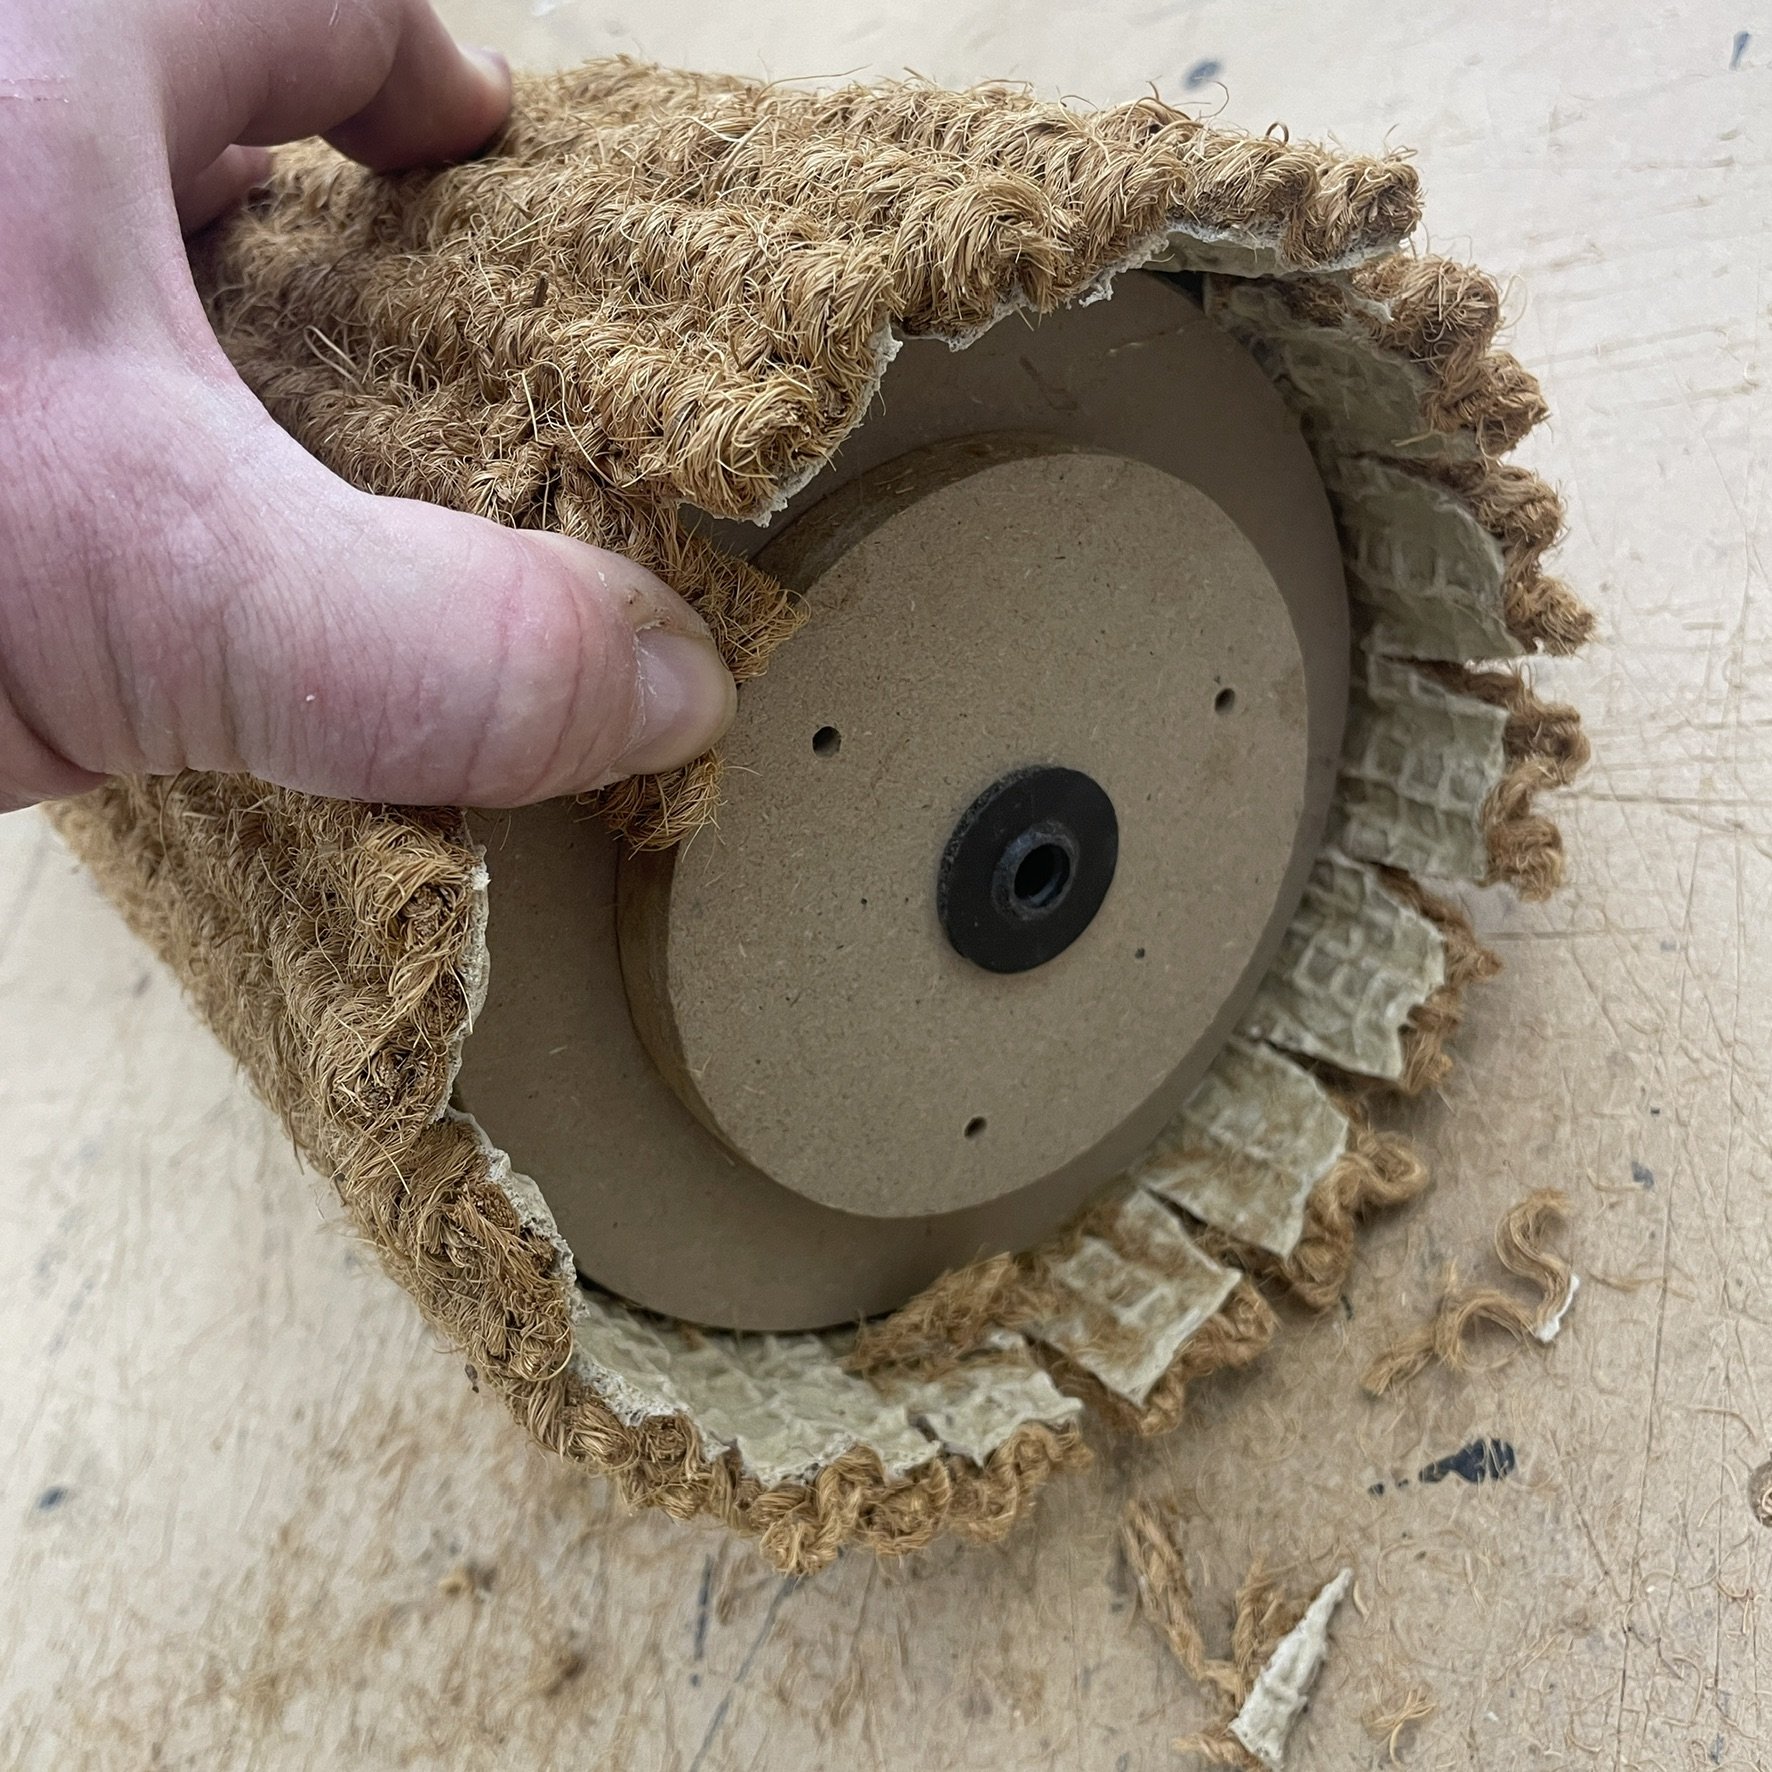
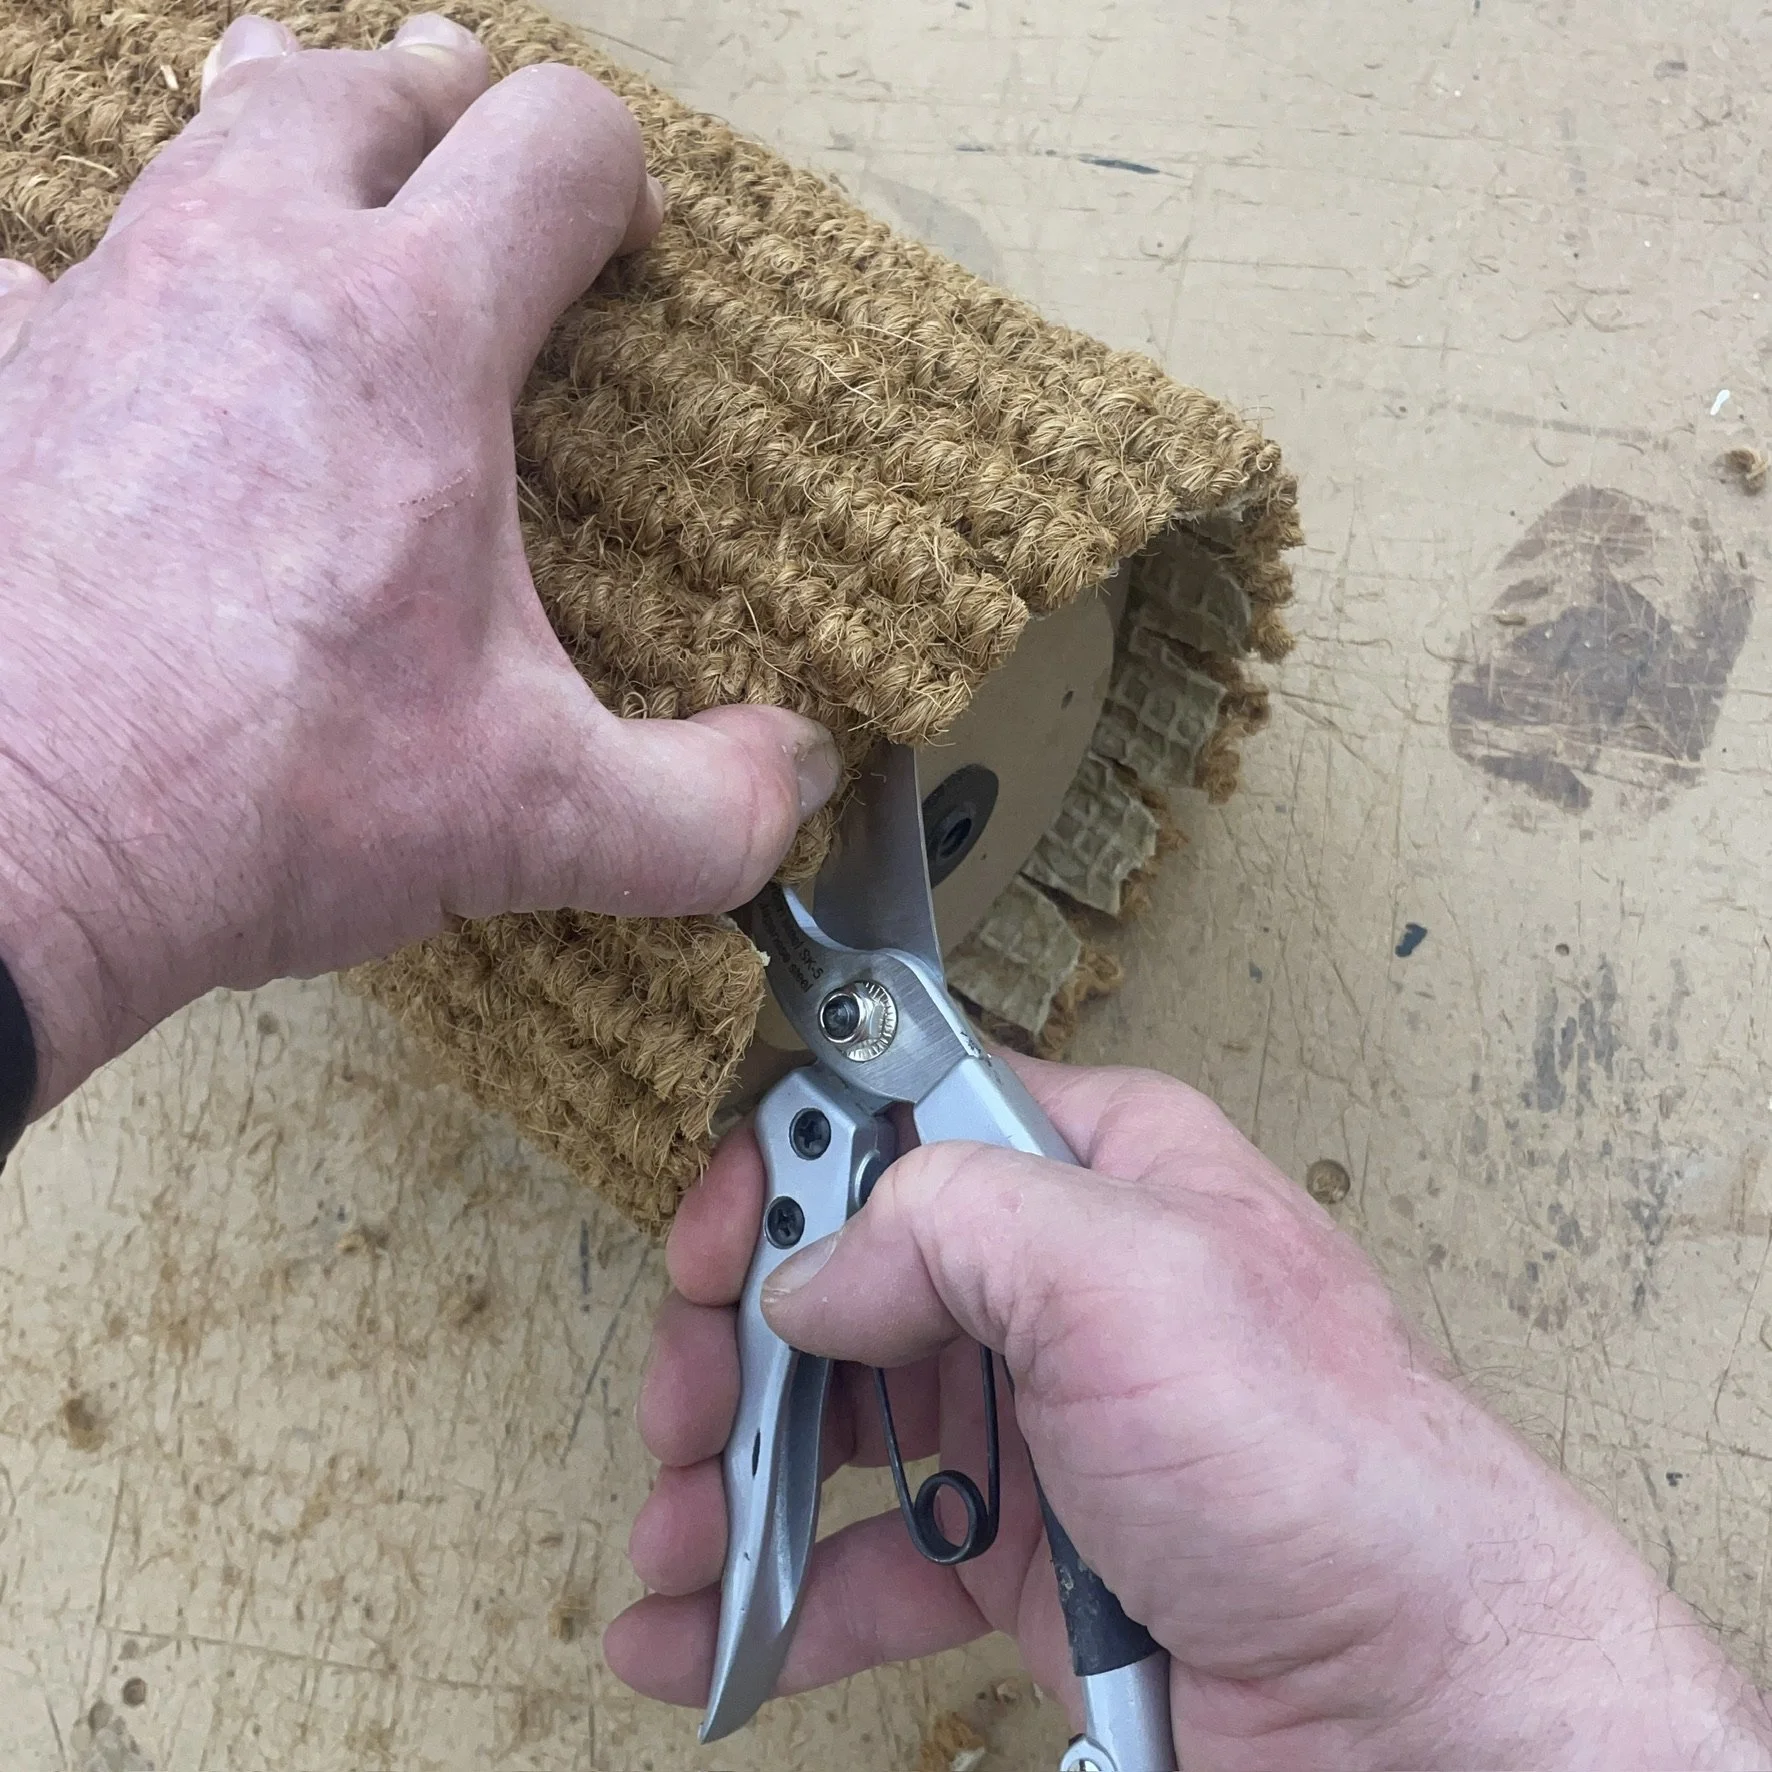
Form the wrapped ends by fixing each flap one at a time with the hot melt glue gun.
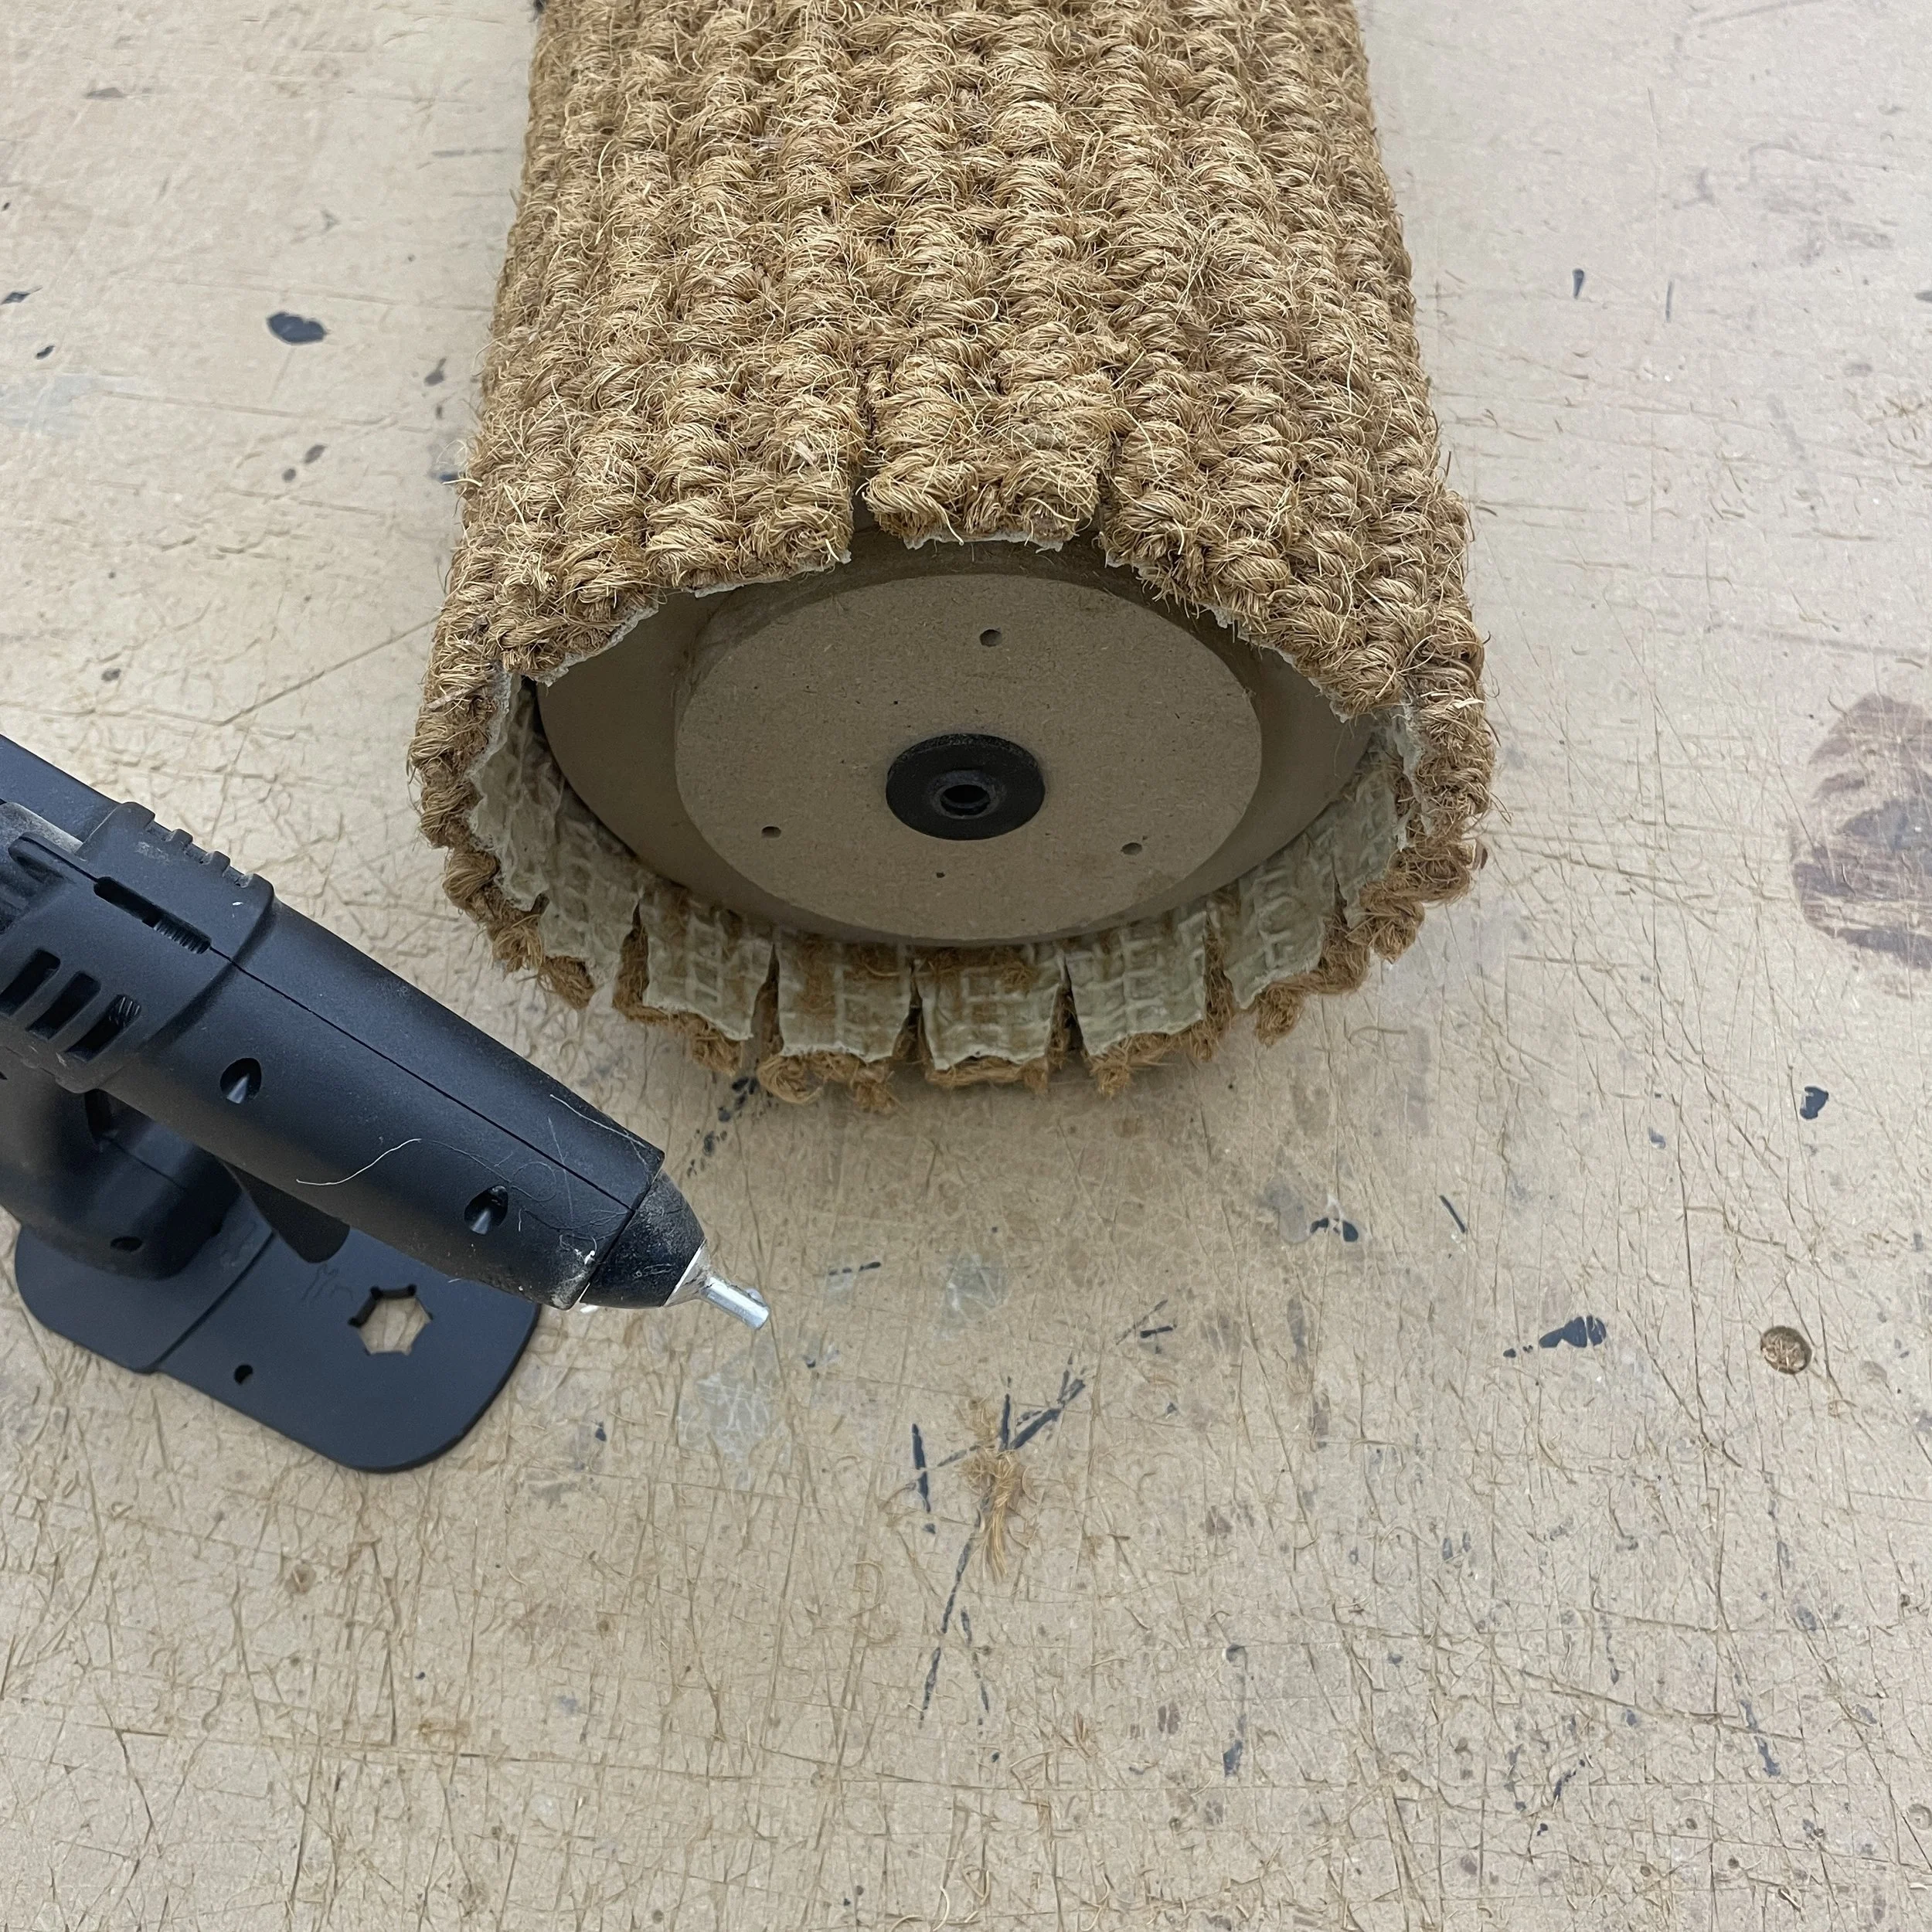
Apply the glue then fix the flap up against the adjacent flap - use your thumbs to push & apply pressure to hold it in place while the glue sets.
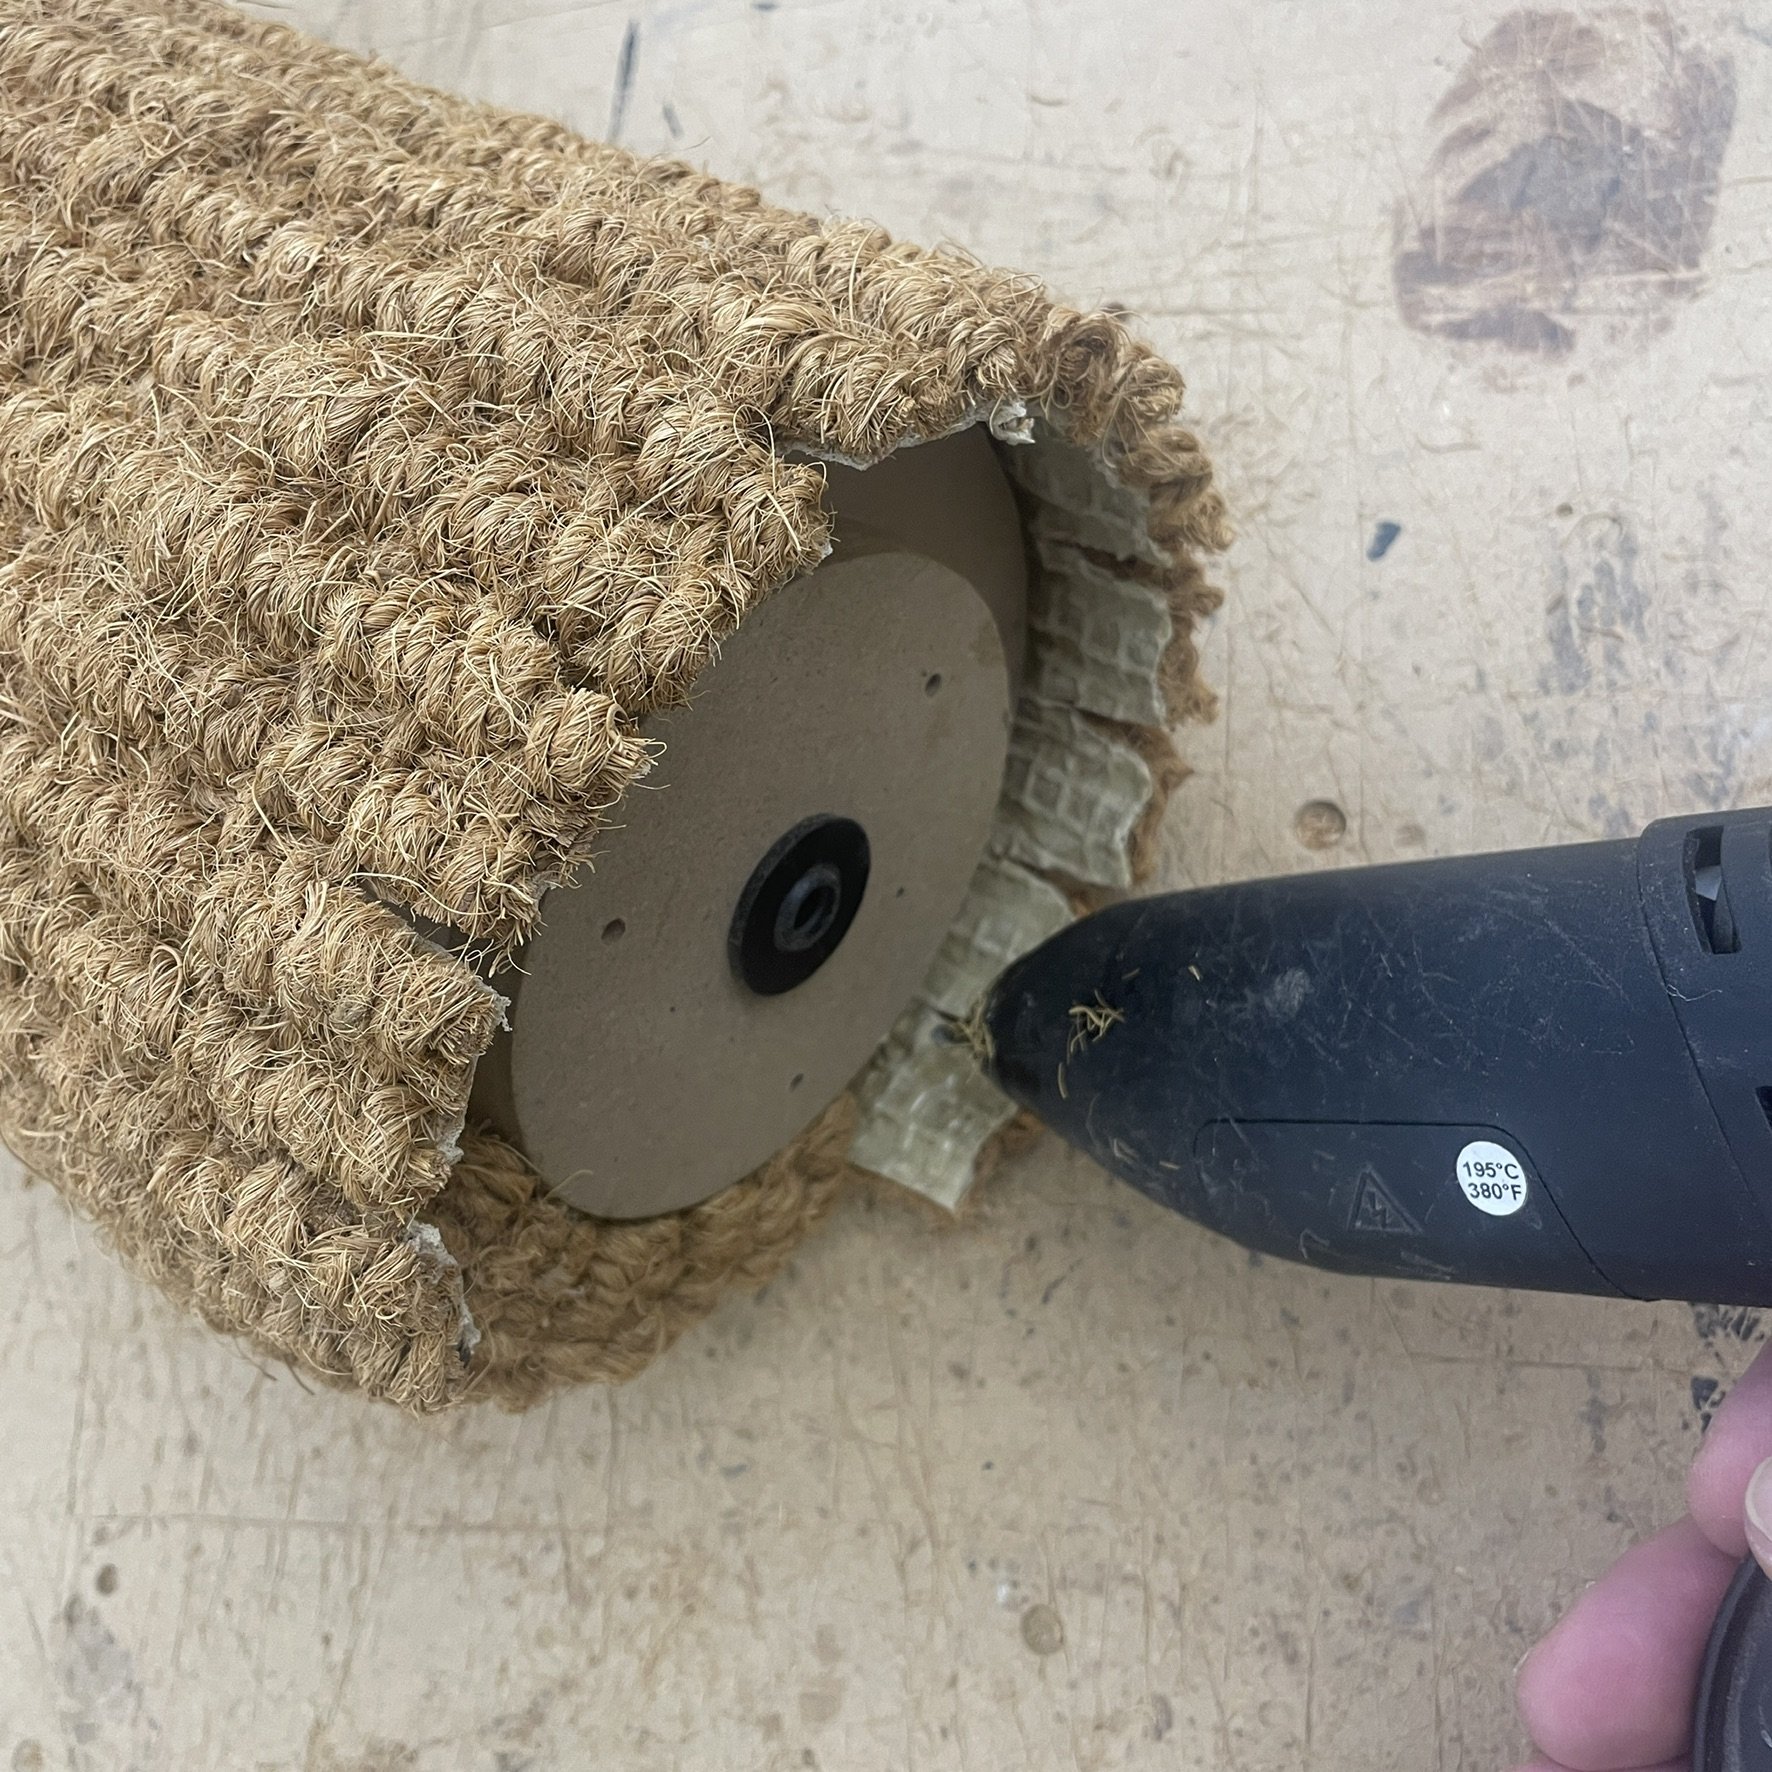
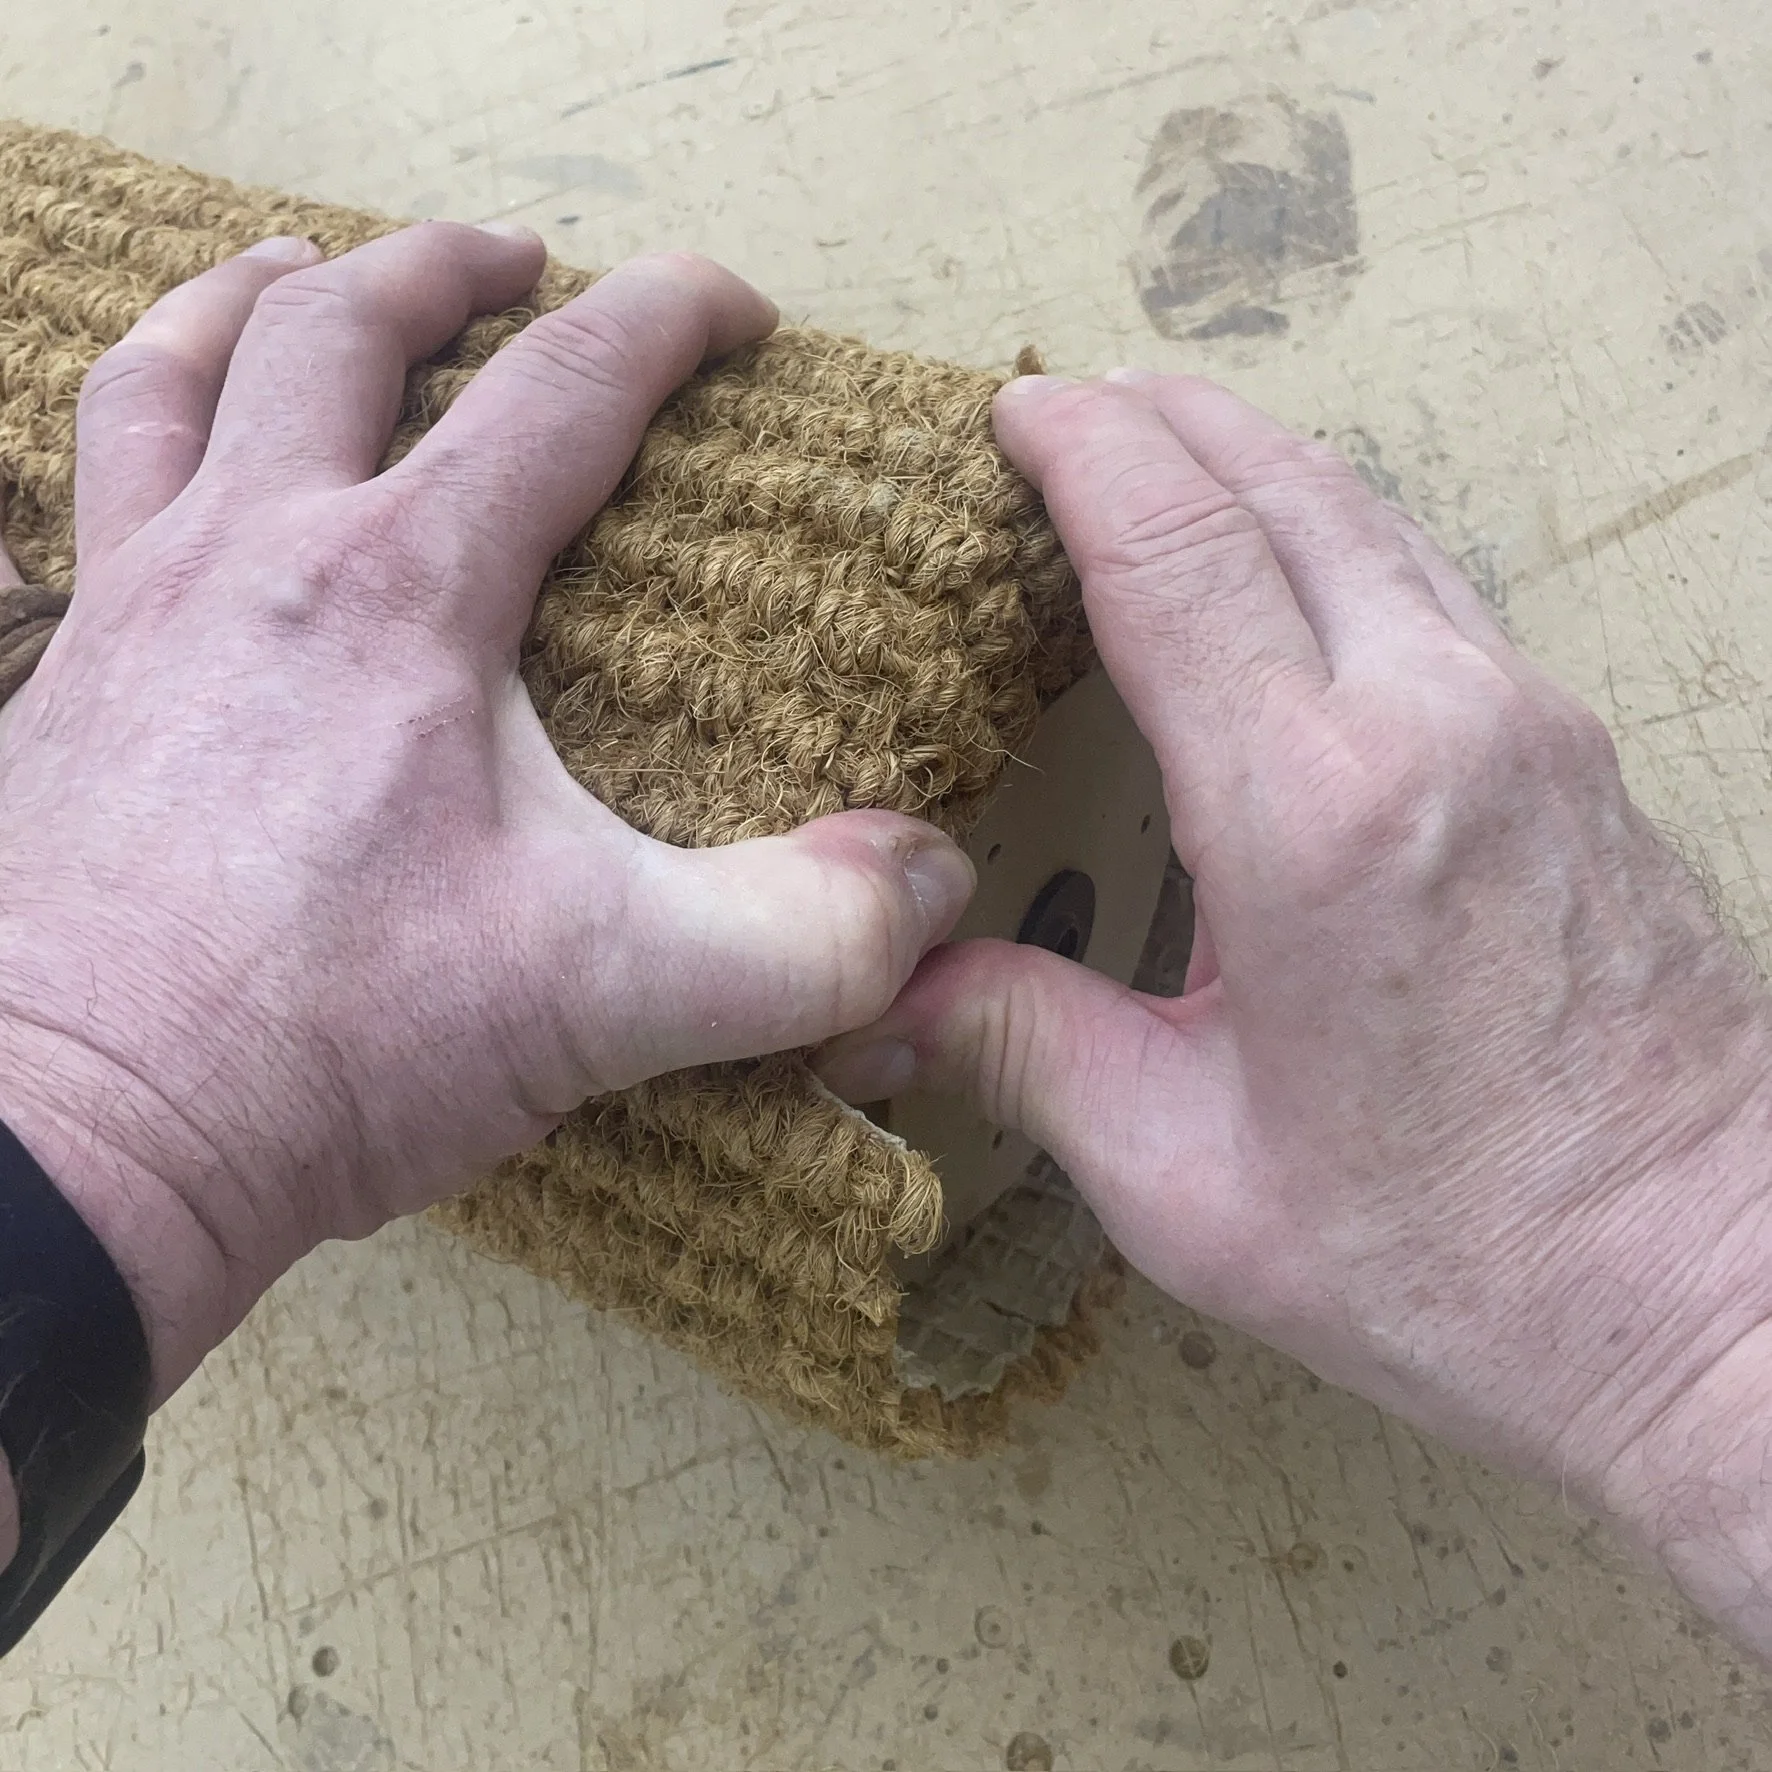
While fixing the flaps it’s best to check back & forth along the flaps to make sure they have all bonded well - give the wrapped ends a final check to make sure everything has bonded by checking for any lose movement.
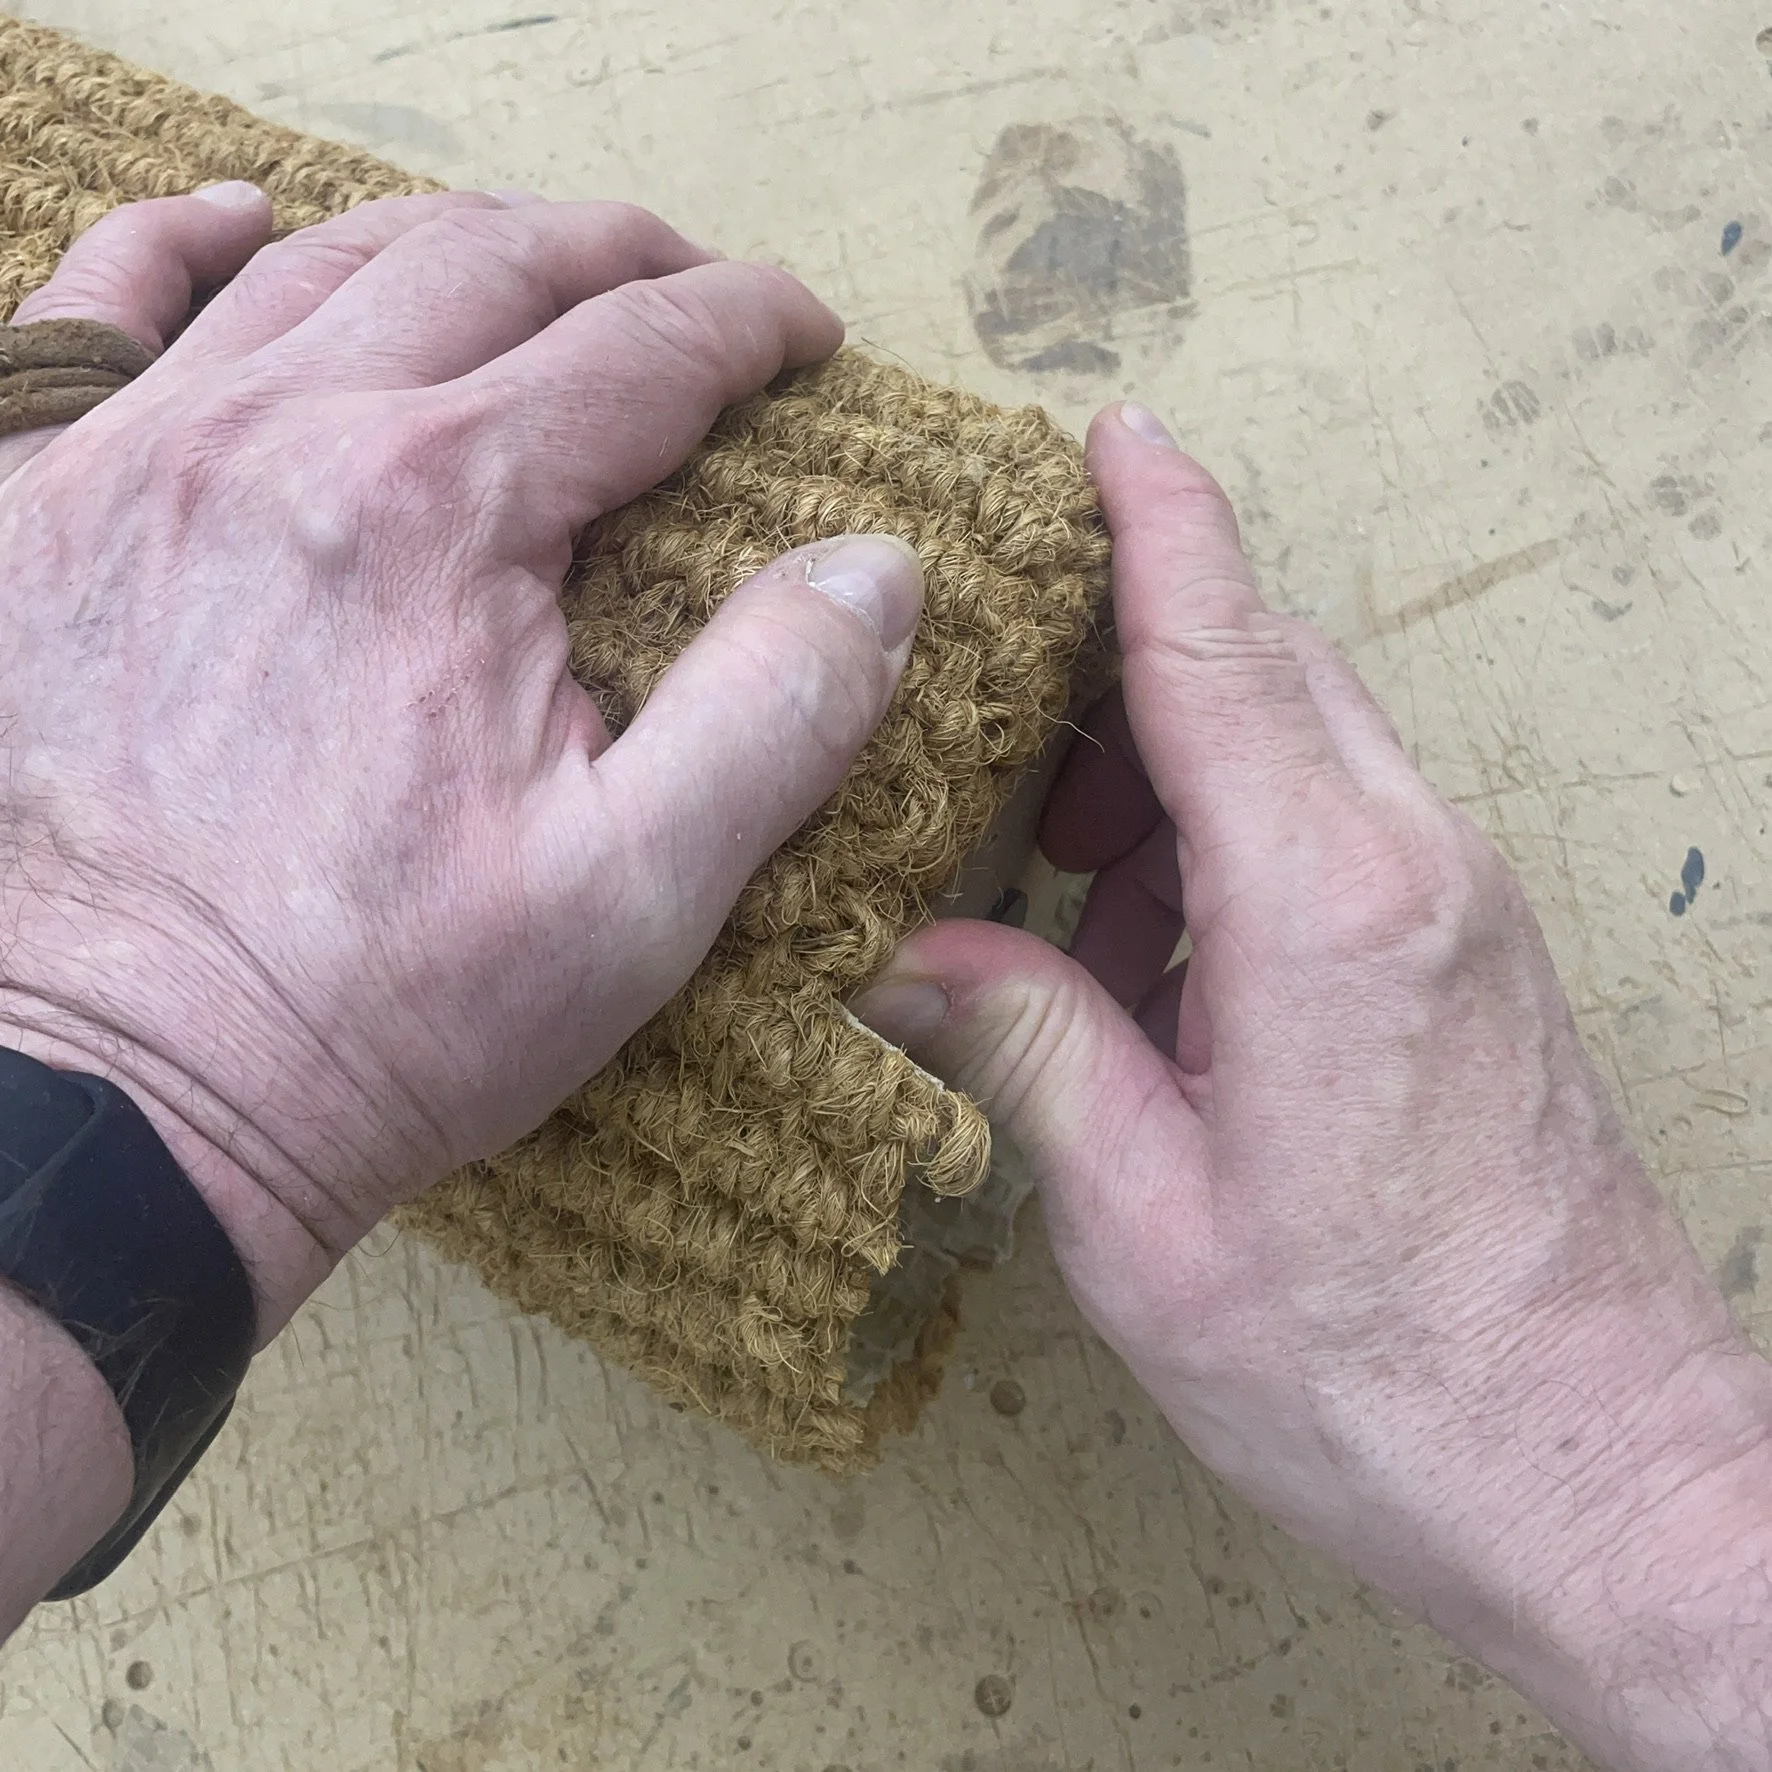
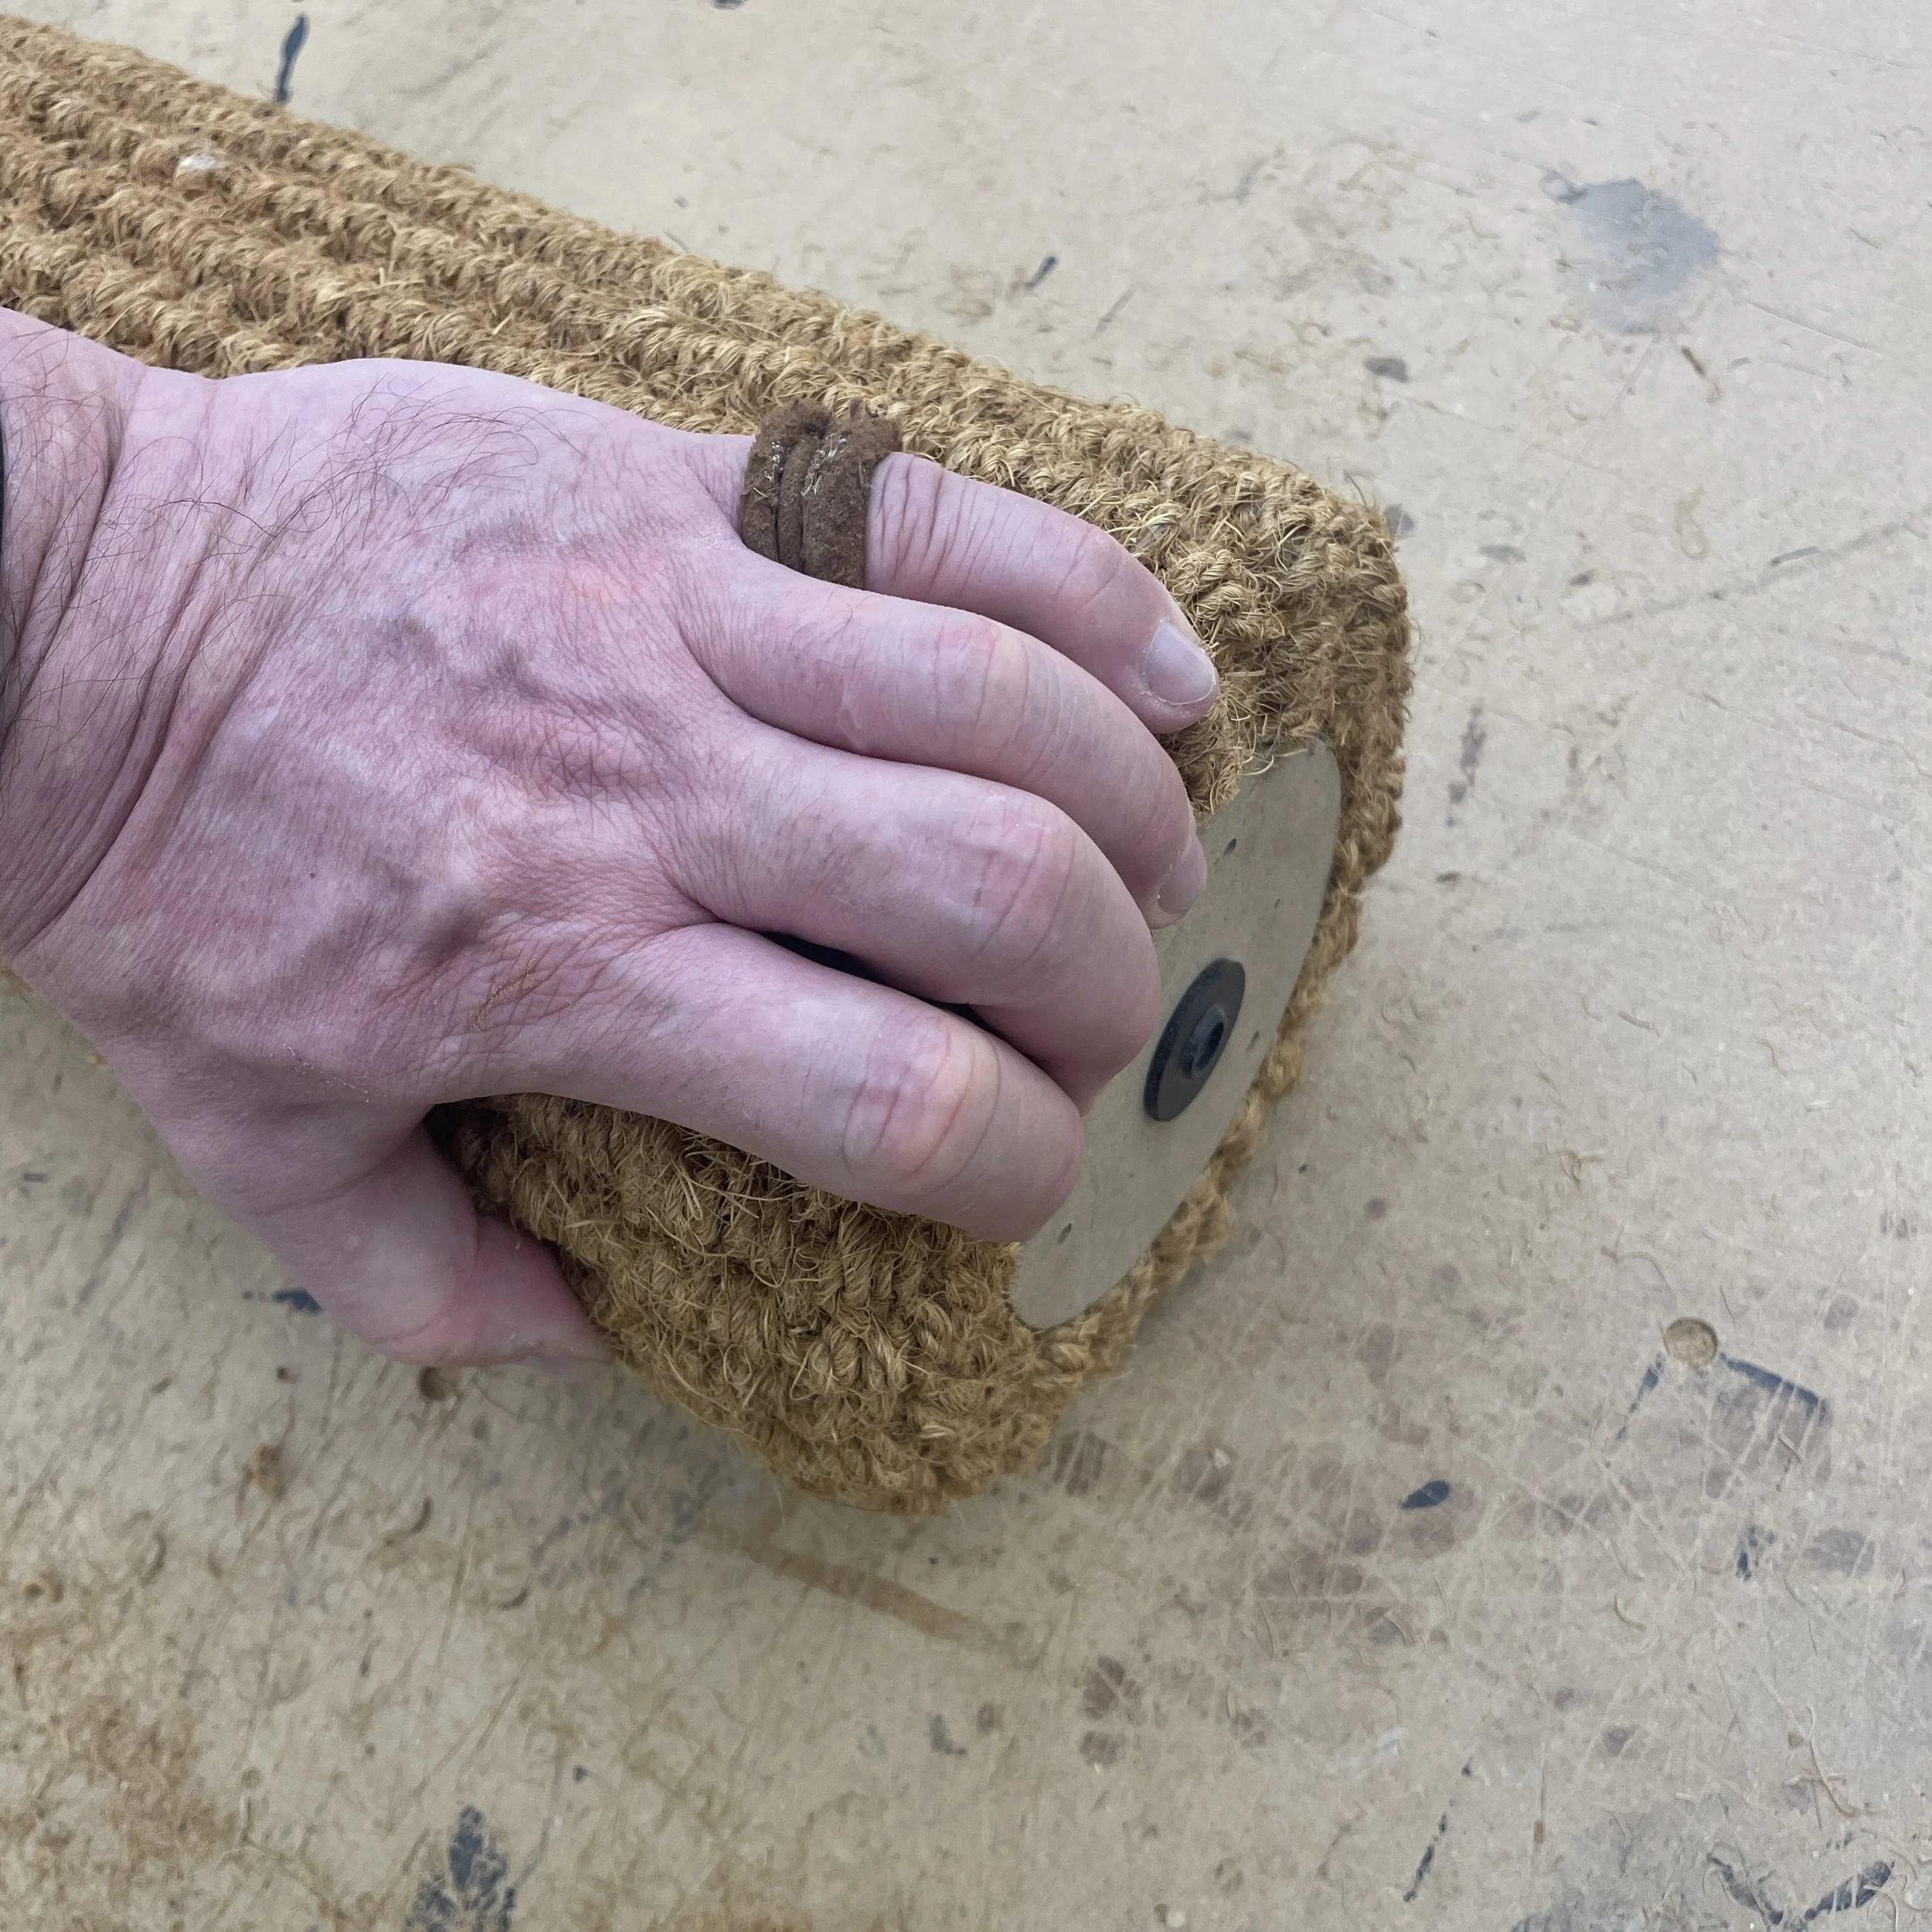
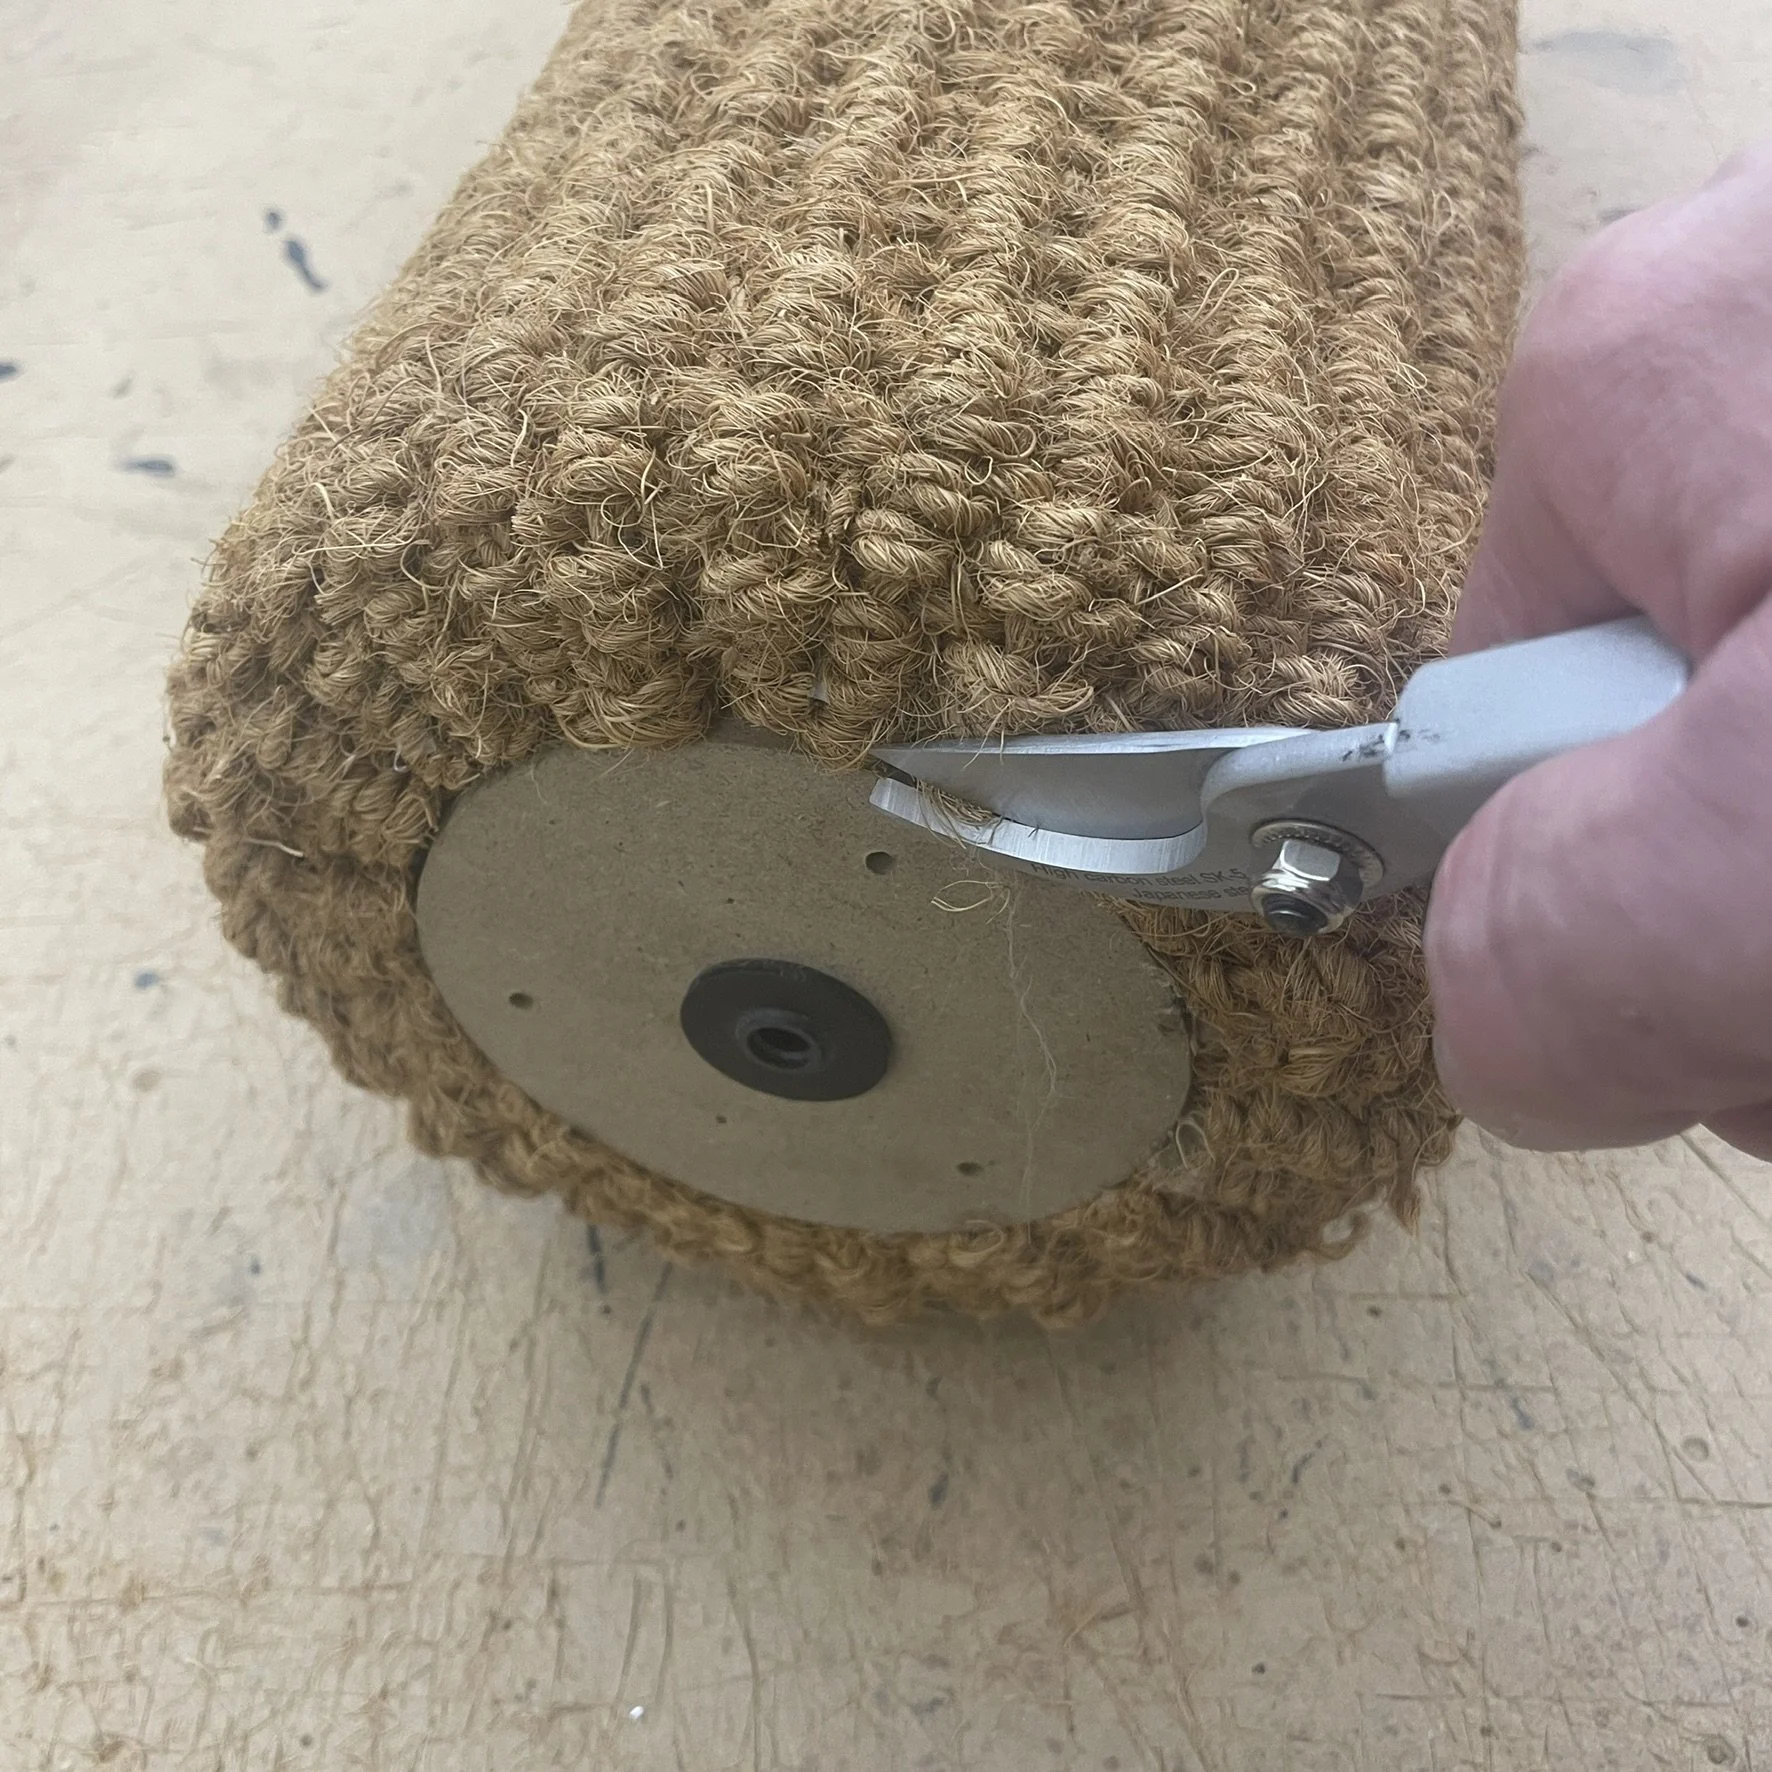
After fixing the flaps trim back any fibres that are sitting proud of the end cap collar.
If you are using coir to wrap your polecat you will have an exposed seam which you can dress with fibres.
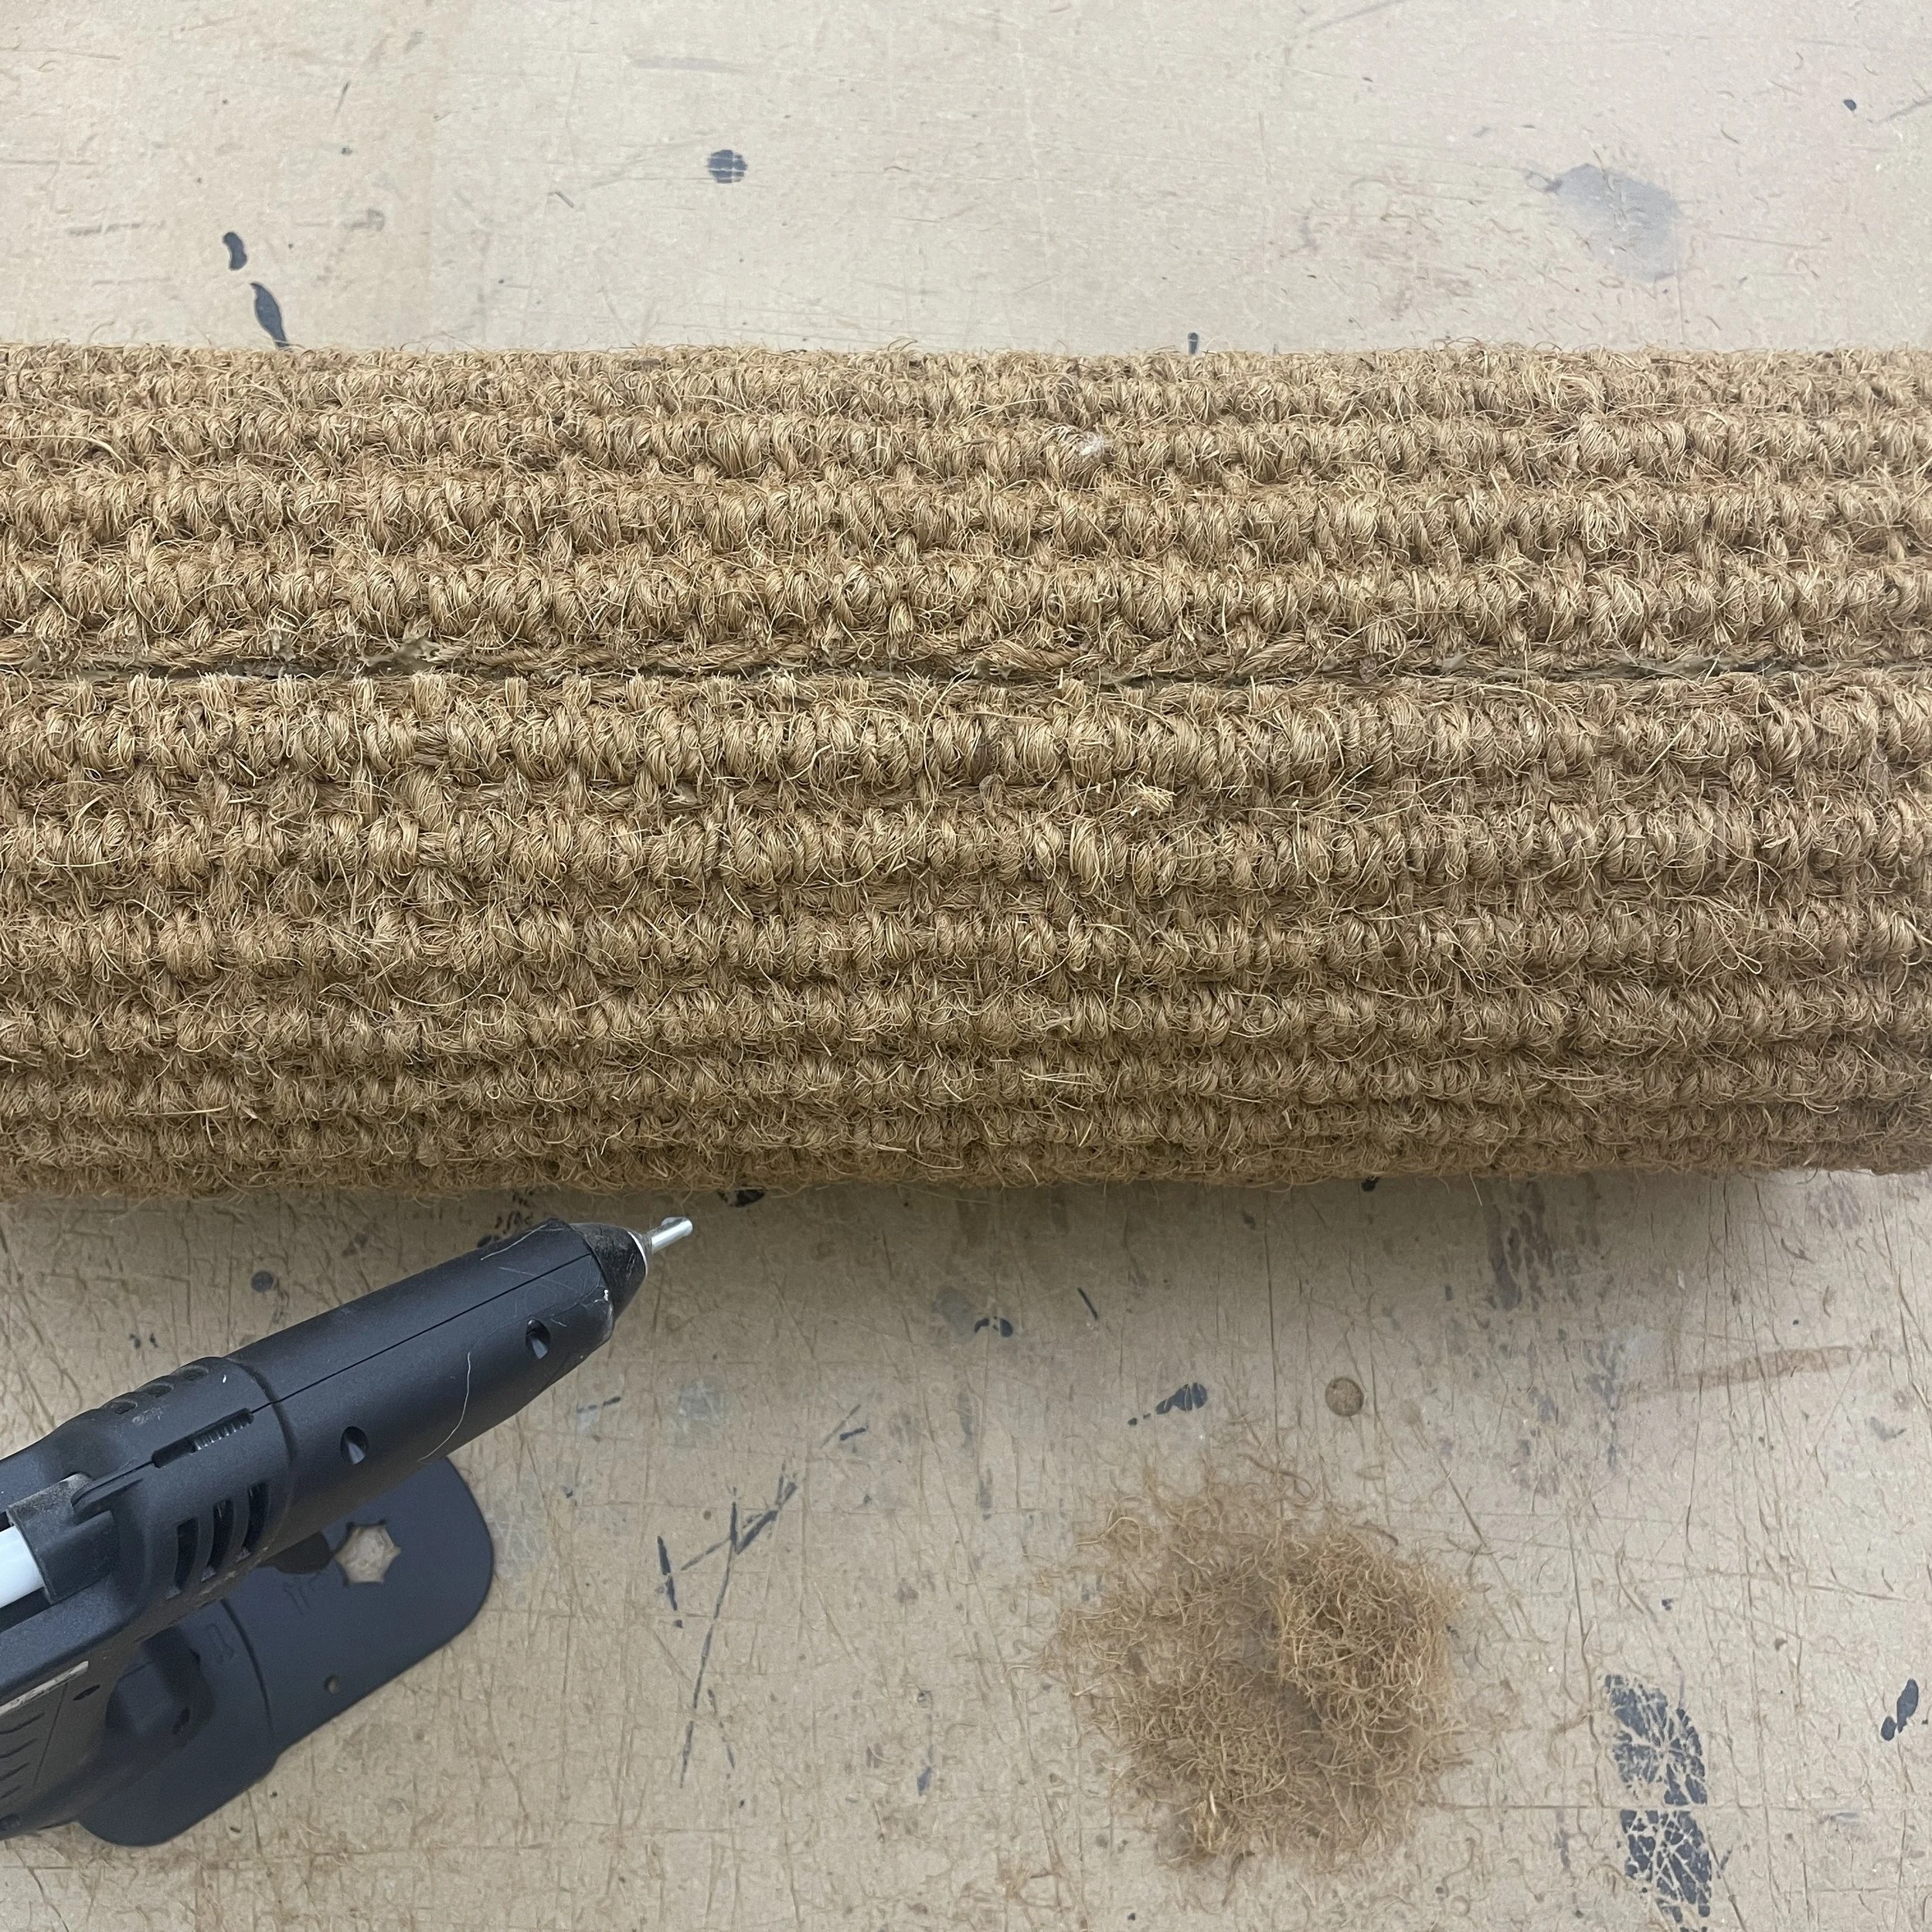
Make the fibres from a discarded off-cut - fibres between 3-5mm long work well as they are easy to sprinkle.
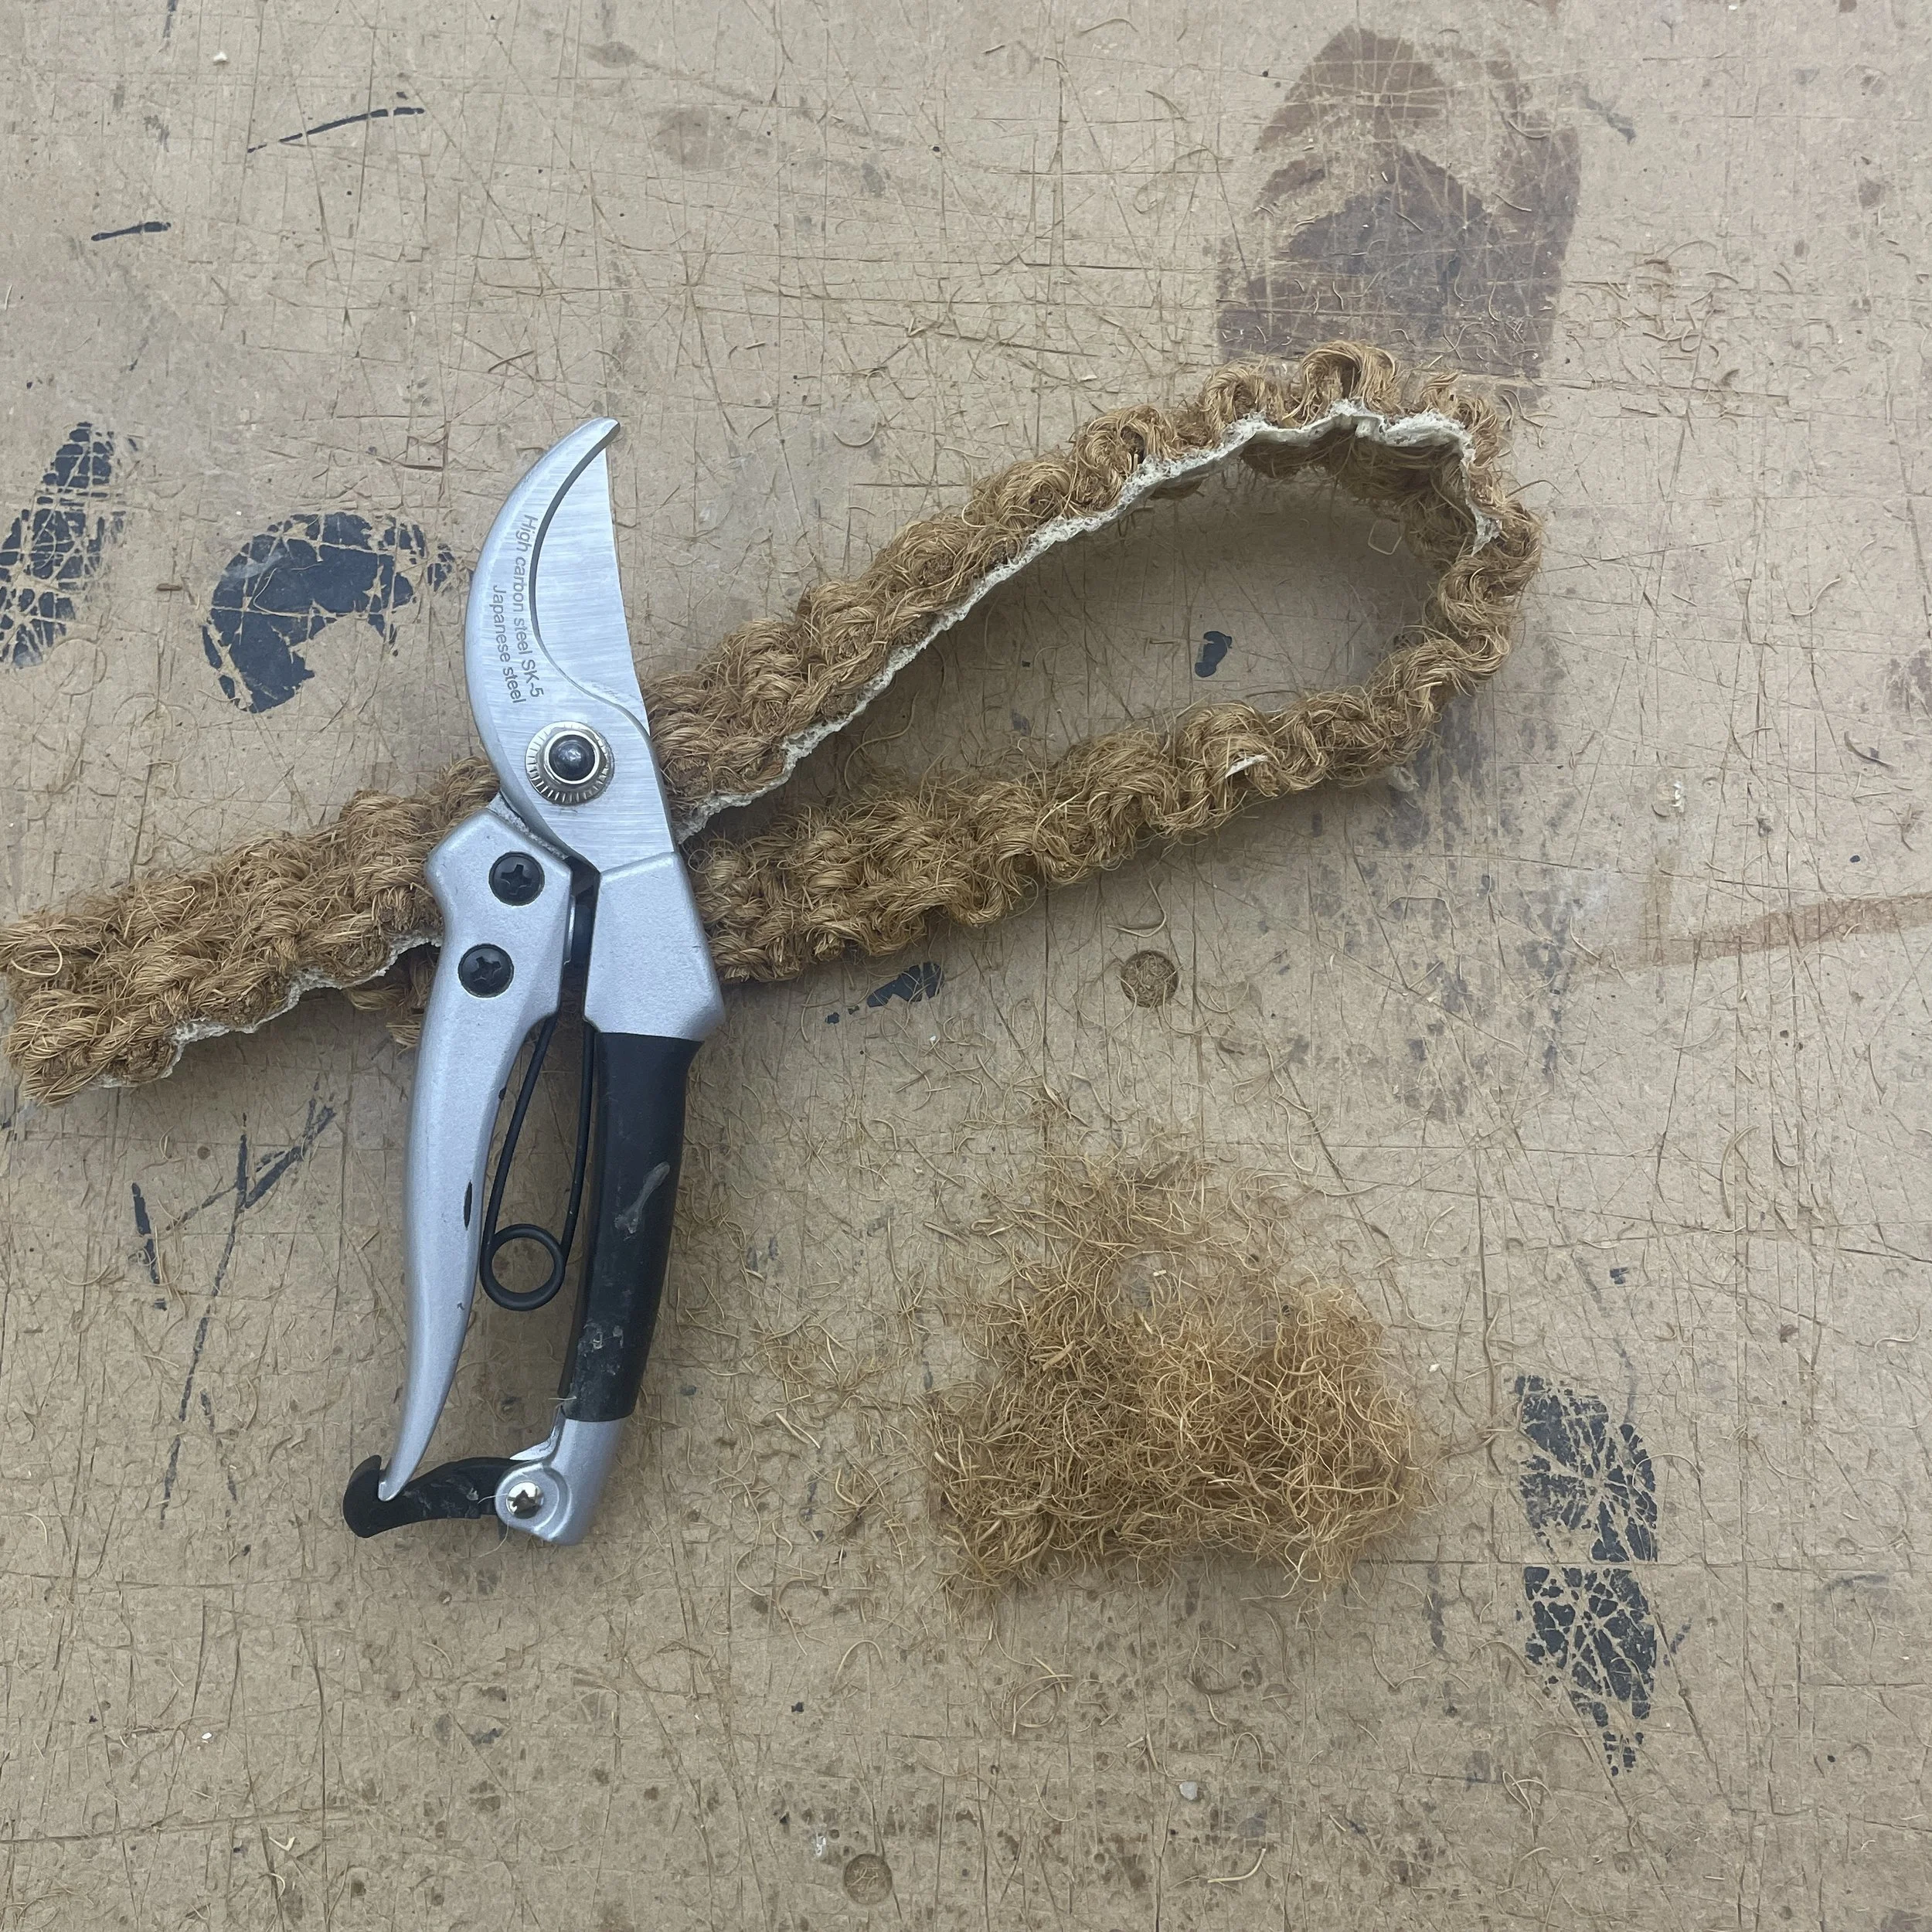
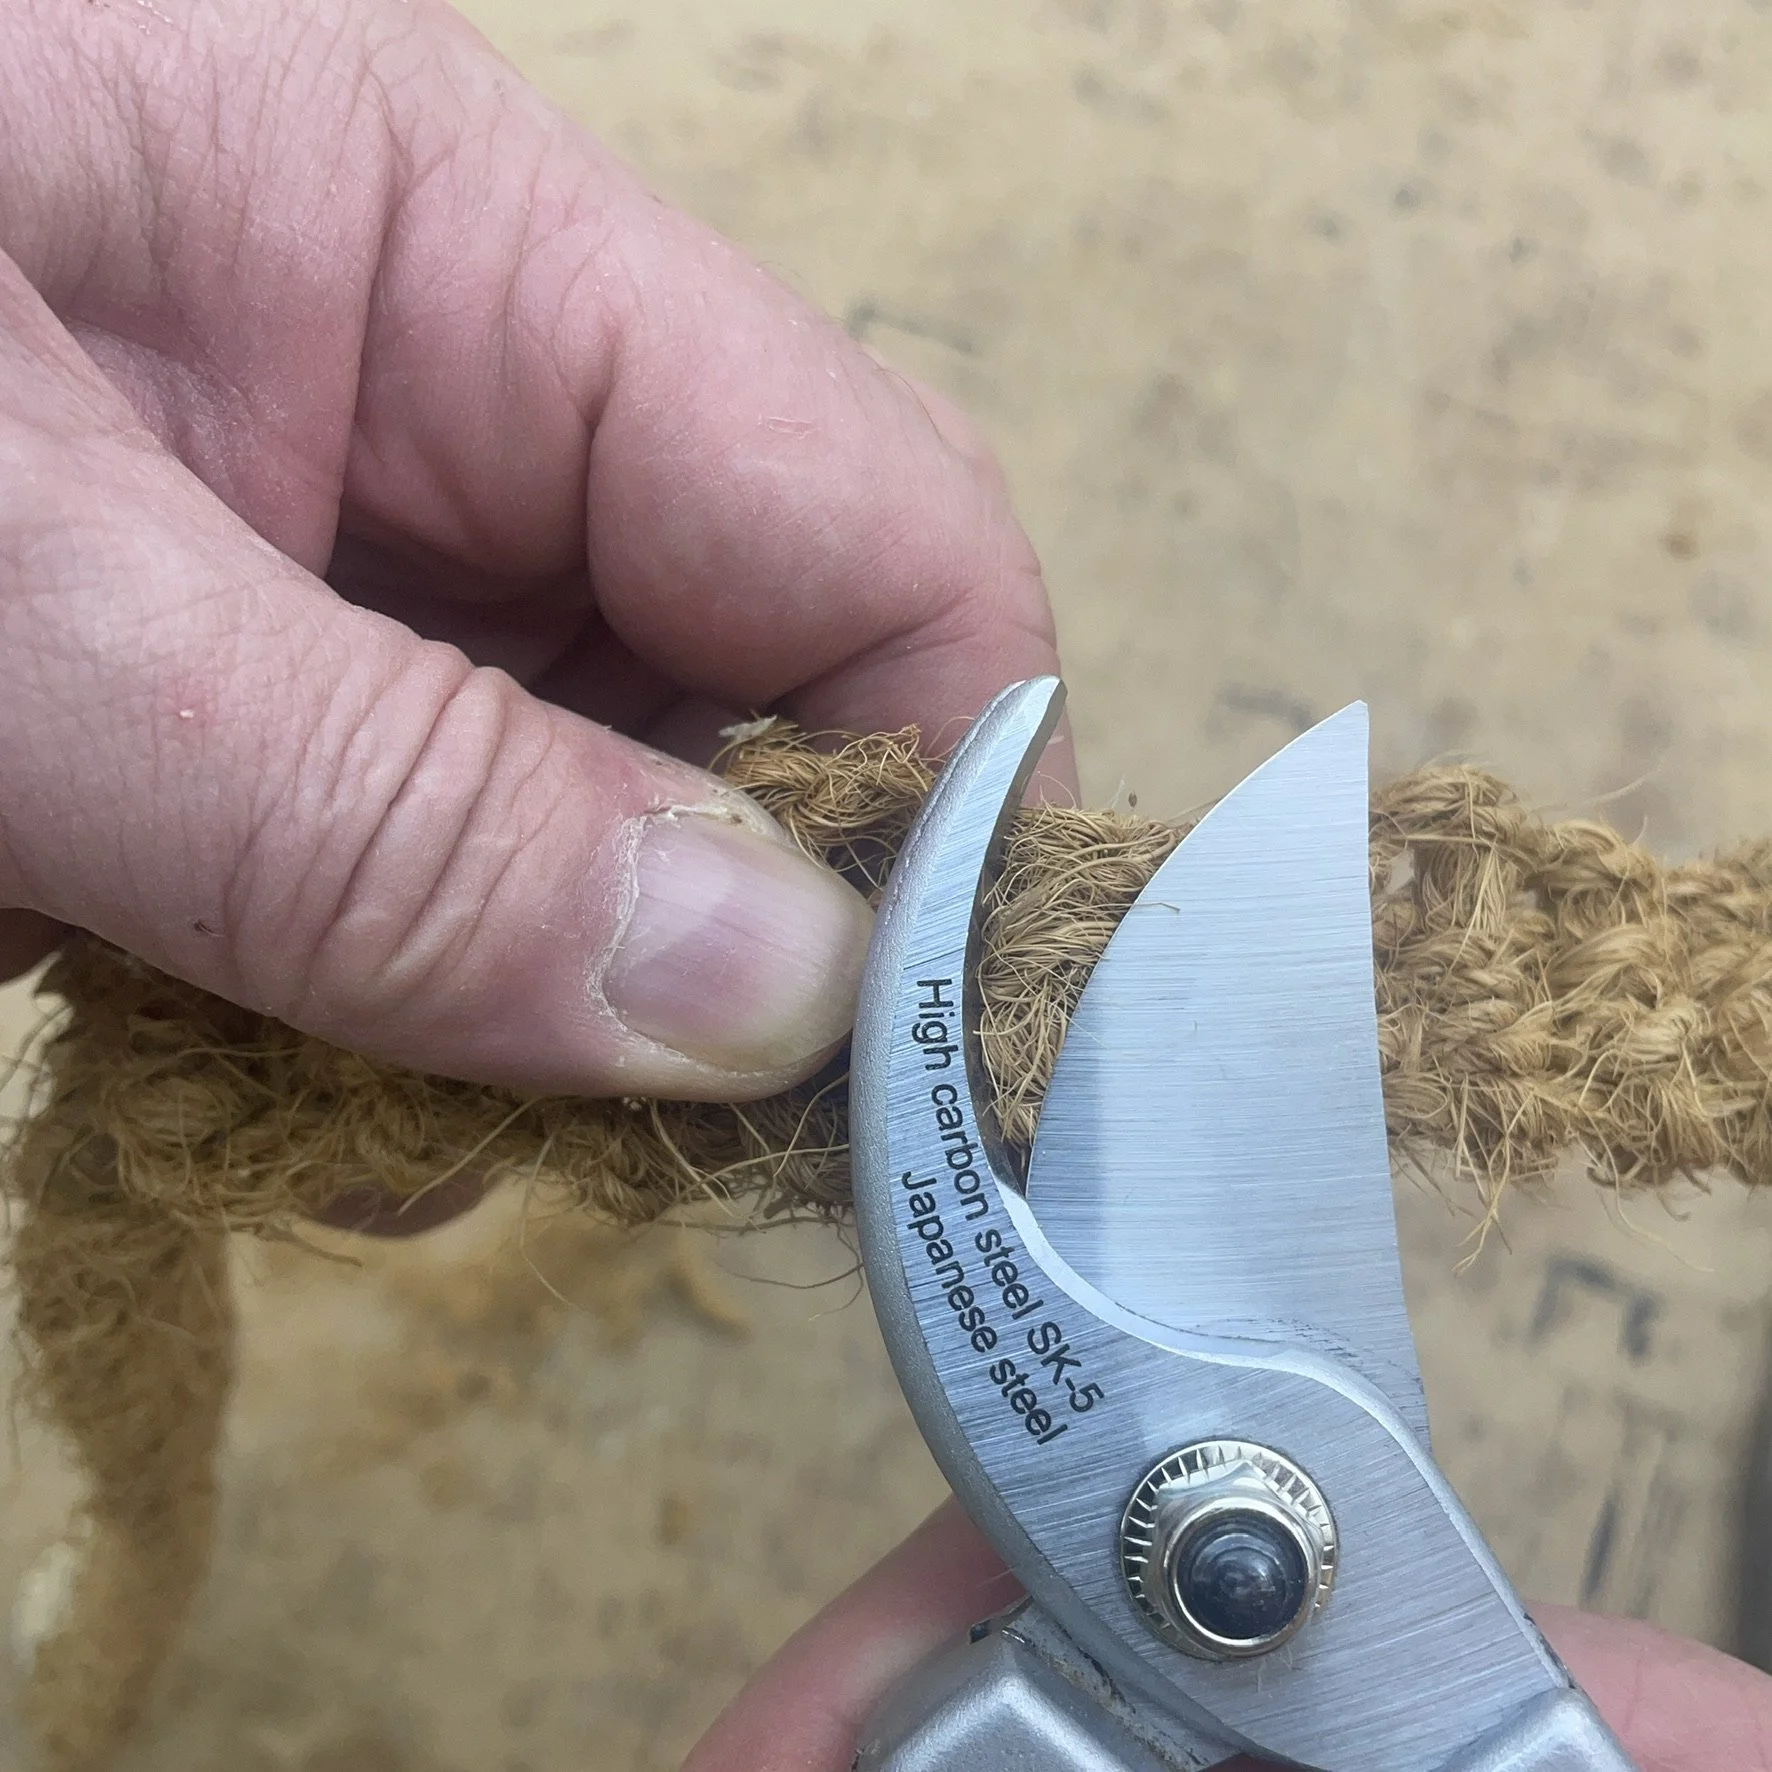
If your off-cut has latex backing then you will need to cut across the raised ribs to avoid the latex backing.
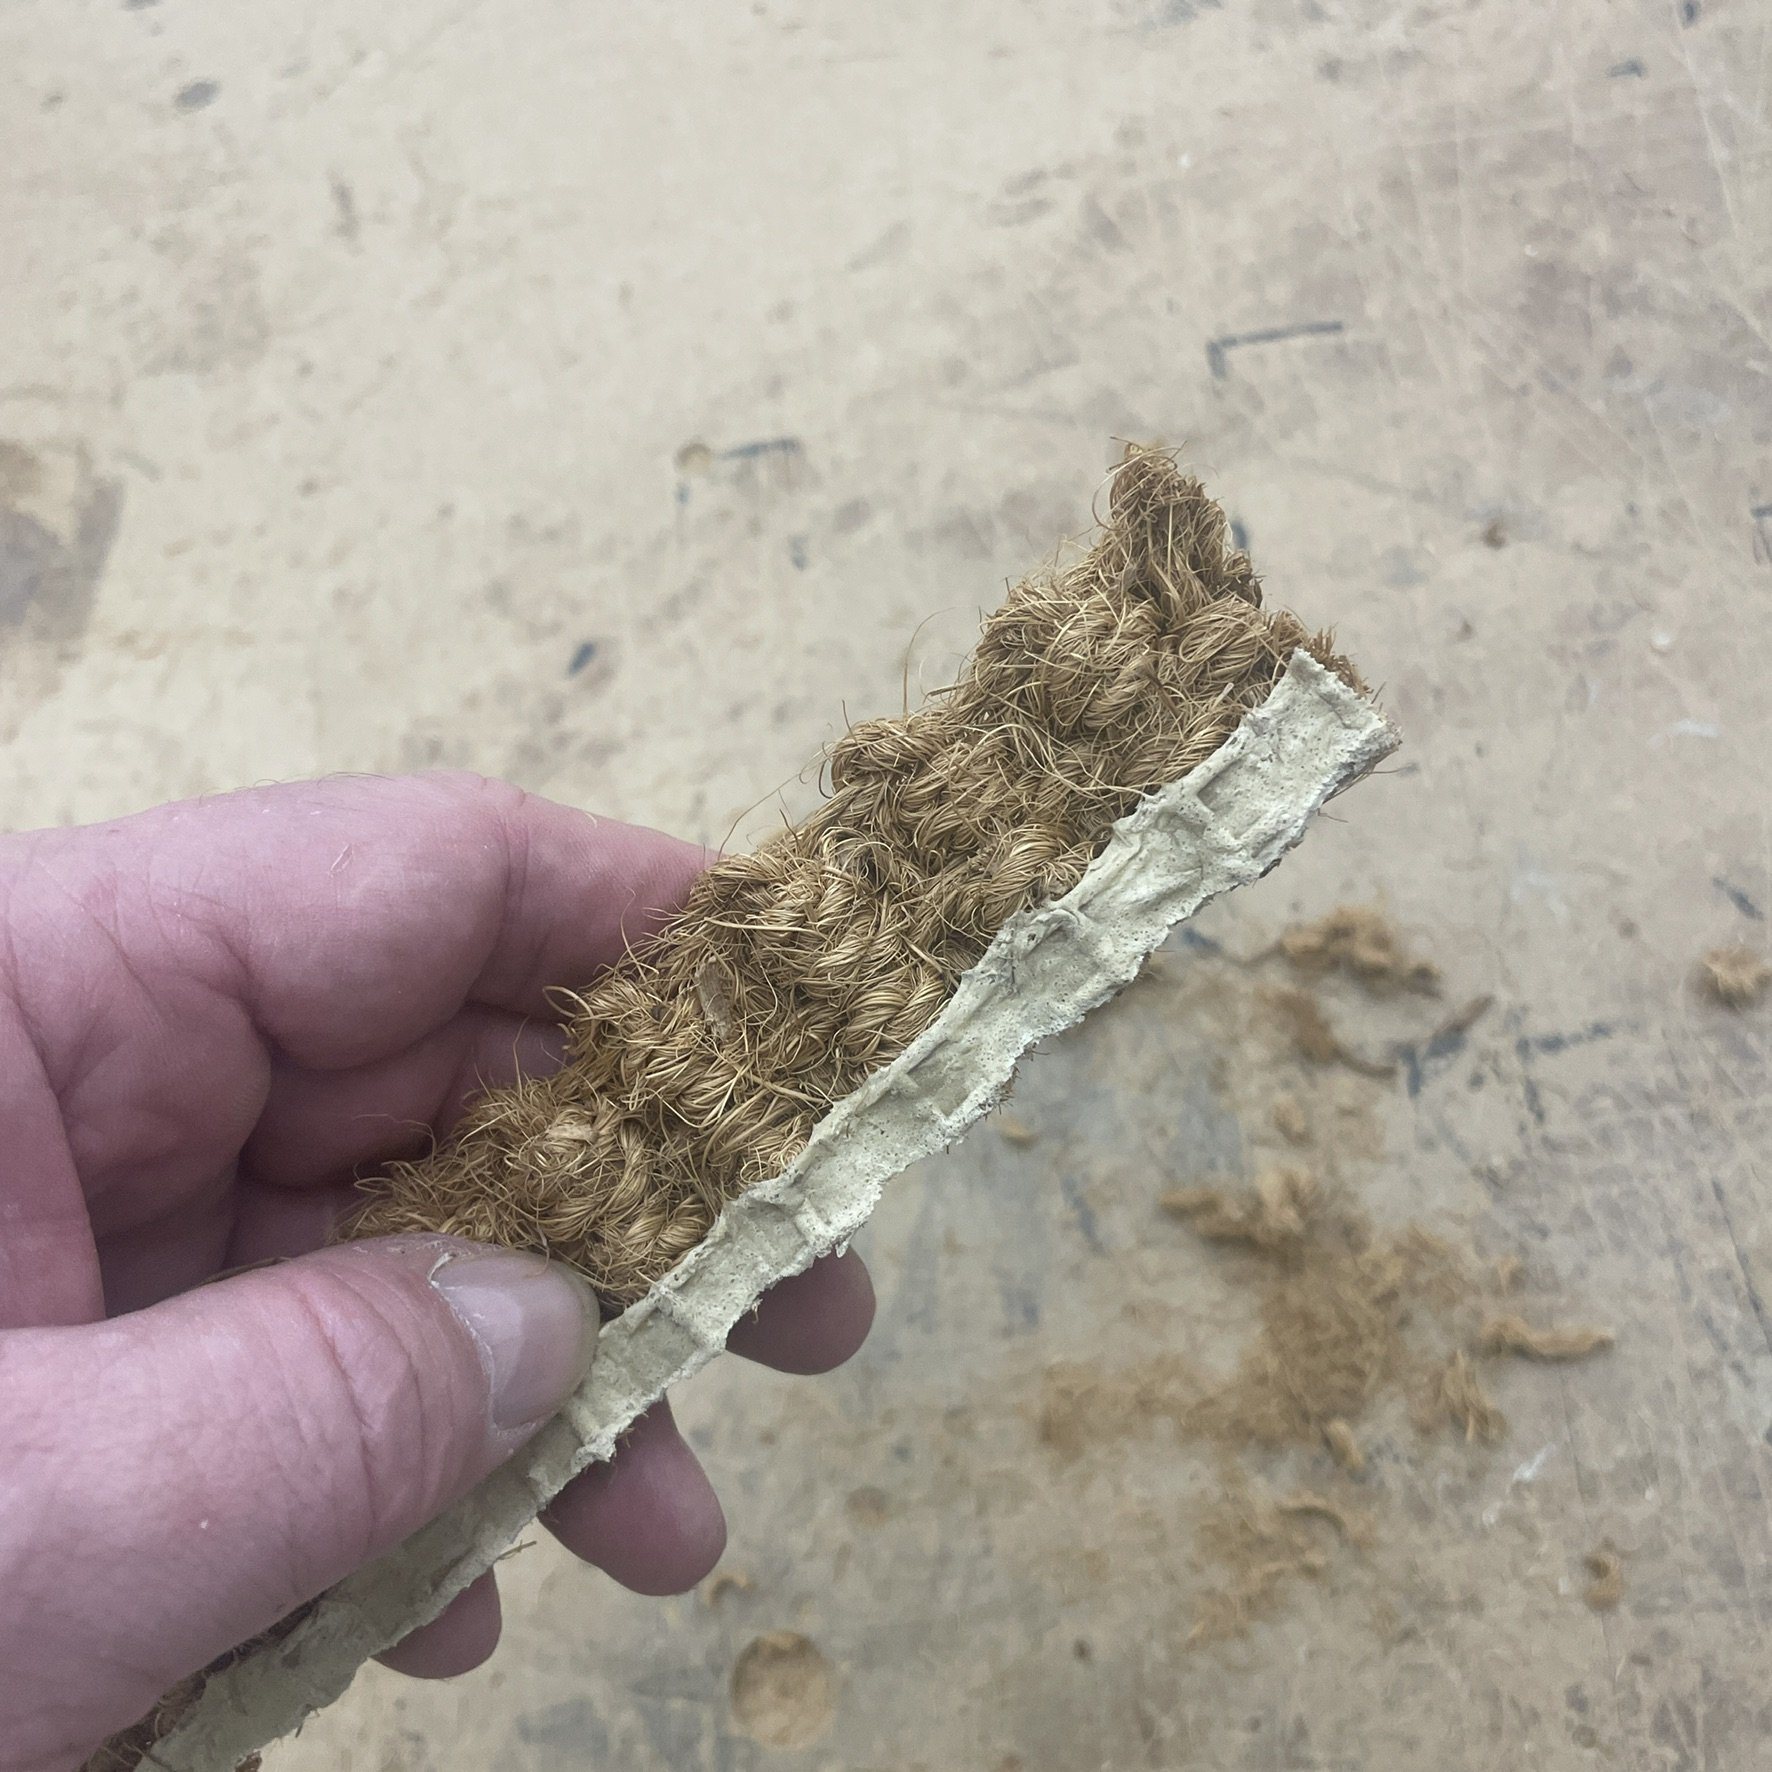
If the off-cut is from the edge of a carpet roll it will have a small bare section without latex backing - trim off the latex section & then cut fibres from the remaining carpet.
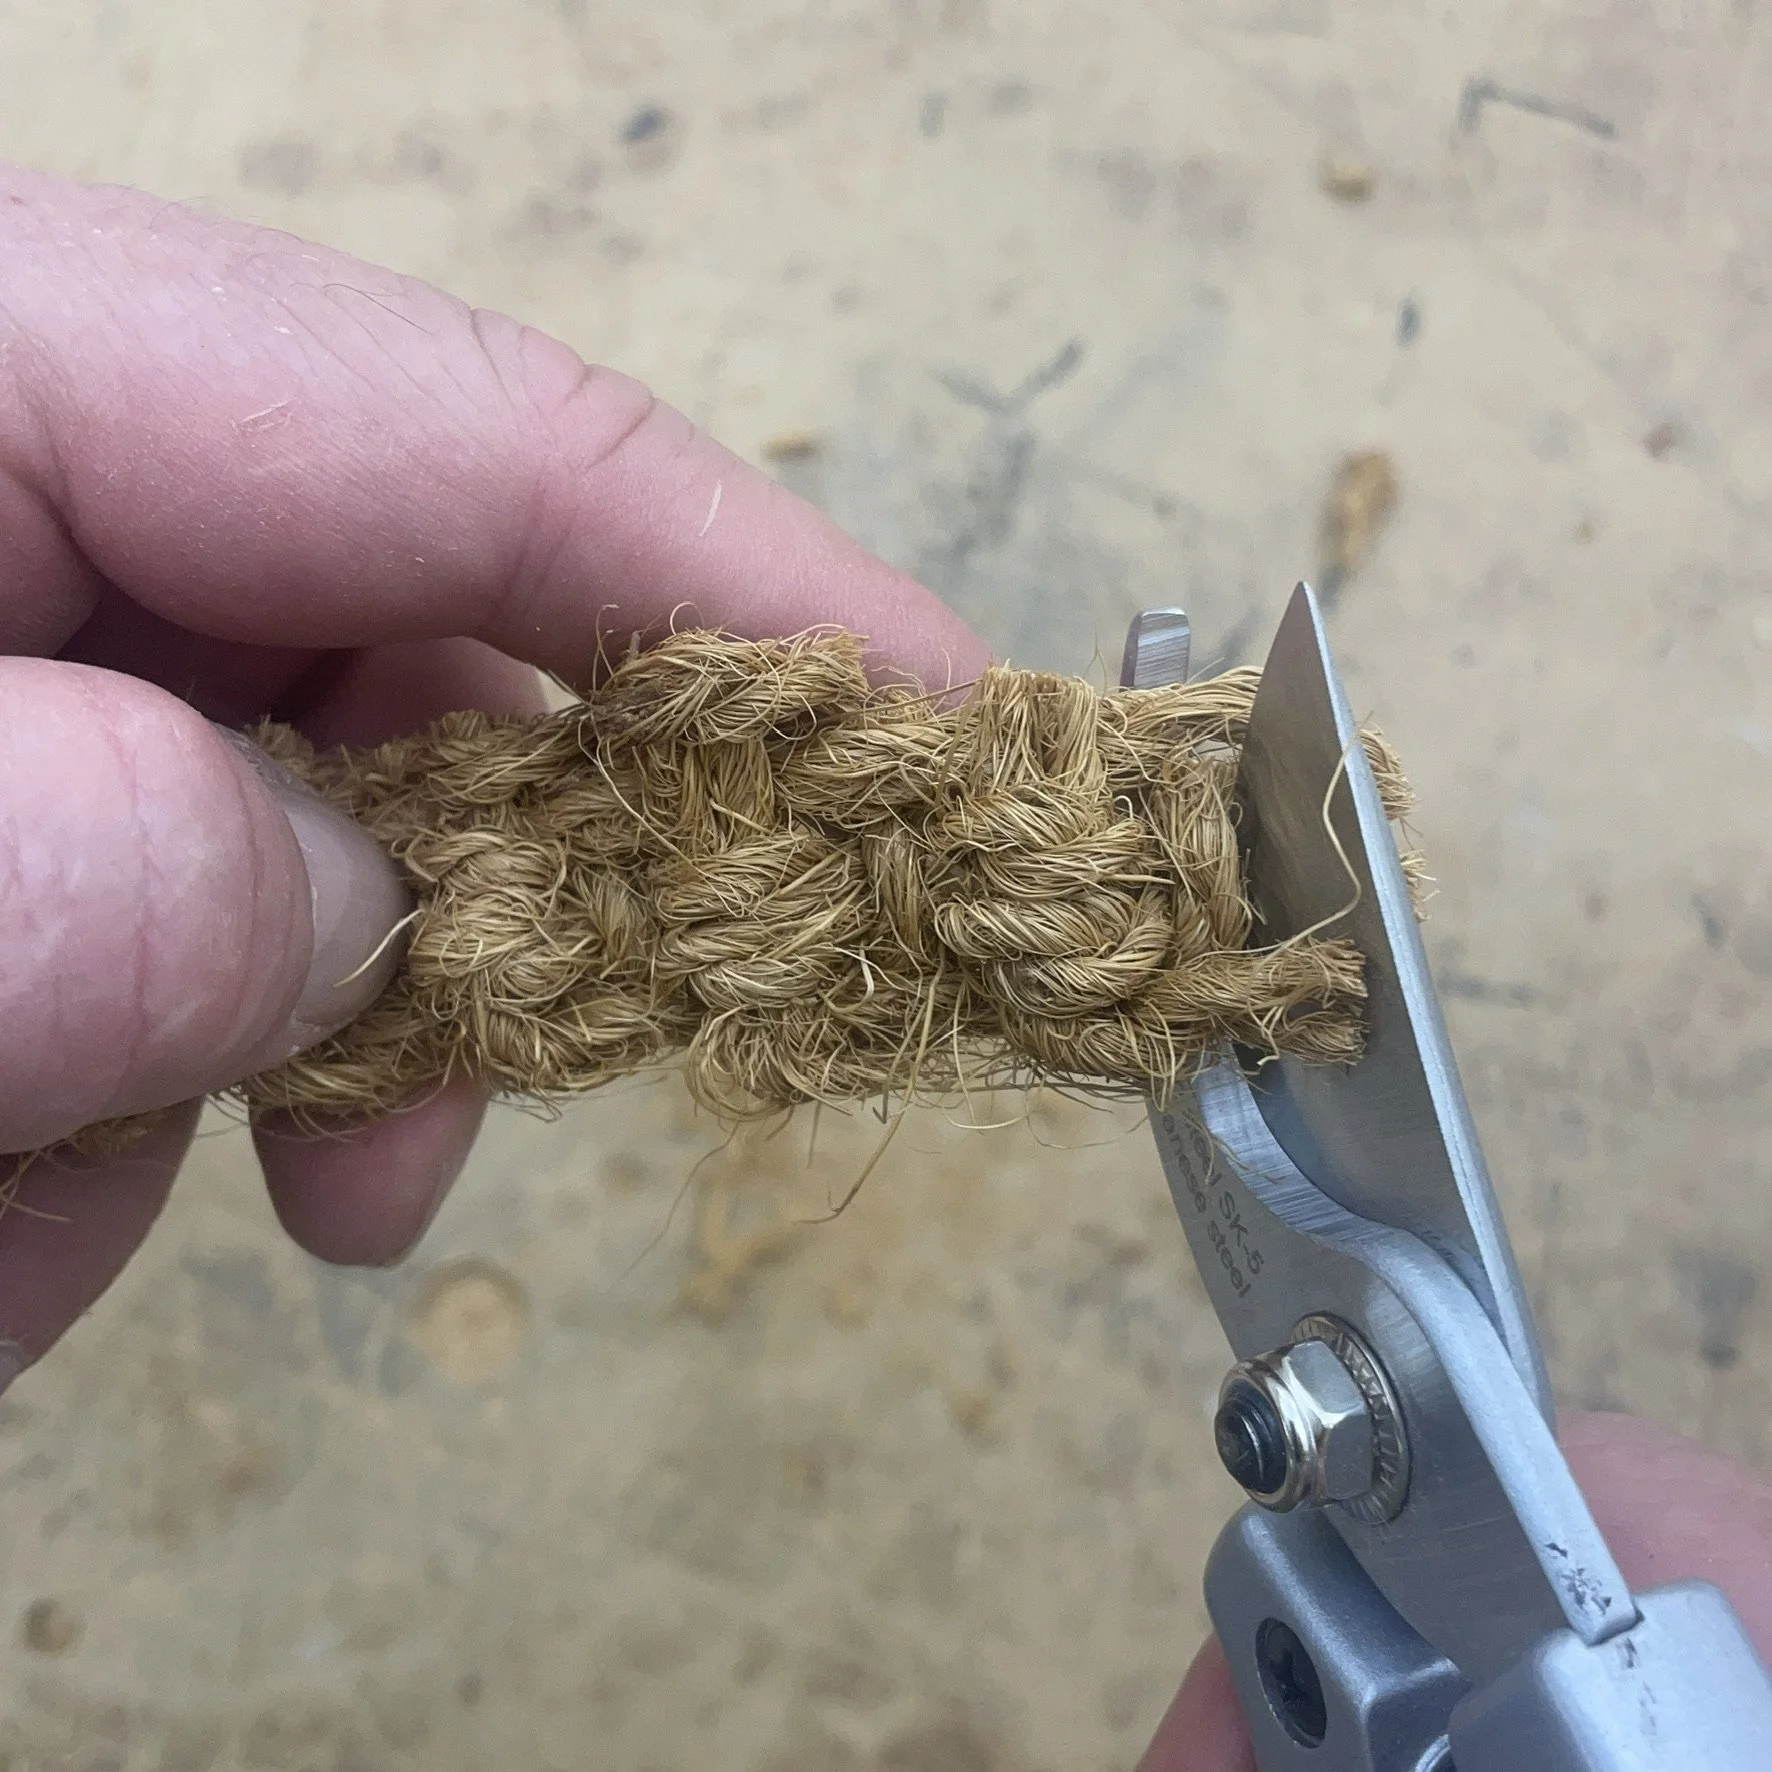
When you’ve trimmed the coir from the offcuts you can then cut down the fibres again using secateurs - we actually use a blender to finish off the cutting down of our fibres.
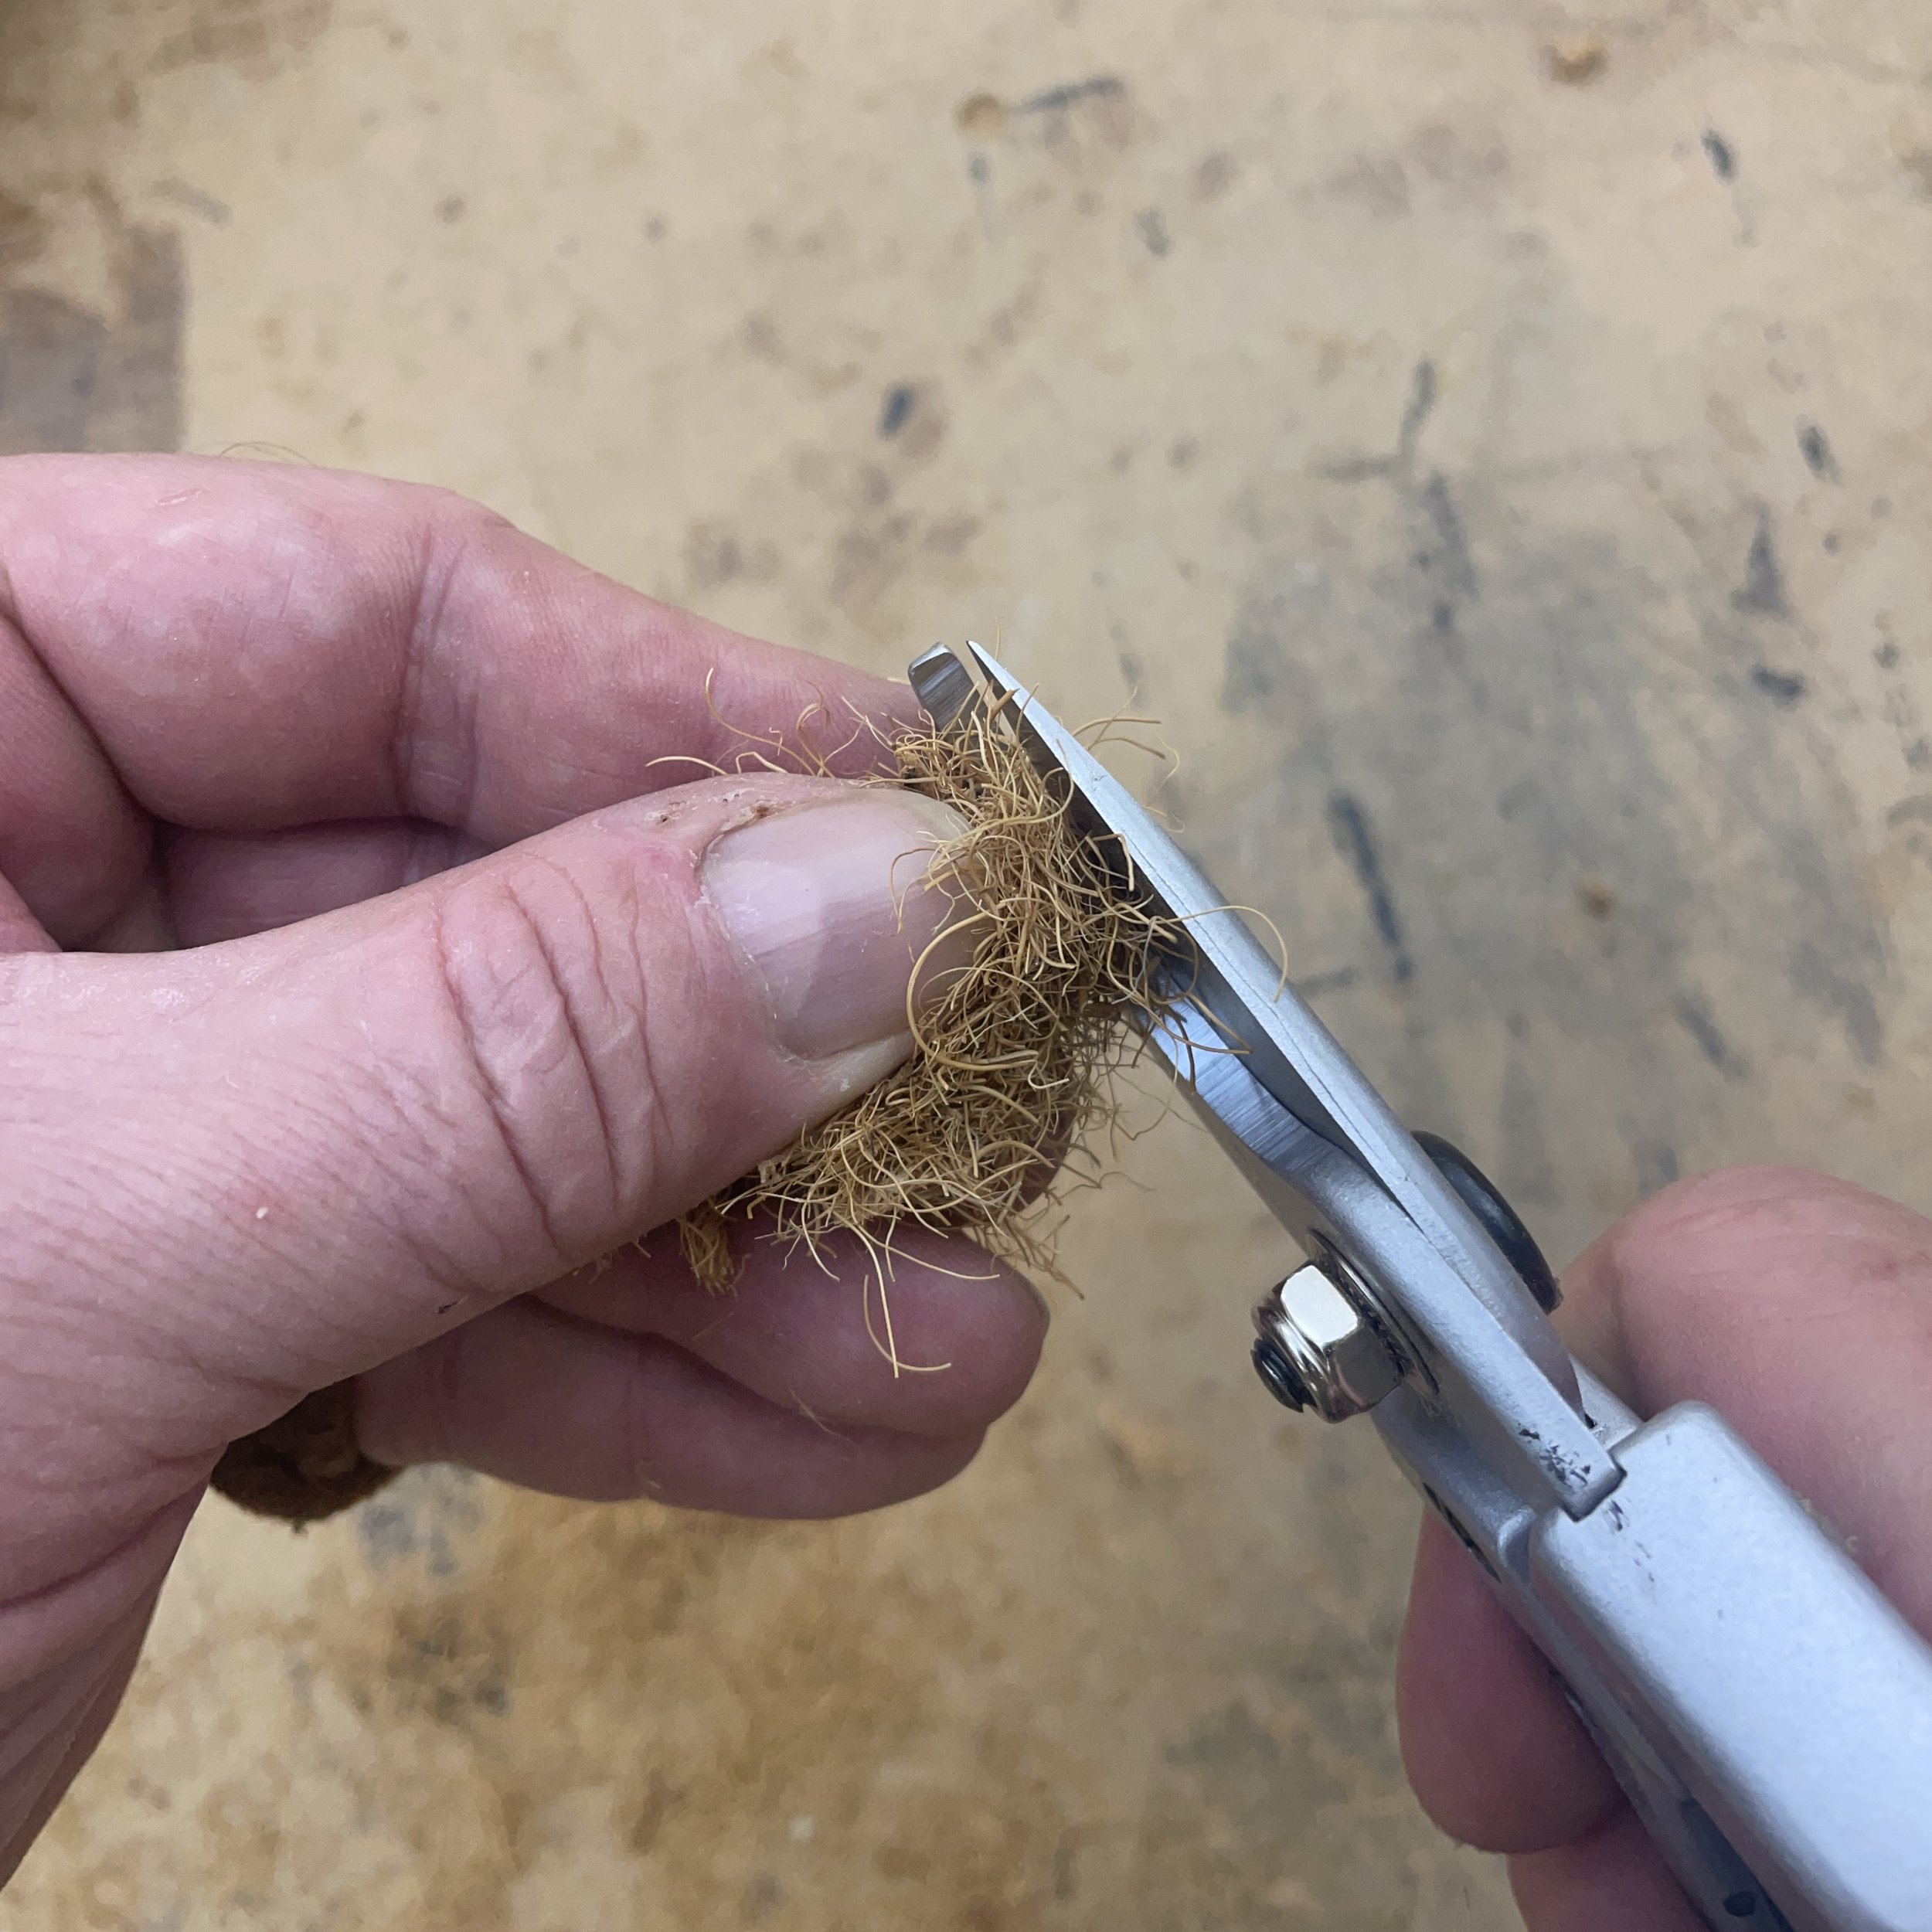
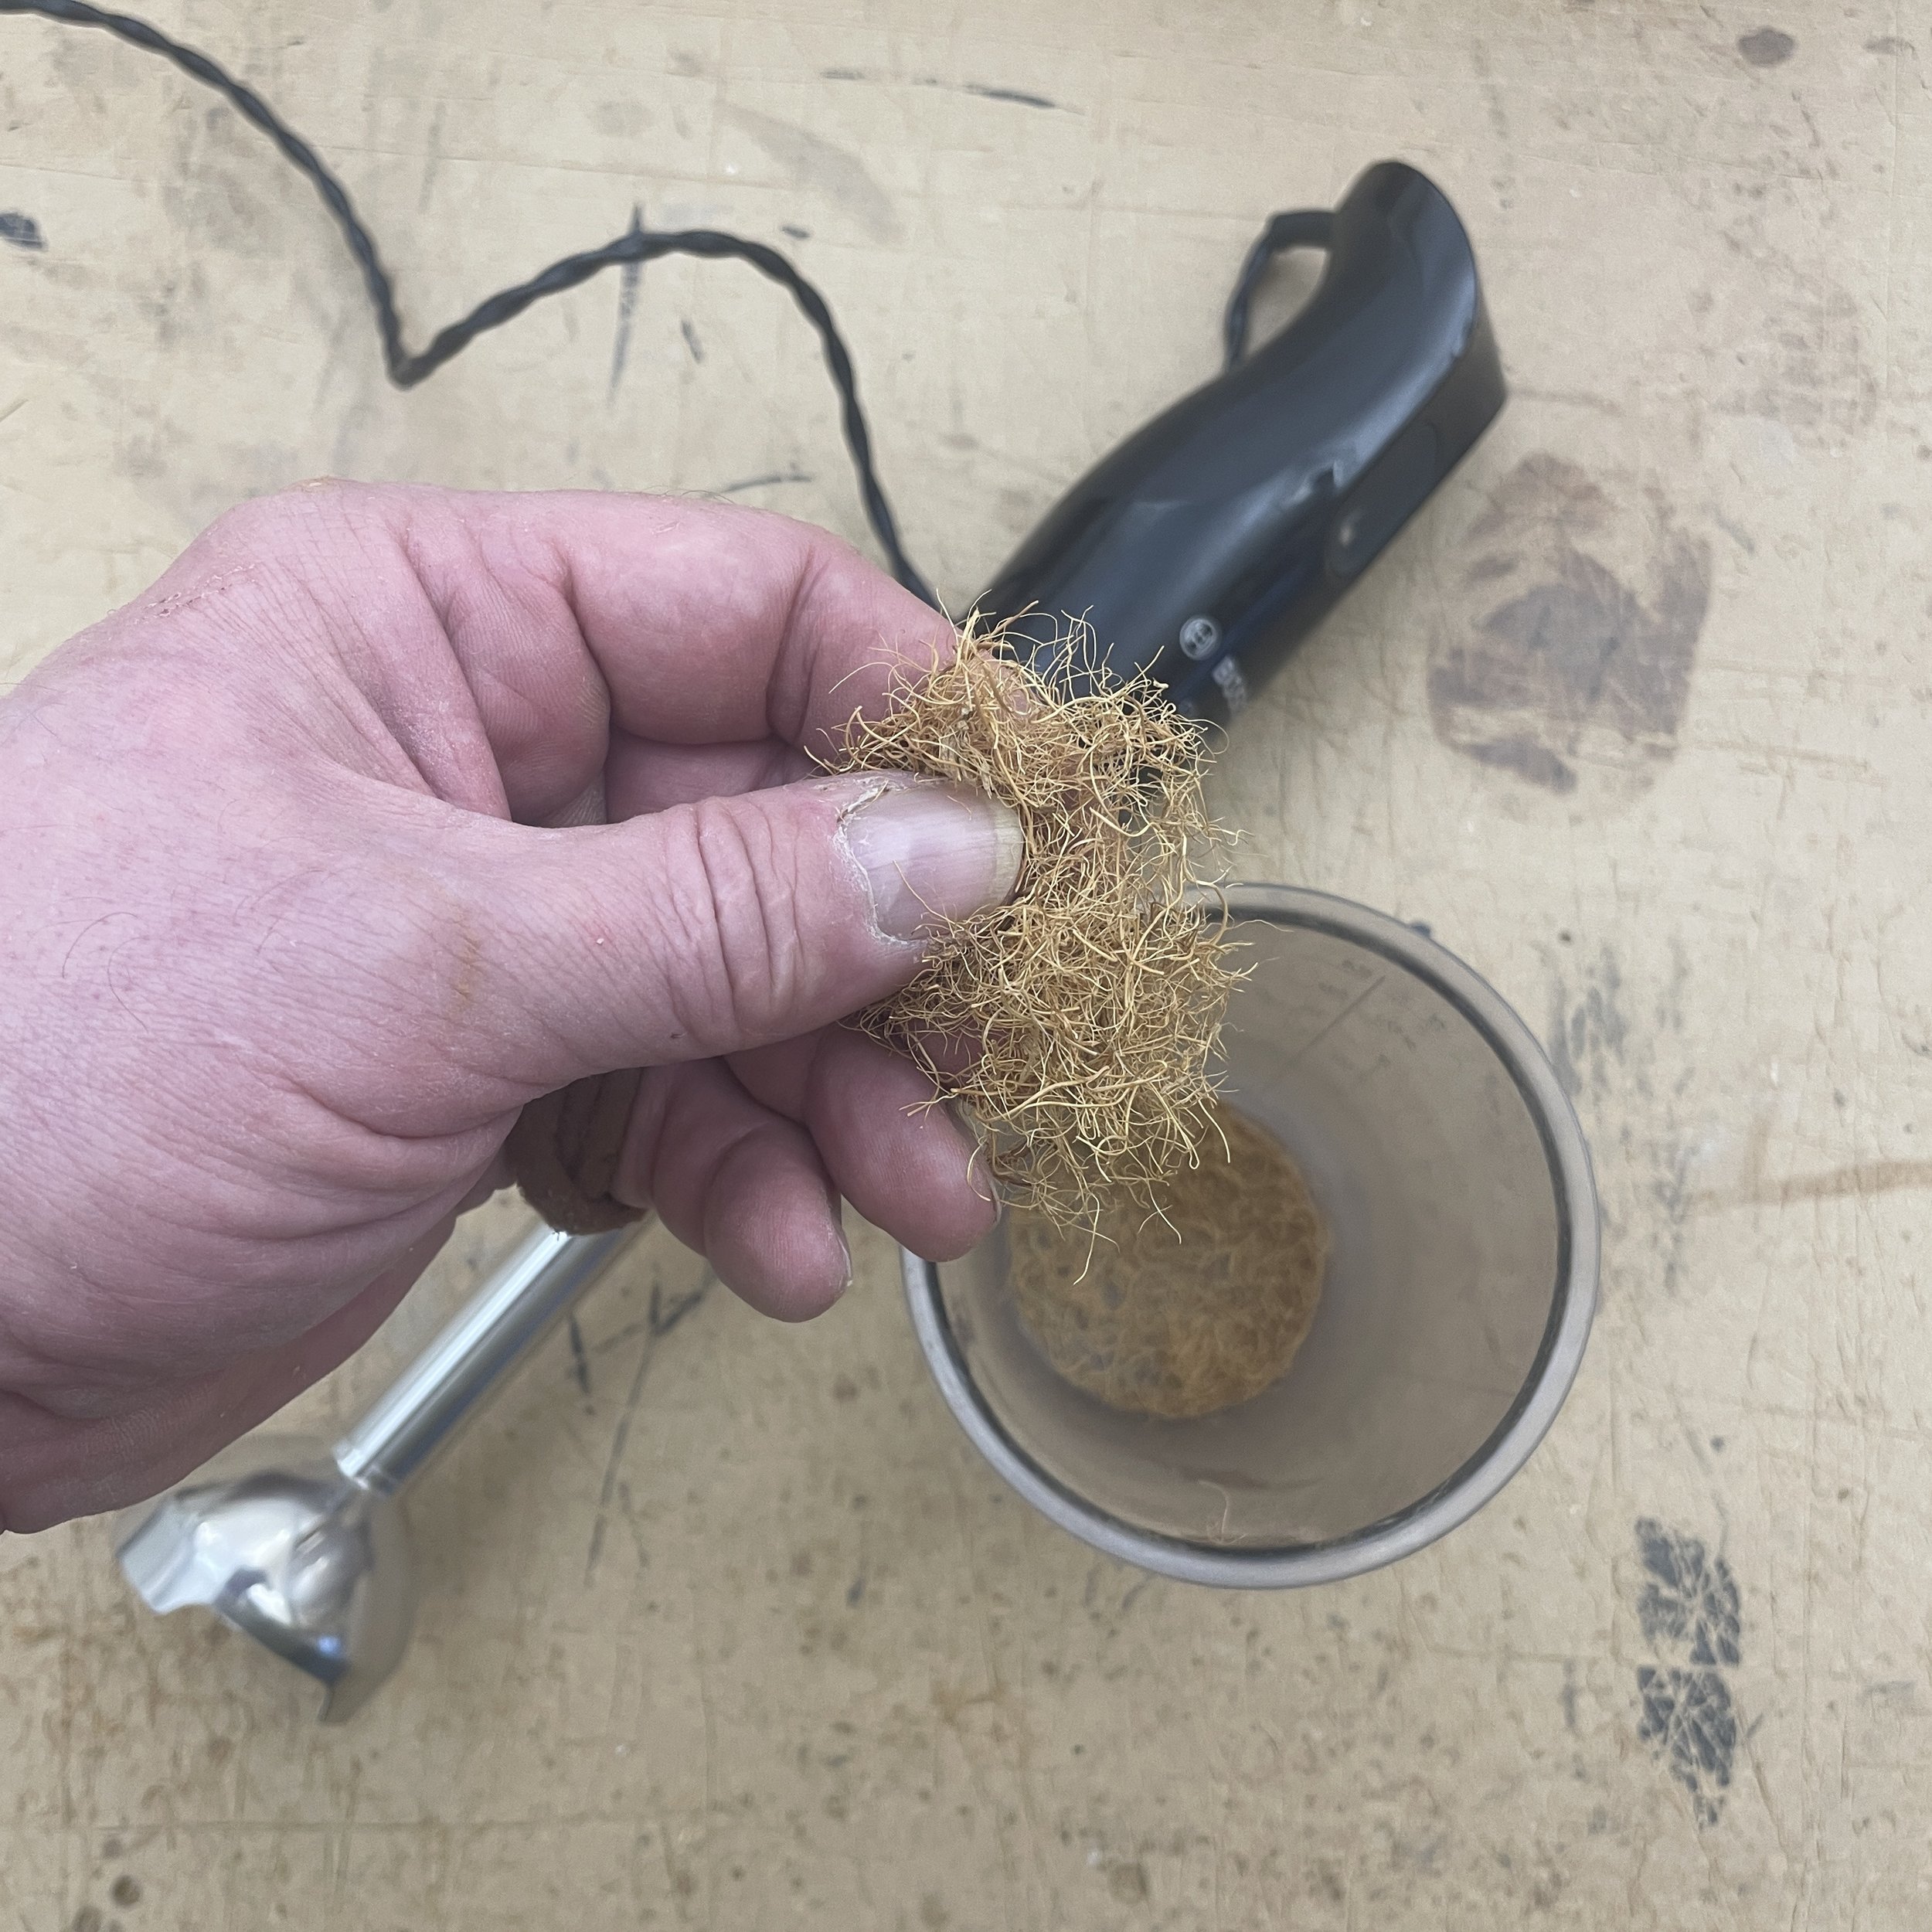
Apply a thick bead of hot melt glue along the seam then sprinkle fibres onto the seam - it's best to apply the glue in sections of 10-15cm at a time.
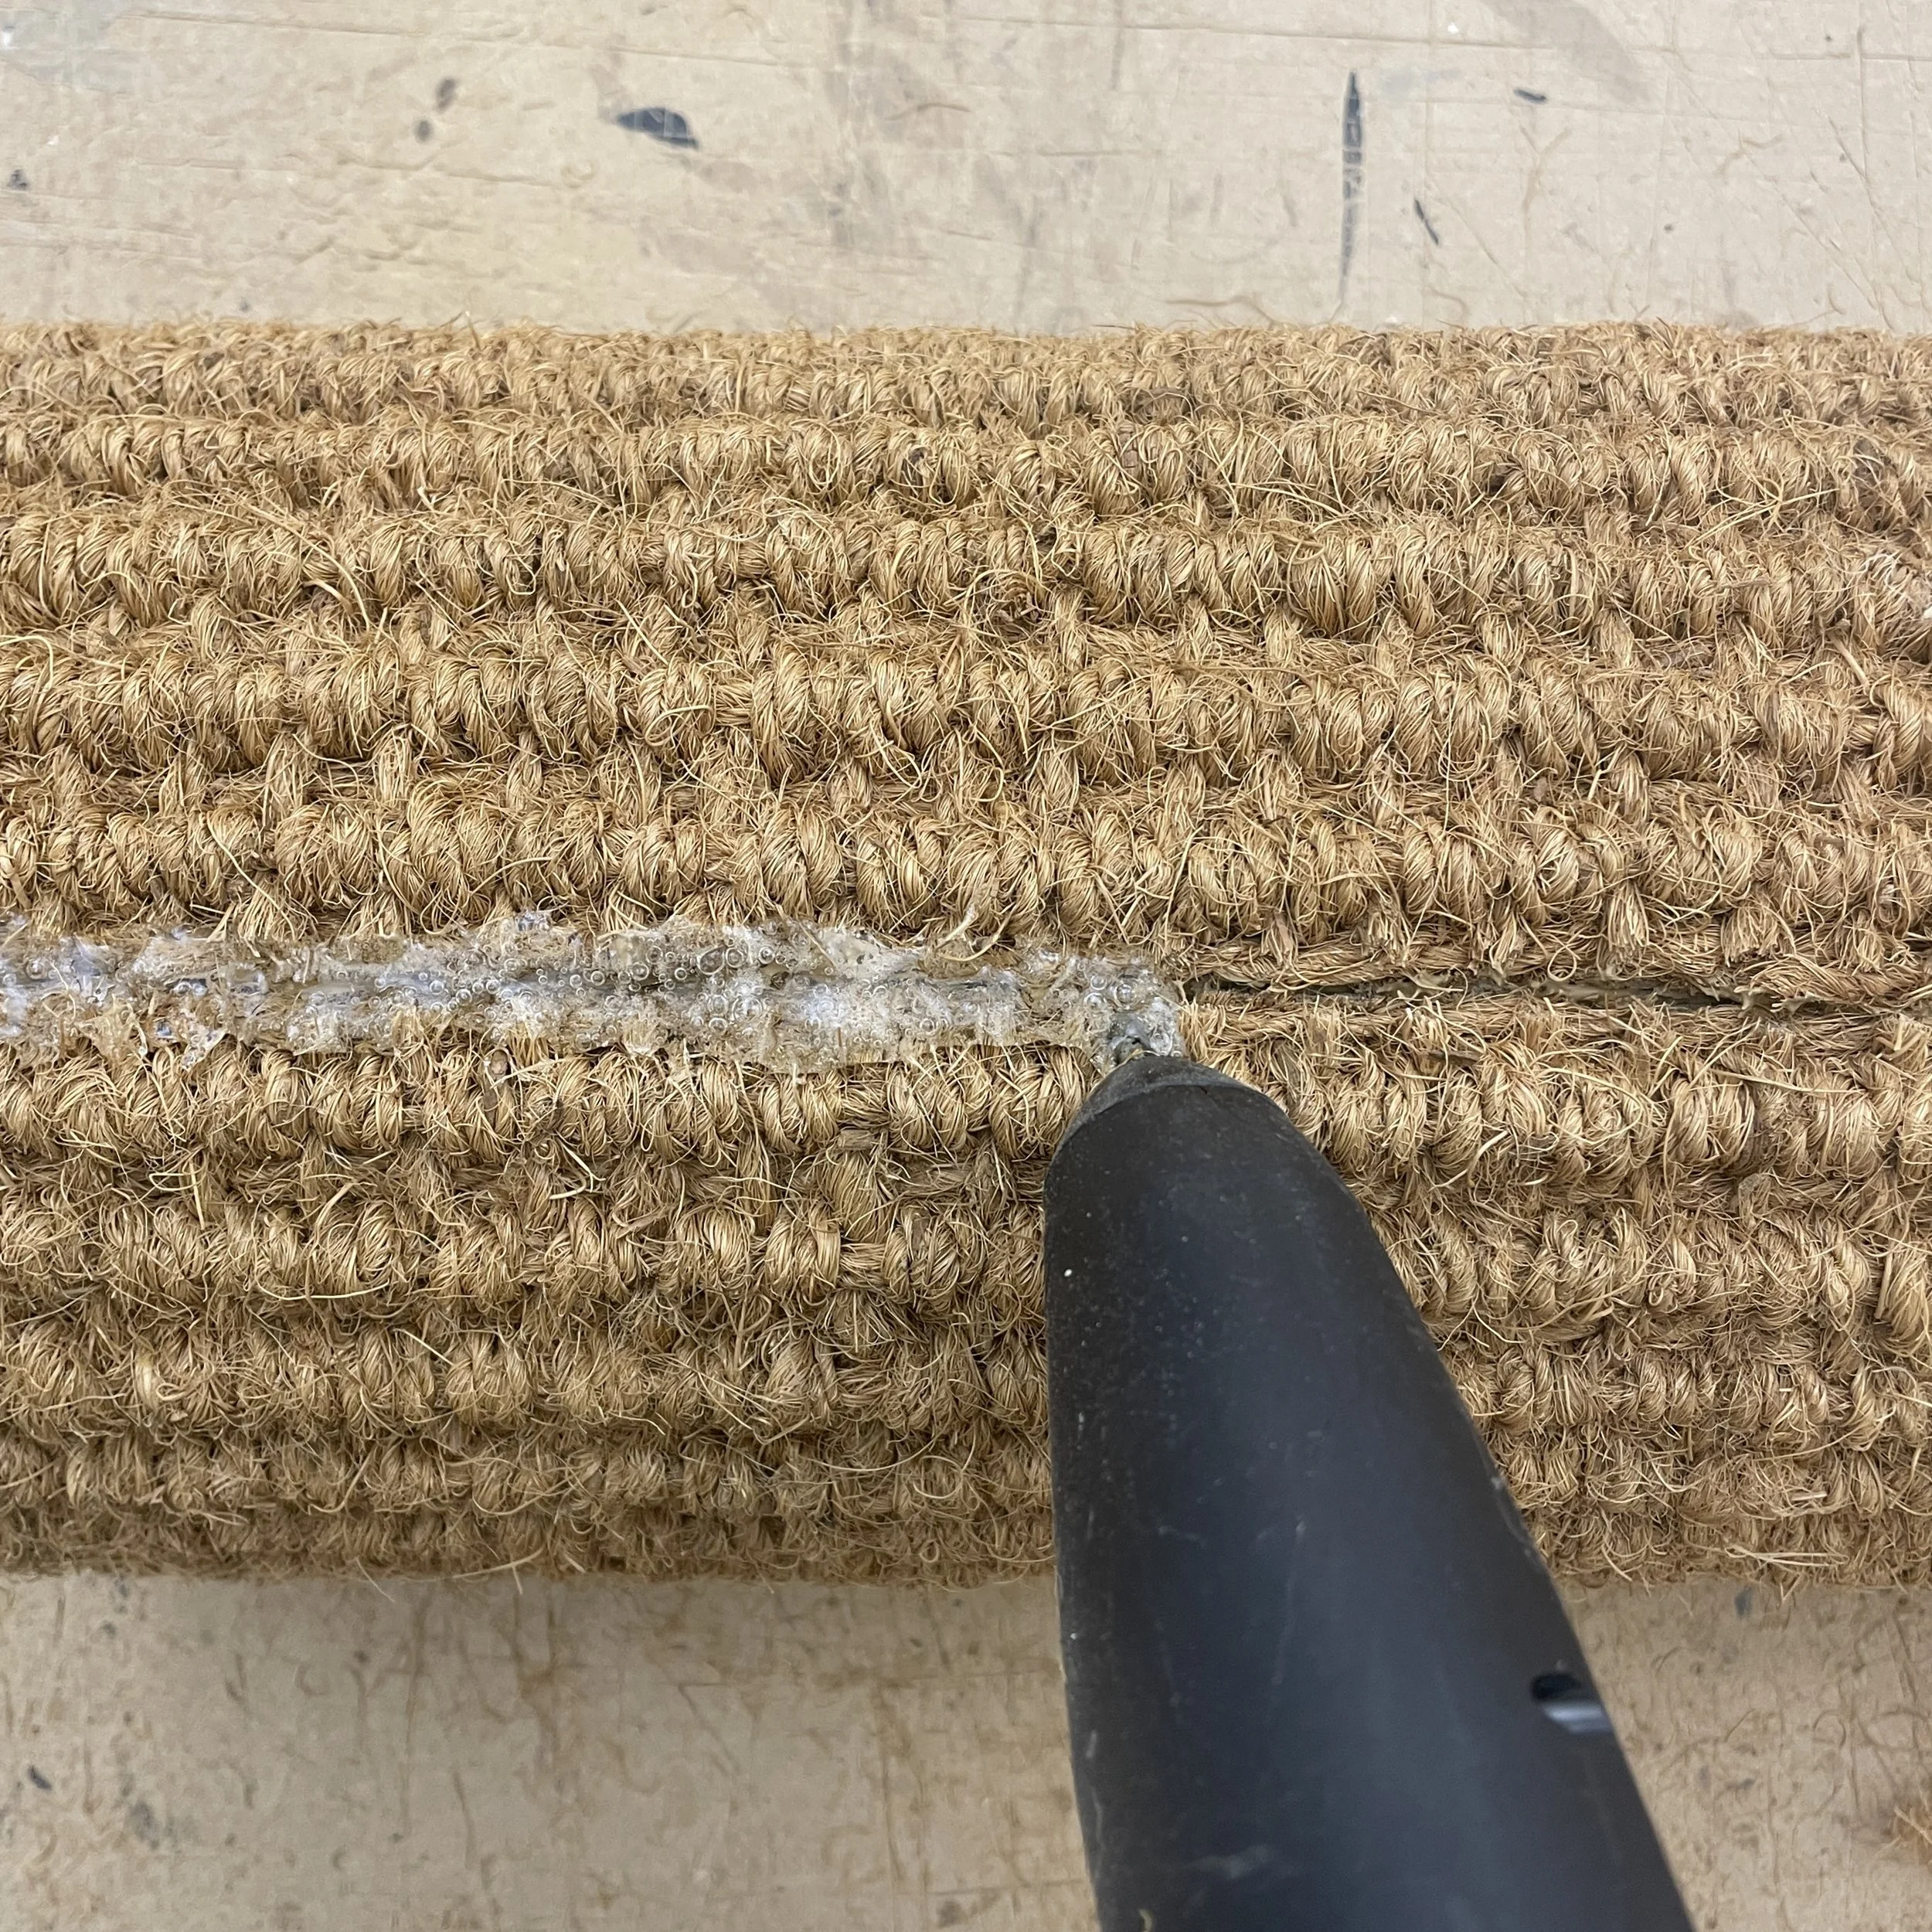
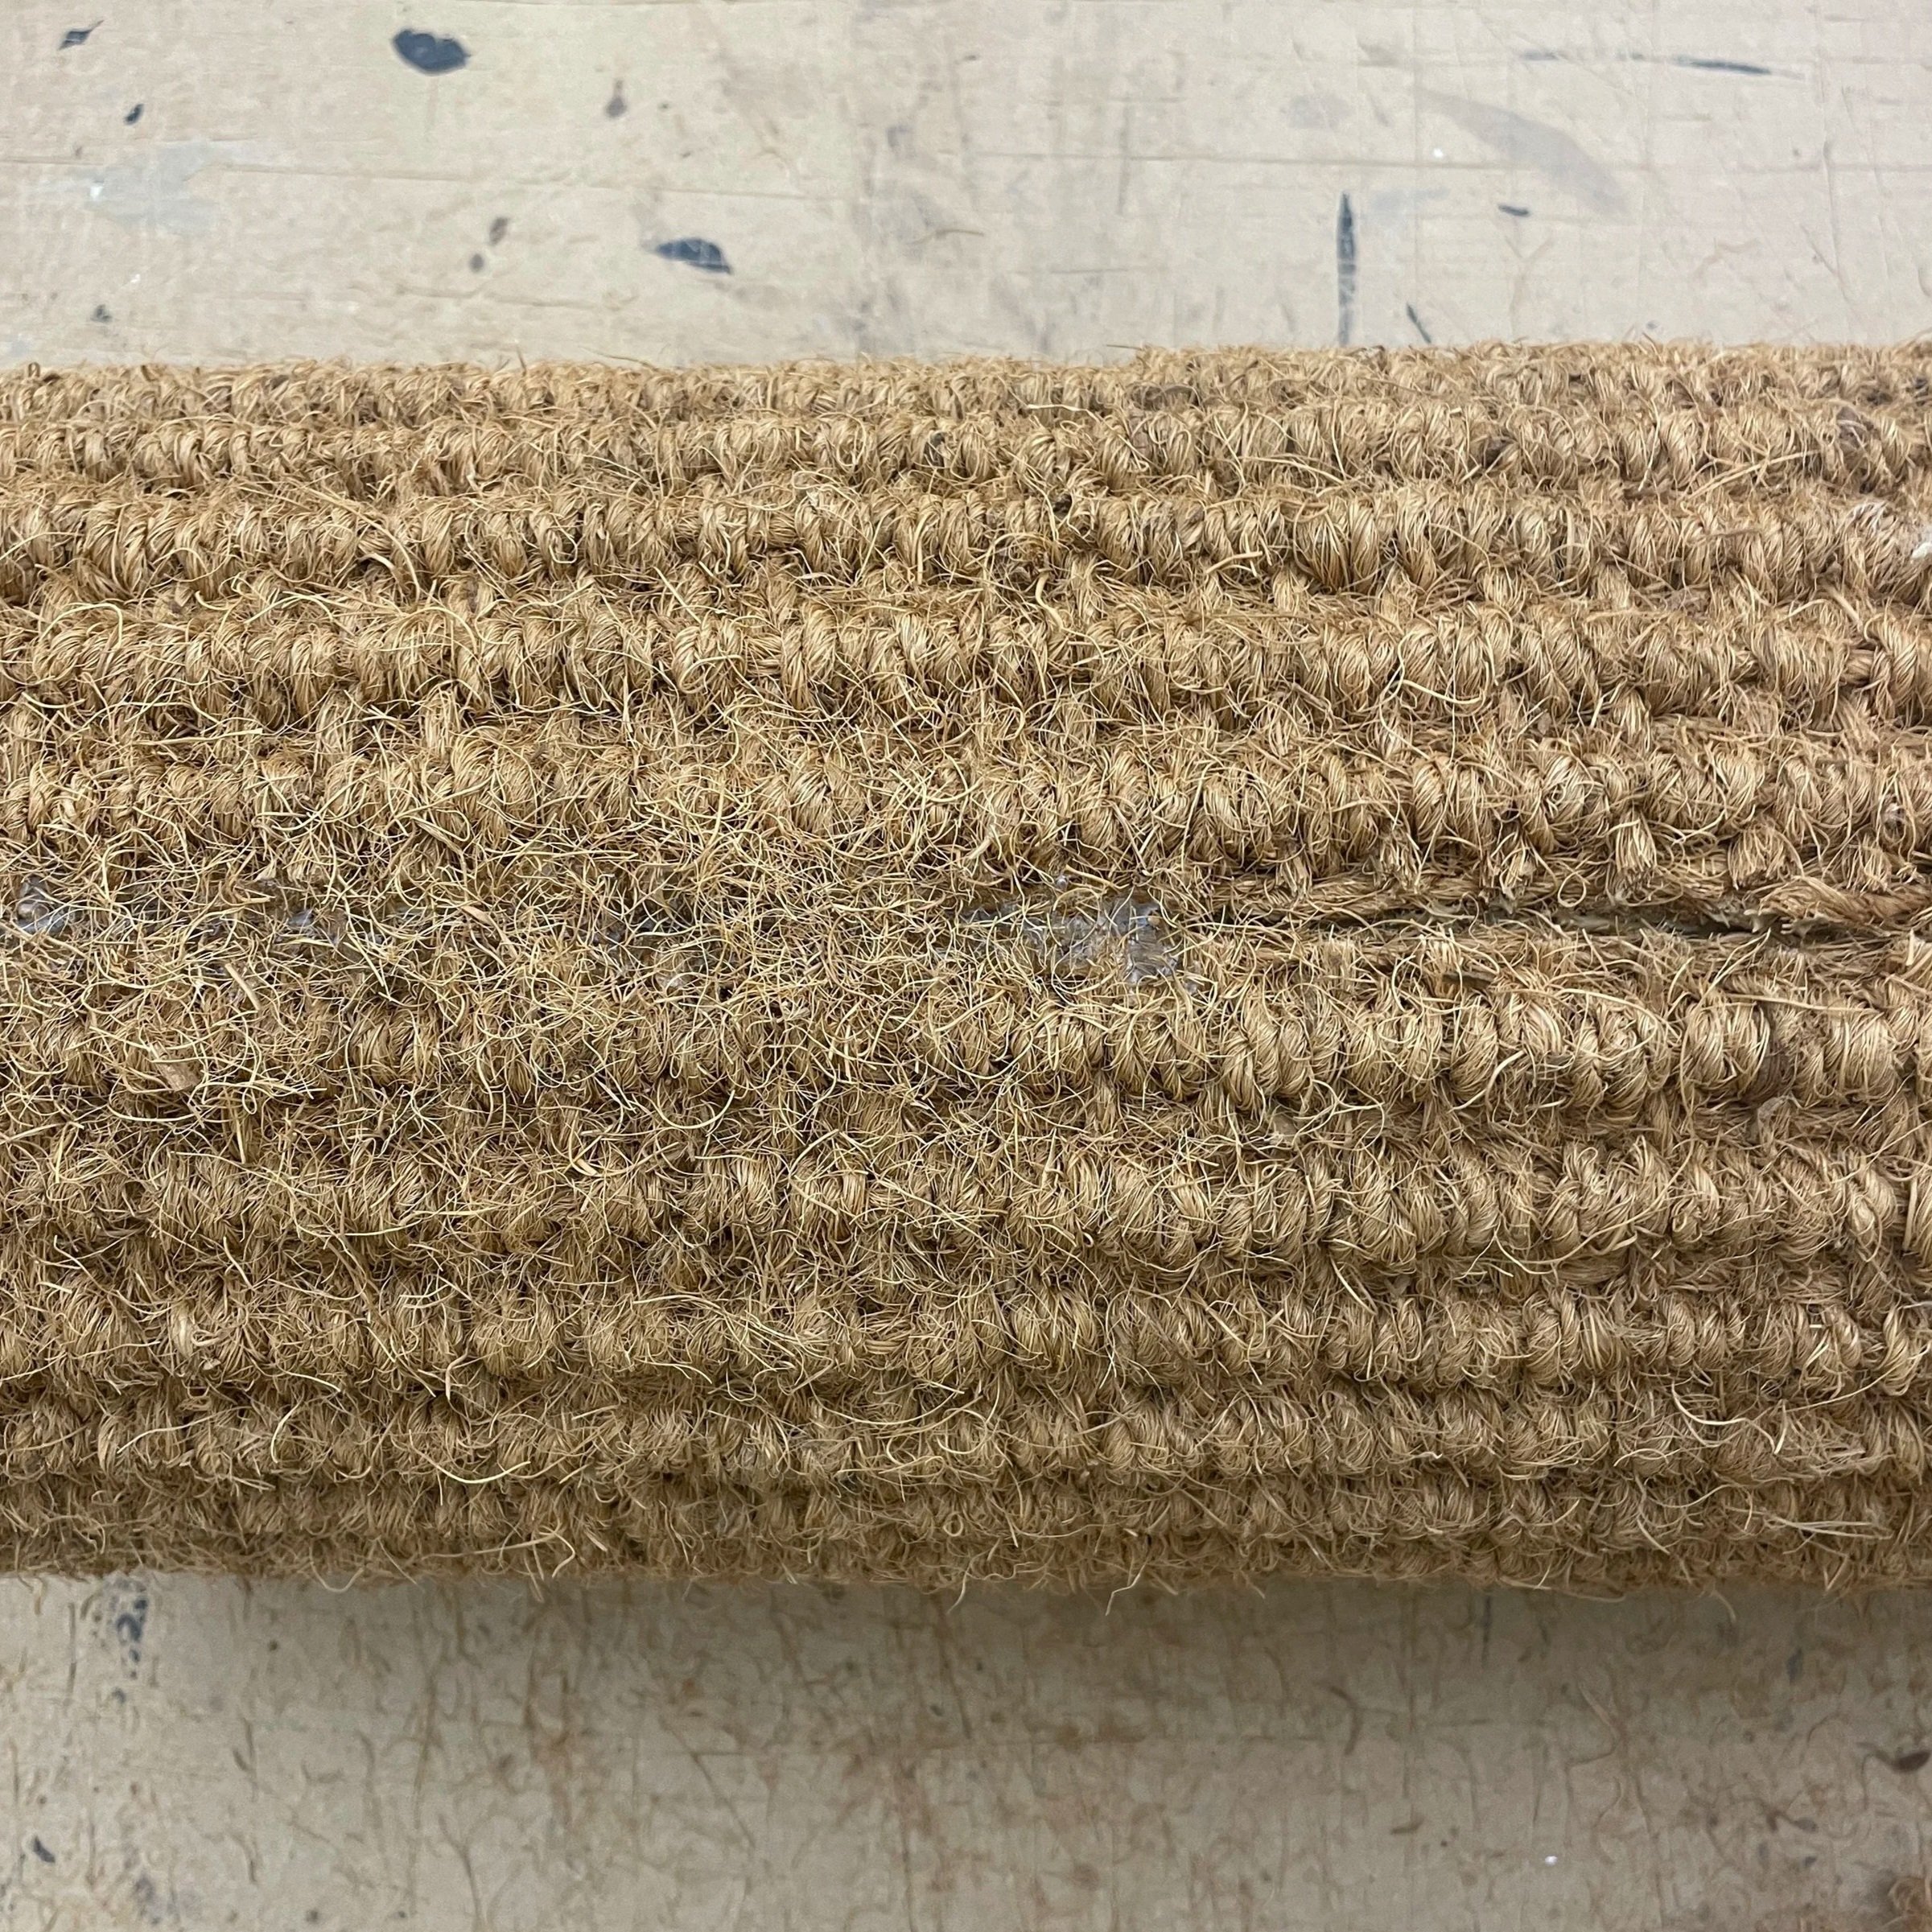
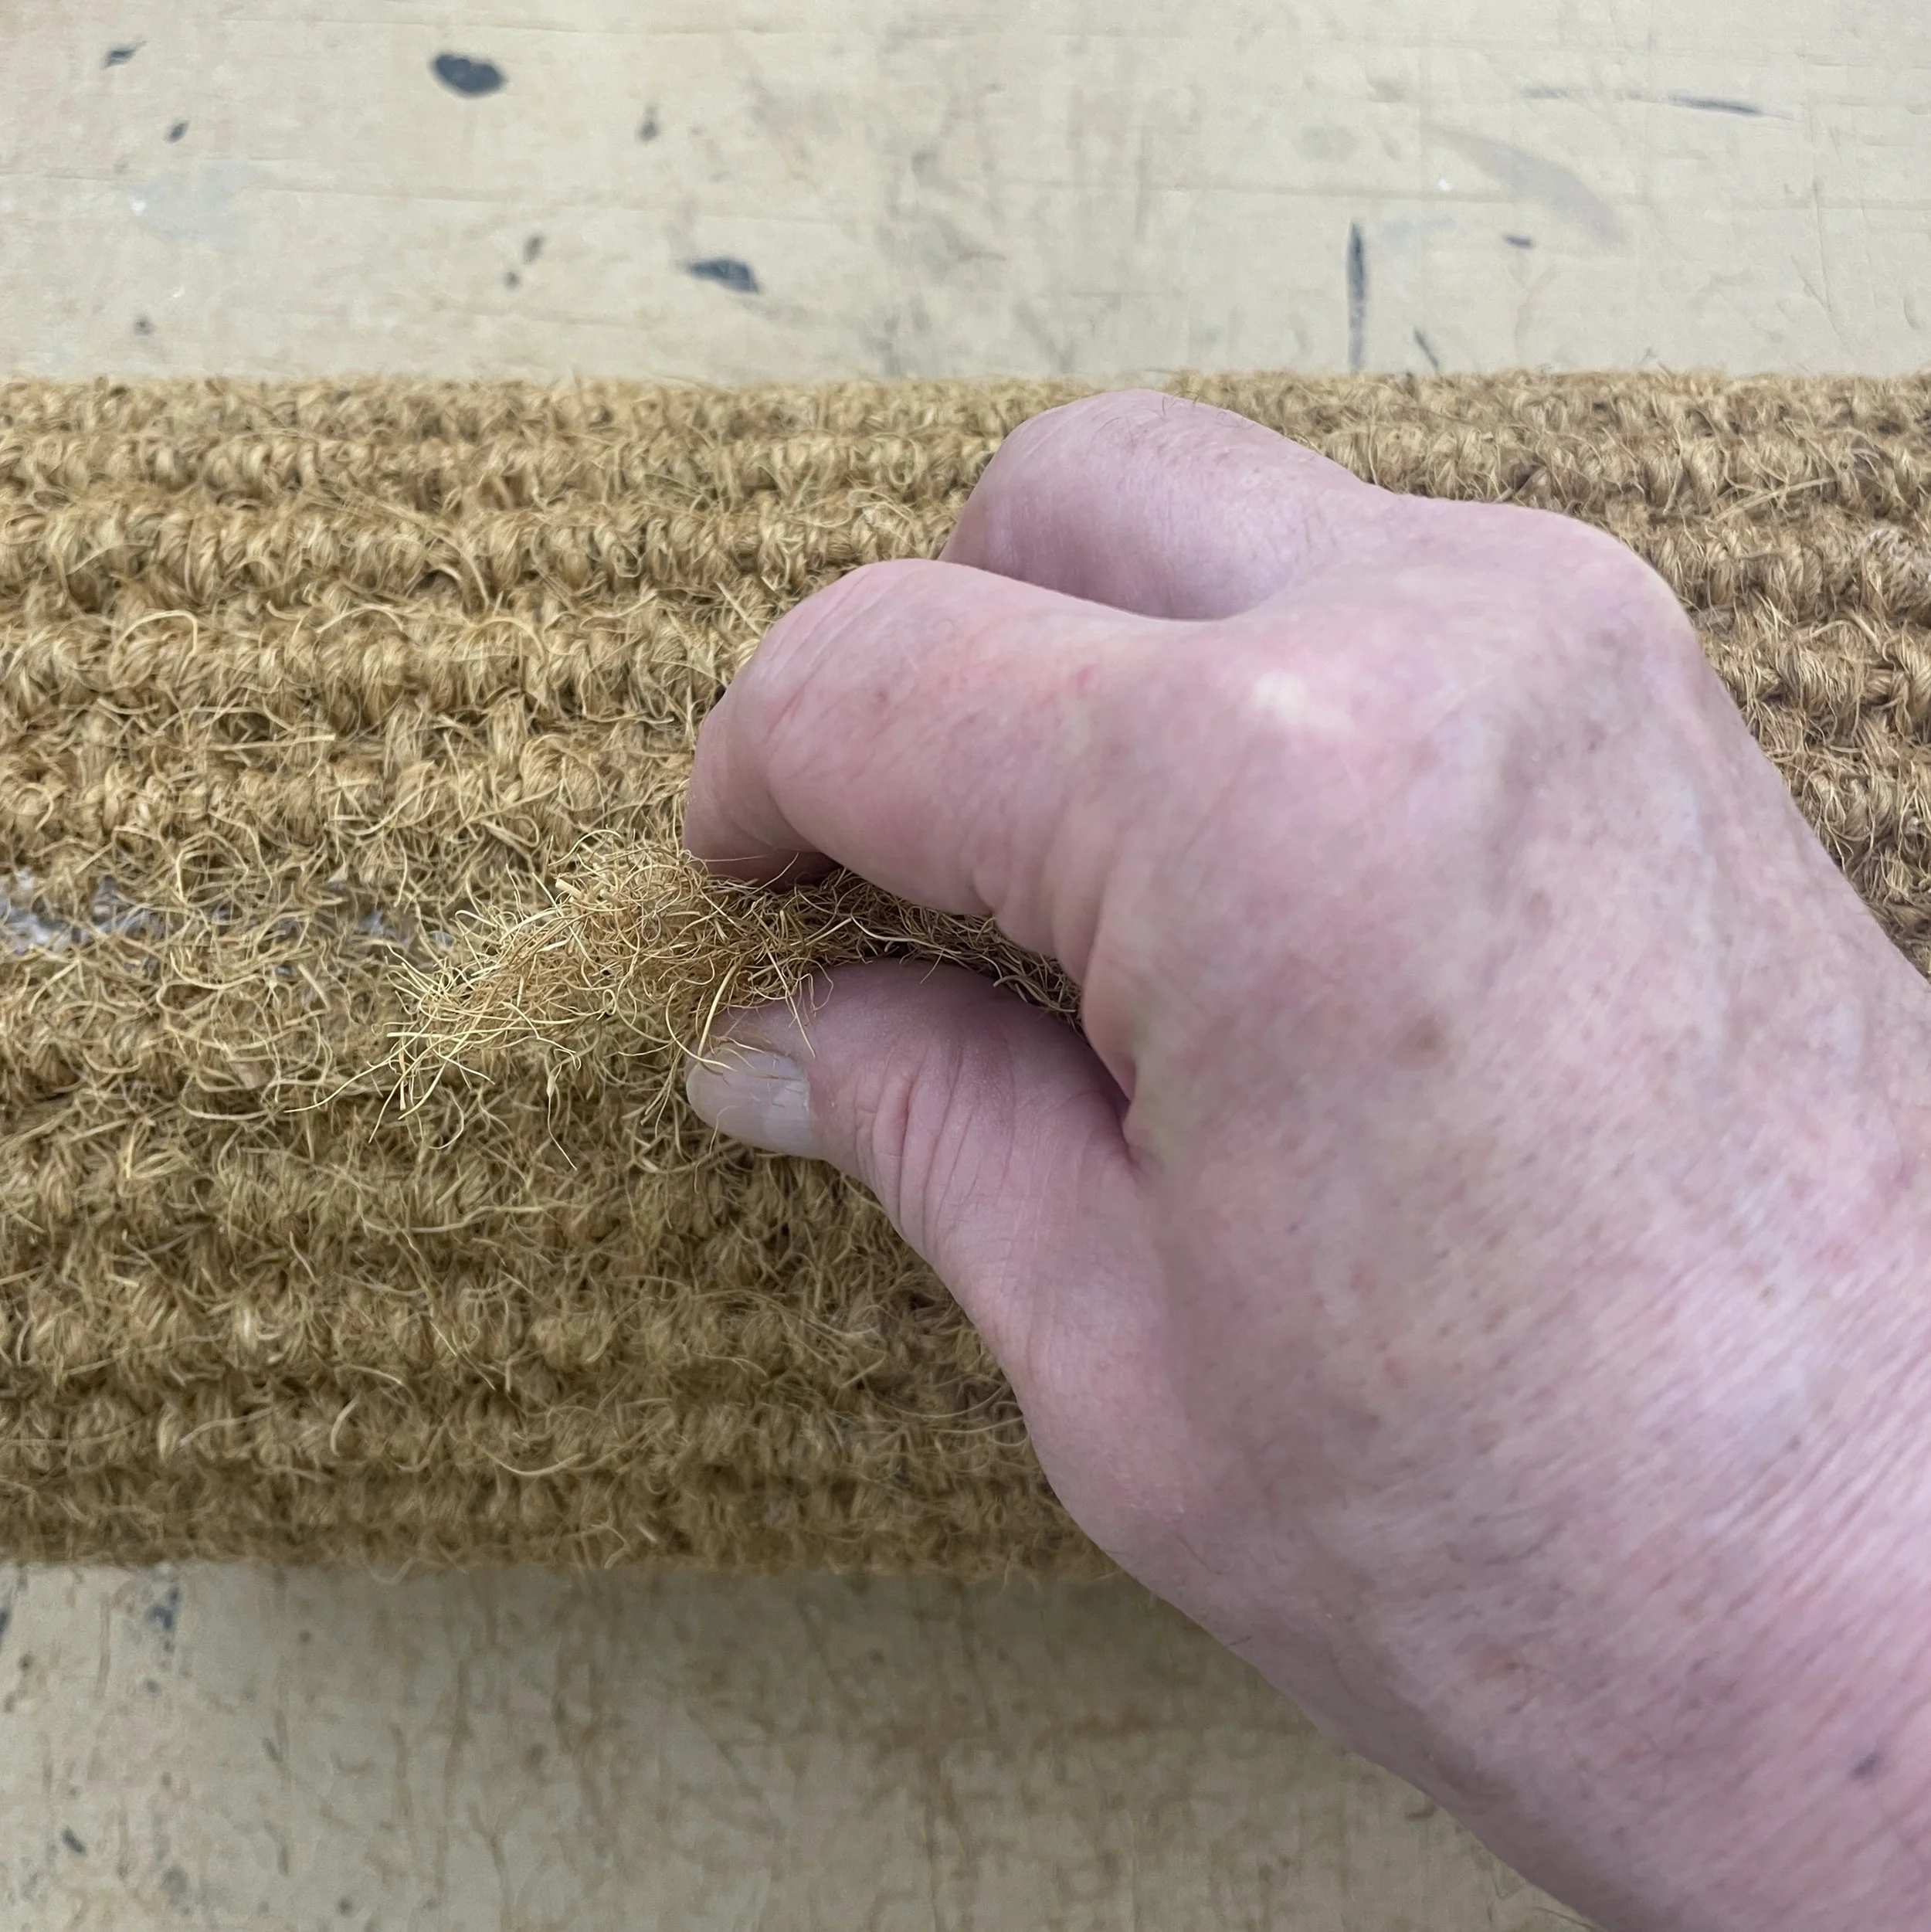
Then get a bundle of fibres & dab these onto the seam to finish things off.
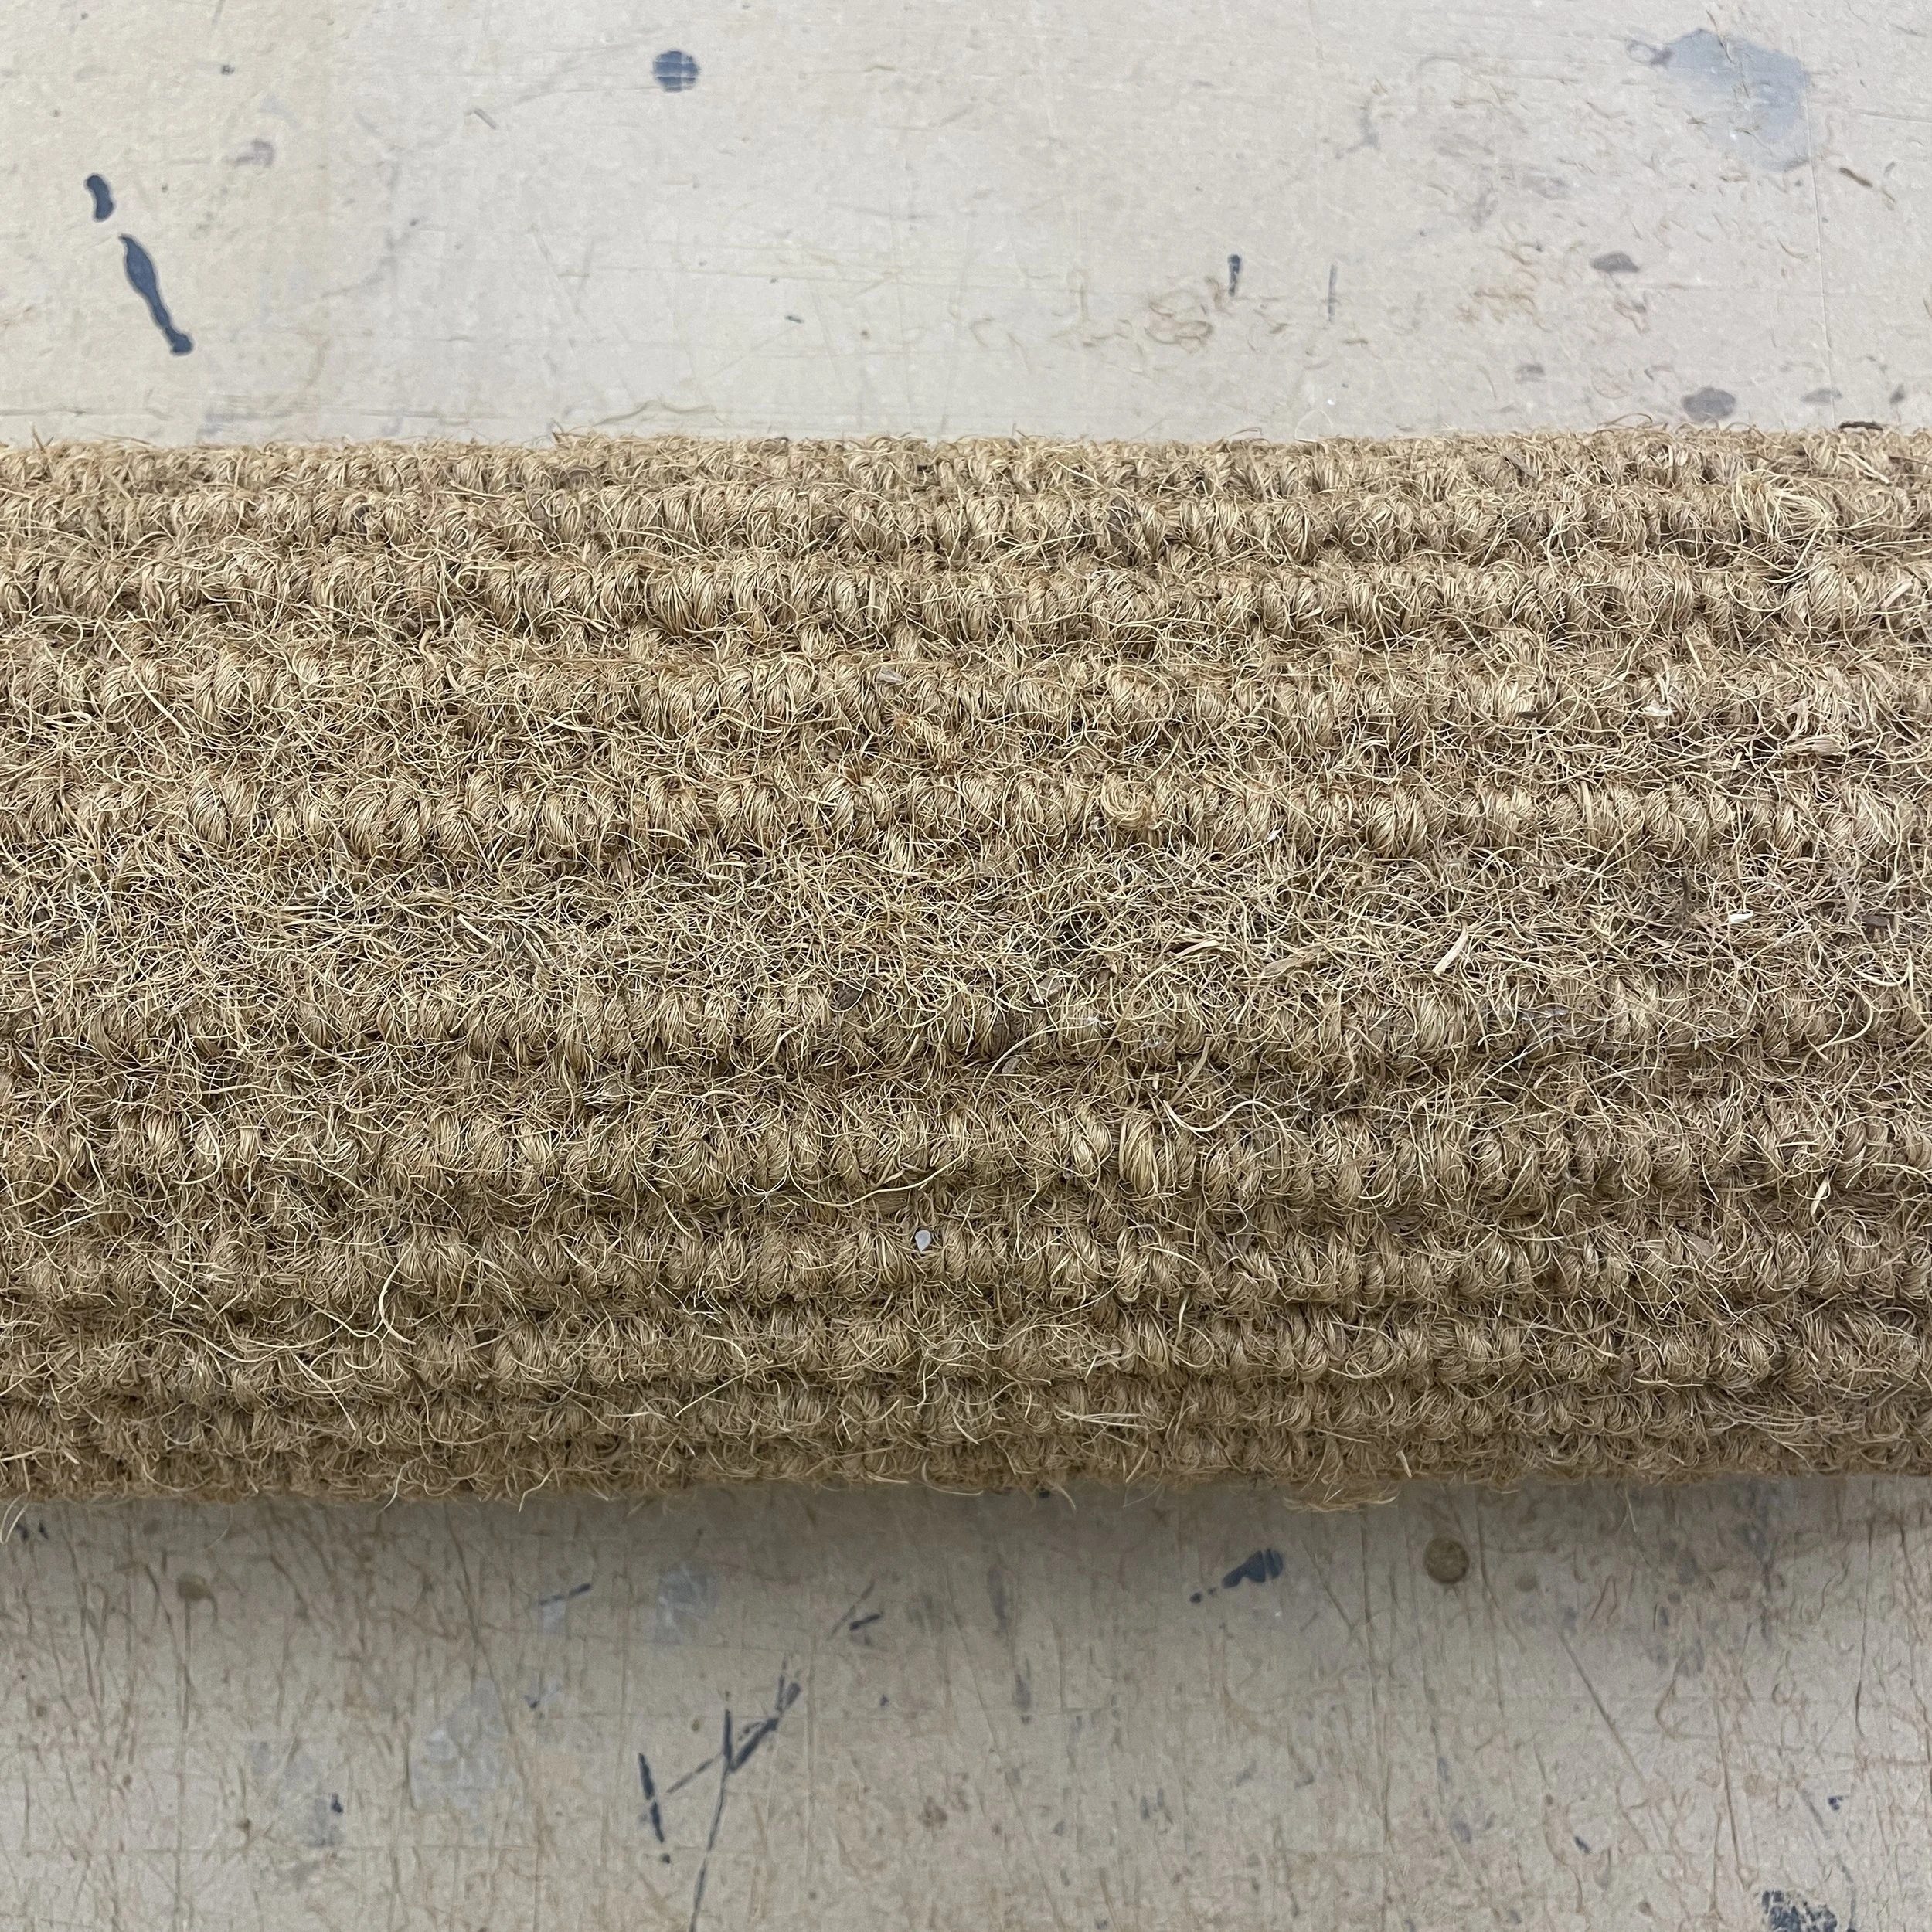
Give the seam a brush to remove excess fibres.
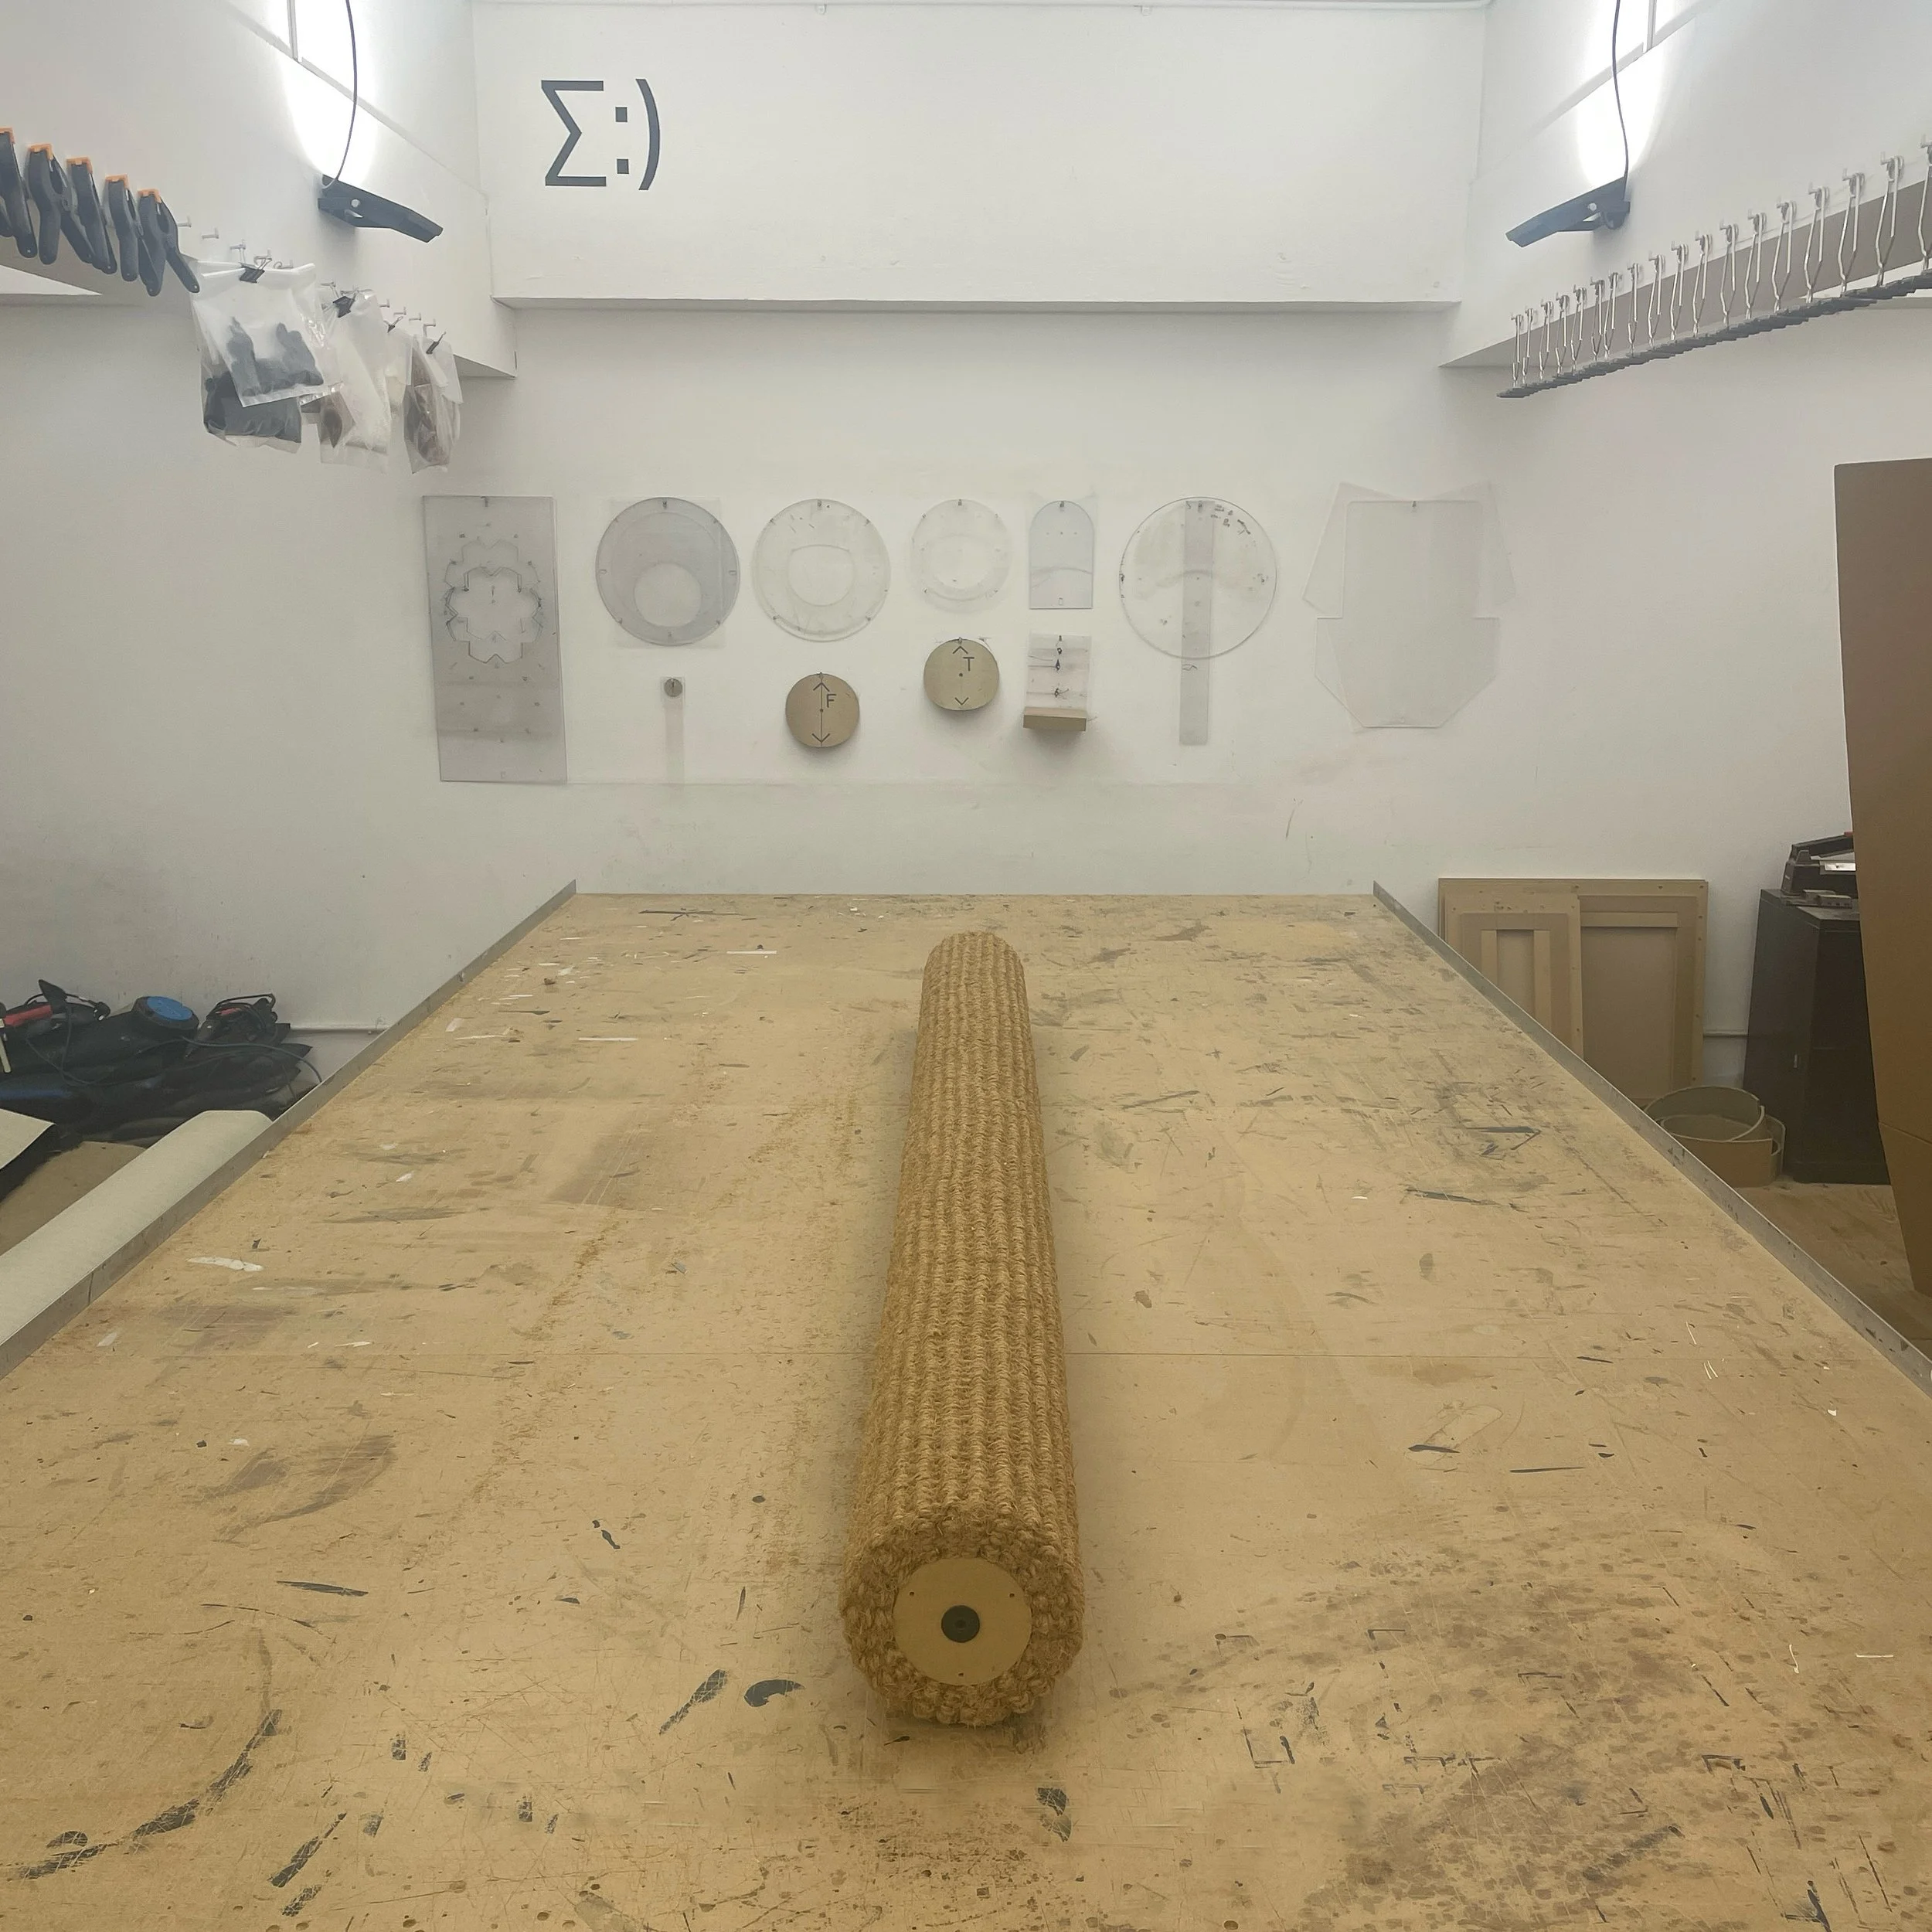
Stand back & admirer your handy work.
Installation
Please refer to our special DIY Polecat Install for installation instructions.
NB Please note that although we obviously carry stock of the standard tube, carpet & sheeting materials we are unable to sell these materials to customers (sorry) but we do sometimes have offcuts & tubes that are offered free-of-charge for collection - please sign up to our newsletter below if you would like to hear about these offers.